Introduction: Tackling Home Plumbing—The Right Way
DIY home improvement projects have surged in popularity, and for good reason—they empower homeowners to save money, learn new skills, and personalize their living spaces. However, when it comes to plumbing, enthusiasm can sometimes outpace expertise. Plumbing mistakes can lead to costly water damage, compromised safety, and even legal headaches. From leaky fixtures and burst pipes to incorrect installations and hidden code violations, the risks are real and the stakes are high.
This comprehensive guide is crafted for homeowners keen on handling plumbing maintenance and minor repairs themselves—without falling into avoidable traps. We’ll cover common DIY mistakes, essential safety protocols, the right tools and materials, code compliance, and long-term maintenance strategies. Whether you’re fixing a dripping faucet or considering a more ambitious update, you’ll find practical insights to protect your home and wallet. Let’s ensure your plumbing adventures end with success, not disaster!
Understanding the Risks: Why Plumbing Mistakes Matter
Water Damage and Structural Issues
Water is both a necessity and a potential threat in the home. Even a small leak left unchecked can cause rot, mold growth, and significant structural damage. Burst pipes or poor connections can flood rooms in minutes, resulting in thousands of dollars in repairs.
Health and Safety Concerns
Improper plumbing can lead to cross-contamination between potable and waste water, backflow incidents, and mold proliferation—all of which jeopardize your family’s health. Additionally, gas water heaters and appliances present fire and carbon monoxide risks if not handled correctly.
Legal and Insurance Implications
Many municipalities require plumbing work to comply with local codes or be performed by licensed professionals. Non-compliance can void insurance coverage, lead to fines, or complicate future home sales.
Common DIY Plumbing Mistakes—and How to Avoid Them
- Overtightening Fittings: Excessive torque on supply lines or fittings can crack nuts, strip threads, or damage washers, leading to leaks. Tighten connections until snug, then give a quarter-turn—never force beyond that.
- Misusing Pipe Materials: Mixing incompatible metals (e.g., copper and galvanized steel) without dielectric unions can accelerate corrosion. Always use the correct connectors and materials for your system.
- Ignoring Shutoff Valves: Failing to turn off water can result in flooding. Always locate and test the main shutoff valve before starting any work, and use fixture shutoffs for localized repairs.
- Incorrect Slope on Drains: Drain pipes must slope at 1/4 inch per foot to ensure proper flow. Too little slope causes clogs; too much separates solids from liquids, leading to blockages.
- Improper Use of Plumber’s Tape: Teflon tape (PTFE) should be wrapped clockwise around male threads 3–5 times. Using pipe dope or tape on compression or flare fittings can cause leaks.
- Skipping Pressure Testing: Always test new installations for leaks before closing up walls or using fixtures. Pressurize the system and check every joint for moisture.
- Neglecting Venting: Drains need vent pipes to prevent suction and trap loss. Removing or blocking vents can cause slow drains, gurgling, and sewer gas entry.
- Using Chemical Drain Cleaners: Harsh chemicals can corrode pipes and harm septic systems. Opt for mechanical methods like plungers or drain snakes instead.
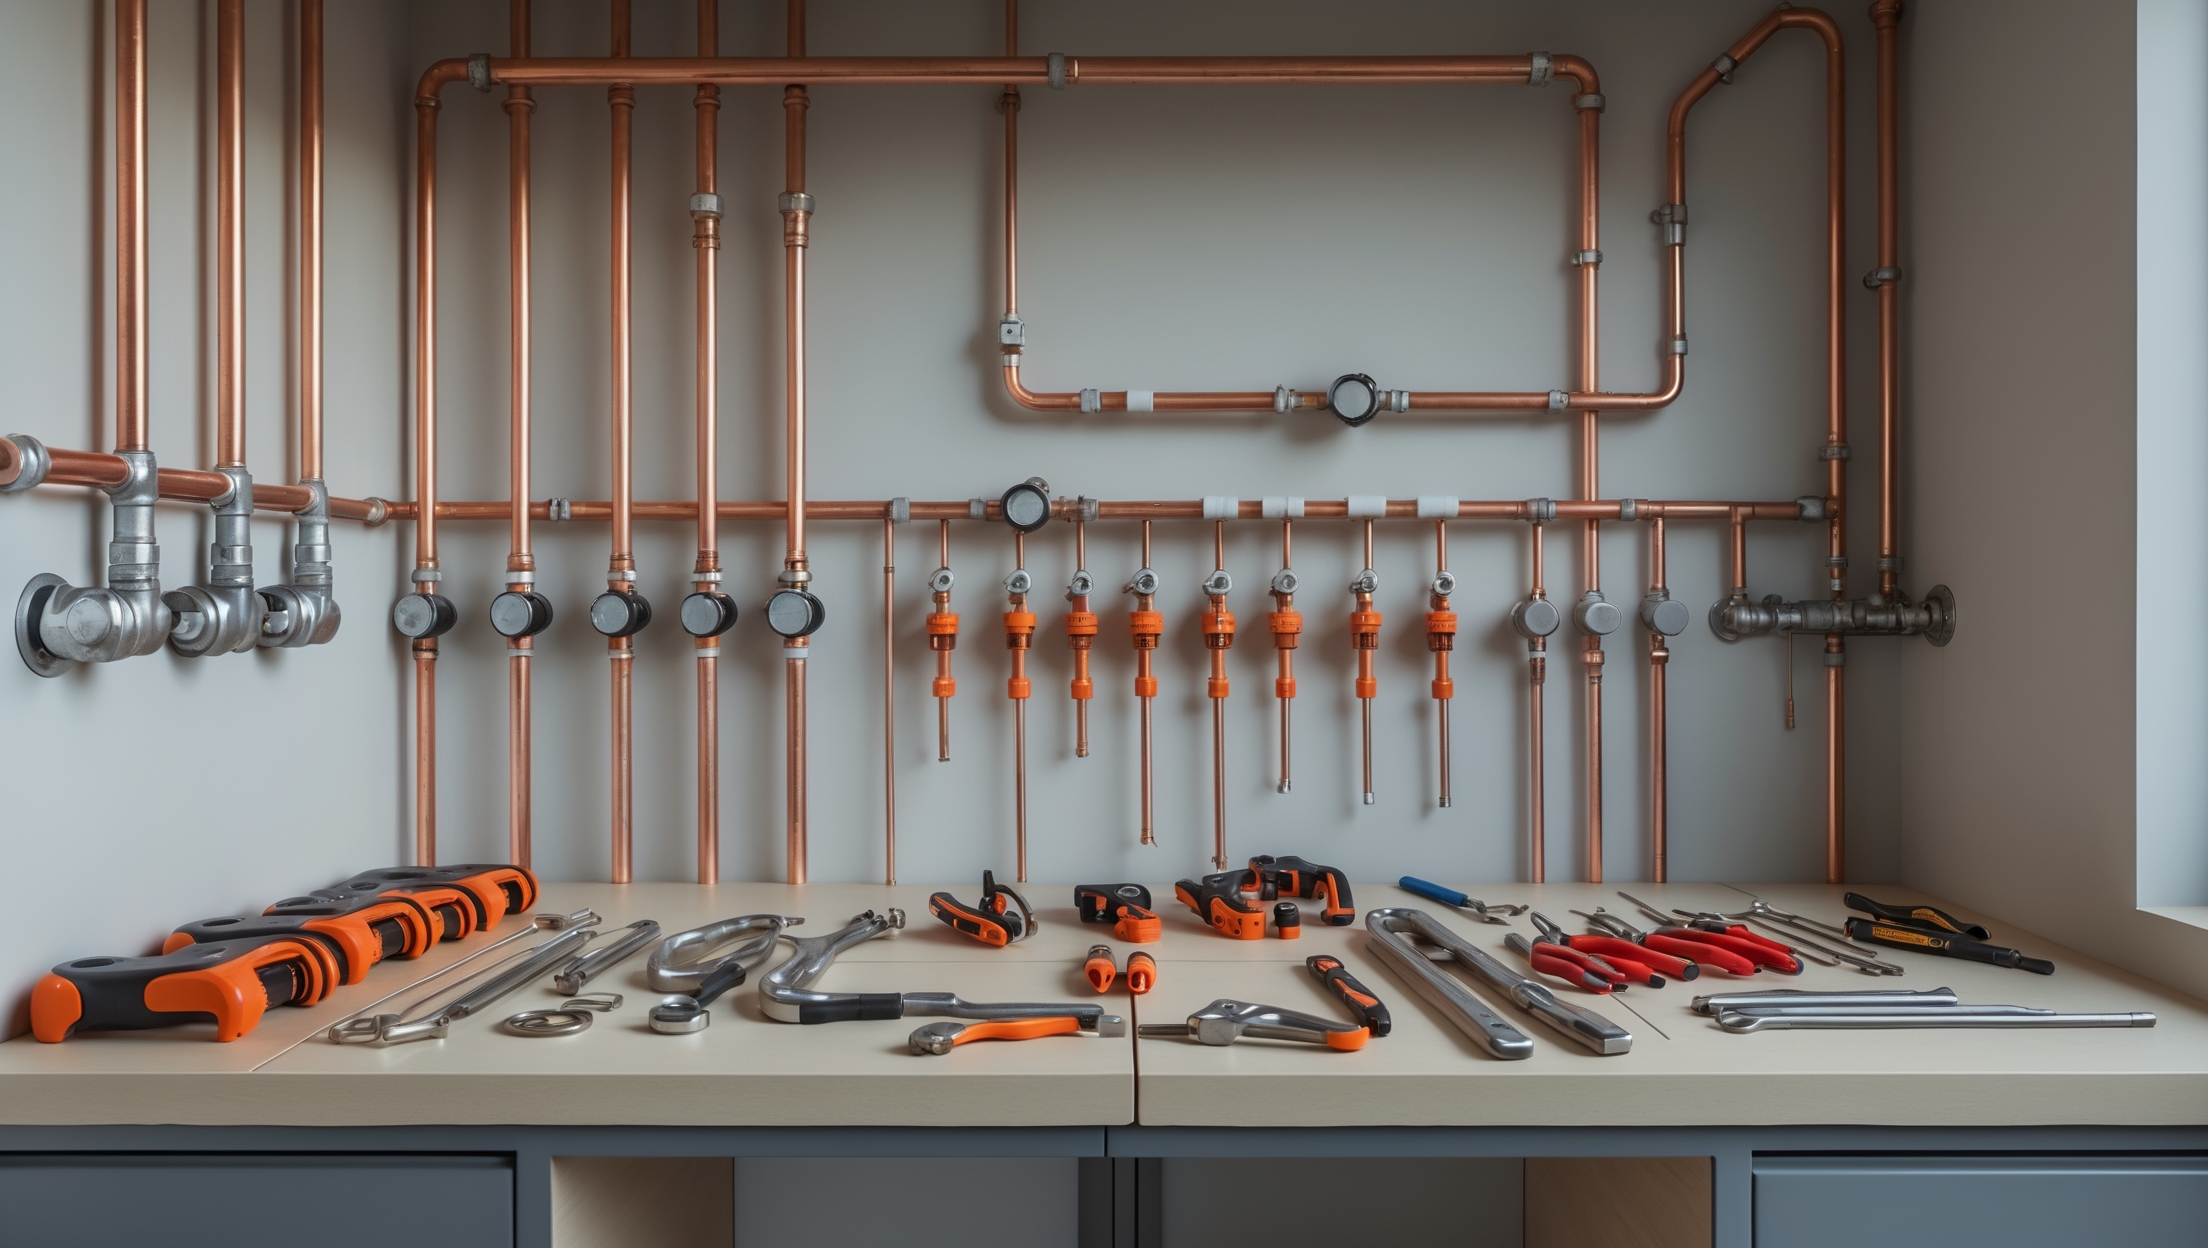
Essential Tools and Materials for Safe DIY Plumbing
Basic Plumbing Tool Kit
- Adjustable wrenches (two sizes)
- Channel-lock pliers
- Pipe cutter (for copper or PVC)
- Hacksaw
- Basin wrench
- Plumber’s tape (PTFE/Teflon)
- Pipe dope (thread sealant)
- Plunger and hand auger (drain snake)
- Bucket and towels
- PVC primer and cement
- Flashlight or headlamp
- Gloves and eye protection
Material Selection Tips
- Match pipe material (copper, PEX, PVC) to your system and local codes.
- Use lead-free solder for potable water lines.
- Choose flexible supply hoses with stainless steel braiding for fixtures.
- Always buy extra fittings and washers to have backups on hand.
Homeowner’s Plumbing Safety Checklist
- Shut off water supply before starting any repair.
- Test shutoff valves to ensure they work and don’t leak.
- Turn off power to electric water heaters or relevant appliances.
- Ventilate the workspace, especially when soldering or using solvents.
- Wear gloves and safety glasses to protect against splashes and debris.
- Use a voltage tester before touching wires or outlets near plumbing.
- Keep a fire extinguisher nearby when soldering copper pipes.
- Never use open flames in confined or poorly ventilated spaces.
- Dispose of old pipes, solder, and debris safely.
Step-by-Step: Fixing a Leaky Faucet (The Right Way)
1. Identify Your Faucet Type
Determine whether you have a compression, ball, cartridge, or ceramic disc faucet. The repair process varies for each.
2. Gather Tools and Parts
Typical needs include an adjustable wrench, screwdrivers, replacement washers or cartridges, plumber’s tape, and rags.
3. Shut Off Water Supply
Locate the under-sink shutoff valve and turn it clockwise. Open the faucet to drain residual water.
4. Disassemble Faucet
Remove decorative caps, screws, and handles. Keep parts organized for reassembly.
5. Inspect and Replace Worn Parts
Look for deteriorated washers, cartridges, or O-rings. Replace with matching new parts. Clean all surfaces before reassembly.
6. Reassemble and Test
Reverse the disassembly steps. Turn water back on slowly and check for leaks.
7. Document Your Repair
Take notes or photos for future reference. This helps if similar issues arise later.
Plumbing Code Compliance: What Every DIYer Must Know
Permits and Inspections
Many jurisdictions require permits for plumbing alterations, including moving pipes or installing new fixtures. Contact your local building department before starting. Inspections ensure work meets safety standards.
Approved Materials and Methods
- Use code-approved materials for all supply and drain lines.
- Follow manufacturer instructions for installation and support spacing.
- Install anti-siphon devices or backflow preventers where required.
- Maintain minimum clearances around water heaters and expansion tanks.
- Ensure proper venting for all drain systems.
Documentation
Keep records of permits, inspections, and repairs. This can protect you during future property sales or insurance claims.
Long-Term Plumbing Maintenance Best Practices
- Inspect all visible pipes annually for leaks, corrosion, or loose fittings.
- Test shutoff valves twice a year to ensure they function.
- Flush water heater tanks yearly to remove sediment and prolong life.
- Clean faucet aerators and showerheads regularly to prevent clogs.
- Check washing machine hoses for bulges or leaks and replace every 5 years.
- Snake slow drains before they become blocked. Avoid chemical cleaners.
- Insulate exposed pipes in unheated areas to prevent freezing.
- Know the location of your main water and gas shutoffs.
When to Call a Professional
- Major Leaks or Burst Pipes: Shut off water and call immediately.
- Sewer Line Issues: Recurring or severe backups require professional inspection and repair.
- Gas Line Work: Never attempt gas plumbing unless licensed.
- Code-Required Permits: If a permit or inspection is required, hire a licensed plumber.
- Hidden Leaks: Water stains, musty odors, or high bills with no visible cause warrant expert help.
Conclusion: Smarter DIY Plumbing for a Safer Home
DIY plumbing projects can be deeply rewarding, both financially and personally. However, they demand respect for the complexities of your home’s water systems and the potential consequences of even minor oversights. By understanding common mistakes, prioritizing safety, and adhering to code requirements, you can confidently tackle routine repairs and maintenance. The right tools, materials, and techniques make all the difference between a successful fix and a costly disaster.
Remember, not every job should be DIY—knowing your limits is a strength, not a weakness. Use this guide as your roadmap to safer, smarter home plumbing. Regular maintenance, prompt attention to issues, and the occasional call to a licensed professional will keep your system flowing smoothly for years to come. Protect your investment, preserve your peace of mind, and enjoy the satisfaction of a job well done—without the headaches of preventable plumbing disasters.
You mentioned code compliance can be a big issue—even for small jobs. Are there affordable resources or checklists available to help homeowners in the US make sure they’re following local plumbing codes before starting a project?
Yes, there are affordable ways to check code compliance before starting plumbing projects. Many city or county building departments offer free or low-cost guides and checklists—these are often available on their websites or at their offices. Home improvement stores sometimes provide basic code-compliance brochures as well. For more detailed guidance, you can purchase simplified plumbing code books or guides designed for homeowners, which break down local requirements in plain language.
I see the article mentions that improper plumbing can sometimes void your insurance if you don’t follow code. How can a homeowner make sure their DIY repairs actually comply with local plumbing codes before starting a project?
Before starting any DIY plumbing repairs, a homeowner should first contact their local building department to obtain information on relevant plumbing codes and permit requirements. You can also ask if inspections are needed. Many municipalities provide code guidelines online or in person. Consulting with a licensed plumber for advice or a code check can also help ensure your work will comply with local regulations and protect your insurance coverage.
Since water damage and mold can develop quickly from even small mistakes, how long should I monitor a repaired area to be sure it’s fixed properly, and what warning signs should I watch for afterward?
After making a plumbing repair, it’s wise to monitor the area closely for at least one to two weeks. Watch for warning signs like dampness, discoloration, bubbling paint or wallpaper, musty odors, or any new water stains. If you see any of these, check for leaks right away. Also, check periodically for the following month, as slow leaks may take time to show effects.
How do I know if the plumbing job I’m planning is likely to violate local codes before I even start? Is there an easy way for homeowners to check code compliance requirements before doing DIY plumbing?
Before starting your plumbing project, contact your local building or code enforcement office—they can tell you which codes apply and if permits are required. Many municipalities also offer code information on their official websites. If you’re unsure, some local hardware stores or licensed plumbers may also help clarify common requirements for homeowners.
When it comes to essential safety protocols, are there affordable tools or simple techniques you recommend to minimize risks with gas water heaters and avoid accidental carbon monoxide exposure during routine maintenance?
For gas water heaters, a few affordable tools and techniques can help you stay safe. Always use a battery-operated carbon monoxide detector near the unit, which provides early warnings. During maintenance, ensure good ventilation by opening windows or doors. Regularly inspect the vent pipe for blockages and make sure it’s securely attached. A simple spray bottle with soapy water can help check for gas leaks—apply it to connections and look for bubbles. These measures are inexpensive and effective in minimizing carbon monoxide risks.
You mention long-term maintenance strategies for preventing disasters. Could you share some practical, budget-friendly maintenance tips that homeowners can use regularly to keep their plumbing systems in good shape?
Absolutely! Simple, affordable habits can make a big difference. Regularly check for leaks under sinks and around appliances, and fix drips promptly. Clean out drains using a mixture of baking soda and vinegar every month to prevent clogs. Make sure you know where your main water shutoff valve is, and test it once a year. Also, insulate exposed pipes before winter to prevent freezing. These steps are inexpensive but go a long way in keeping your plumbing trouble-free.
With so many different types of pipes and fittings available, how do I choose the right materials to match what’s already in my home? Is there a basic list you recommend for beginners attempting minor plumbing fixes?
To match existing pipes, first identify the material—commonly copper, PVC, PEX, or galvanized steel. Check visible pipes under sinks or in the basement for markings or color. For beginners, keep Teflon tape, a pipe wrench, adjustable pliers, PVC cement (if you have PVC pipes), and a small assortment of matching couplings and washers on hand. Always bring a sample or photo to the hardware store for accurate matching.
You mentioned the importance of code compliance when tackling plumbing jobs. How can a homeowner find out exactly what local plumbing codes or permits are required before starting a DIY repair, especially for something like replacing a water heater?
To check local plumbing codes or permit requirements, start by contacting your city or county building department—they can explain which regulations and permits apply to your project. You can also visit their official website for guides or downloadable codebooks. For jobs like water heater replacement, most areas do require a permit and inspection, so it’s wise to confirm before starting.
If a DIY plumbing job accidentally results in some water damage, what are the first steps I should take to minimize structural issues before calling in a professional?
If you notice water damage after a DIY plumbing mishap, start by shutting off the main water supply to prevent further leaks. Quickly remove any standing water using towels, mops, or a wet/dry vacuum. Open windows for ventilation and use fans to help dry the area. Move any furniture or valuables away from wet spots. These immediate actions can help limit structural damage until a professional arrives.
You mentioned that non-code-compliant plumbing work could void insurance or cause problems when selling a home. How can I easily check if my planned DIY repair or upgrade needs a permit, or if it’s something I’m actually allowed to do myself in my municipality?
To check if your DIY plumbing project needs a permit or is allowed in your area, contact your local building or permitting office—they can tell you exactly what requires permits and what work must be done by licensed professionals. Many municipalities also post guidelines and checklists on their official websites. Always double-check local rules before starting to avoid complications with insurance or future sales.
You mentioned that poor connections or burst pipes can cause serious water damage in just minutes. How can a beginner quickly spot the warning signs of a failing pipe or a risky connection before it turns into a bigger disaster?
Keep an eye out for early warning signs like unexplained damp spots on walls or ceilings, lower water pressure, odd noises when running taps, or visible corrosion and rust on pipes and connections. Also, look for small leaks or drips under sinks and around fittings. Catching these issues early allows you to act before a major problem develops.
The article mentions that improper plumbing can lead to code violations and potential legal issues. How can a homeowner figure out which plumbing repairs are actually allowed without a permit, and what’s the best way to check local code requirements before starting a project?
To find out which plumbing repairs you can do without a permit, check with your local building or permitting office—they usually have guidelines available online or by phone. Each city or county has its own rules, so even small repairs might have specific requirements. For peace of mind, you can also ask a licensed plumber or inspector to clarify local codes before you begin your project.
I’m a little confused about plumbing code compliance. How can a homeowner find out exactly which projects are allowed without a license in their area, and what are some common code violations that DIYers should watch out for?
To know which plumbing projects you can legally do yourself, check with your local city or county building department—their website or office can clarify permit and license requirements for homeowners. Common DIY code violations include improper venting, using the wrong pipe materials, or neglecting to install backflow prevention. Always research local rules and follow manufacturer instructions to avoid problems.
Could you give examples of minor plumbing repairs that a typical homeowner can safely tackle without risking insurance or code violations?
Certainly! Homeowners can usually handle small tasks like fixing a dripping faucet, replacing a worn-out washer, unclogging a sink with a plunger, or swapping out a showerhead. These repairs don’t involve altering plumbing systems or major pipework, so they’re safe, code-compliant, and shouldn’t conflict with insurance policies. Just be sure to turn off the water supply before starting any repairs.
After reading about insurance possibly being voided by non-compliant plumbing, I’m wondering if there’s an affordable way for homeowners to verify their DIY work meets code before finishing up, maybe through a third-party inspection?
Absolutely, hiring a licensed plumbing inspector for a one-time assessment is a practical and usually affordable option. Many local inspectors or plumbing professionals offer this service, especially for homeowners doing their own repairs. They can review your work, ensure it meets local codes, and provide documentation if needed. This approach helps protect your insurance coverage and gives you peace of mind before closing up walls or finishing the project.
If a plumbing mistake is made and causes water damage, how quickly do most insurance companies expect homeowners to respond in order to qualify for coverage? Are there best practices for documenting and reporting the problem?
Most insurance companies expect homeowners to act quickly—usually within 24 to 48 hours—once they discover water damage from a plumbing mistake. To protect your claim, immediately stop the source of water if possible, take photos and videos of the damage, and write down details of what happened. Notify your insurance company as soon as you can, and keep any receipts for cleanup or repairs. Prompt action and thorough documentation help ensure your claim is processed smoothly.
In terms of long-term plumbing maintenance, does the article recommend any specific routine checks or schedules that help catch problems before they escalate into major repairs?
Yes, the article highlights several routine checks to help catch plumbing issues early. It suggests inspecting visible pipes for leaks or corrosion every few months, testing water pressure regularly, and cleaning out drains to prevent clogs. The article also recommends checking under sinks and around appliances for moisture, and scheduling a professional inspection annually as part of long-term maintenance.