Introduction: Why Proper Bathroom Ventilation Matters
Bathroom upgrades are among the most popular home improvement projects, promising both comfort and added value. Yet, one crucial element is often overlooked or mishandled by beginners: ventilation. Proper bathroom ventilation is essential not only for comfort but also for preventing mold, mildew, and moisture-related damage. Poor ventilation can lead to peeling paint, warped cabinetry, and even structural issues over time. Unfortunately, many homeowners make avoidable mistakes during ventilation upgrades, resulting in wasted investment and unsatisfactory results. In this guide, we’ll uncover the most common missteps in bathroom ventilation projects, explain how to avoid them, and provide step-by-step expert advice for safe, efficient, and code-compliant upgrades. Whether you’re installing a new exhaust fan or replacing an old one, these insights will help you create a healthier, longer-lasting bathroom environment.
Understanding Bathroom Ventilation Basics
What Is Bathroom Ventilation?
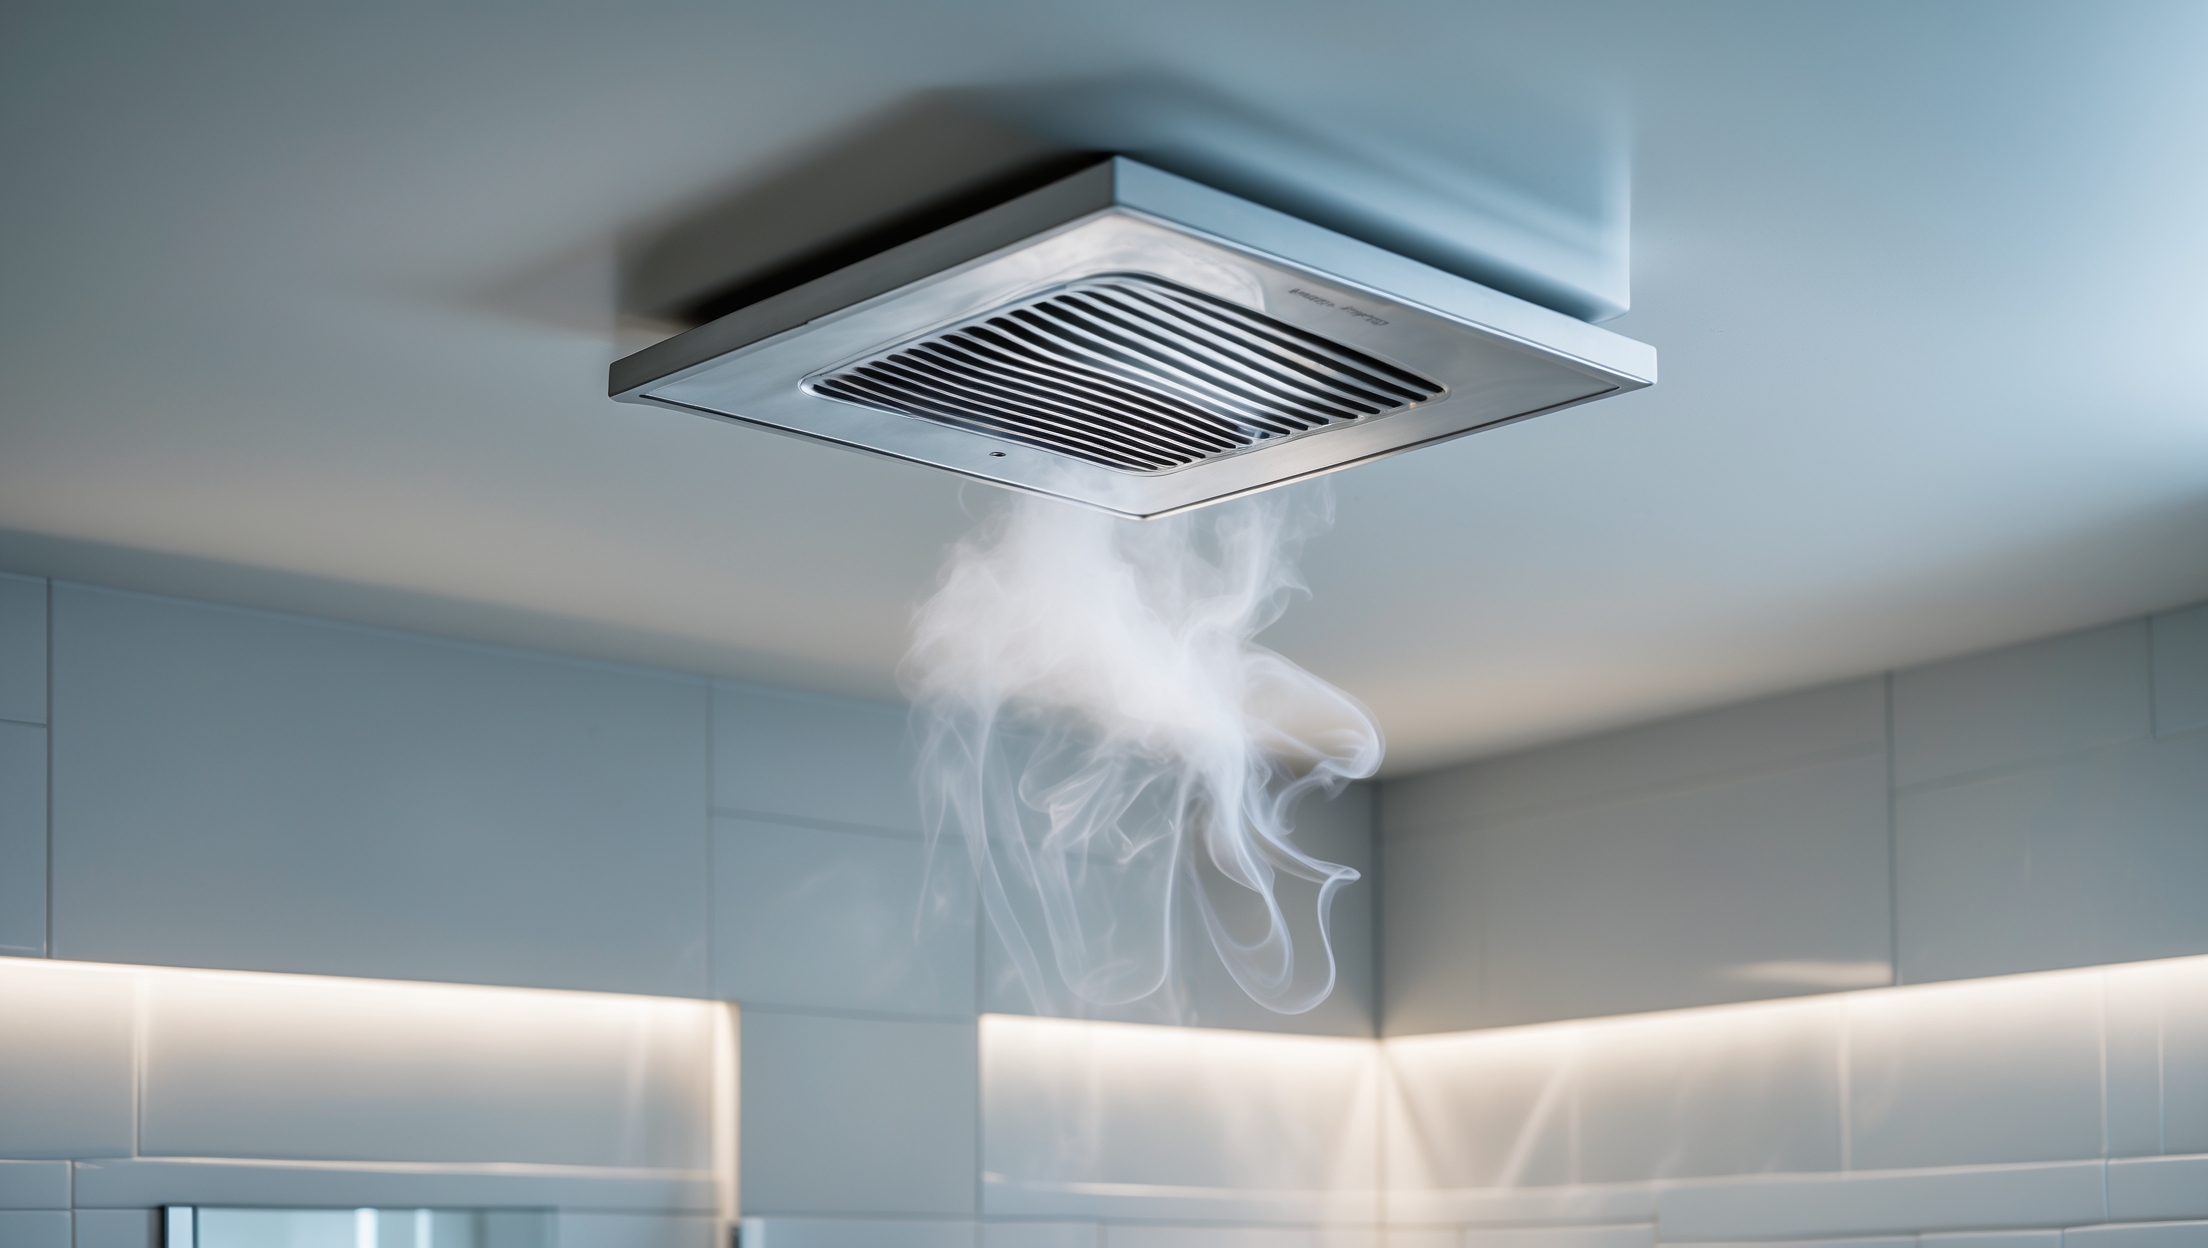
Bathroom ventilation refers to the system that removes excess moisture, odors, and airborne contaminants from your bathroom. The most common solution is an exhaust fan, which draws humid air outside, helping to maintain air quality and prevent moisture buildup.
Why Is It So Important?
- Mold and Mildew Prevention: Moisture-laden air is a breeding ground for mold and mildew, which can lead to respiratory problems and costly repairs.
- Protecting Surfaces: High humidity can damage paint, wallpaper, cabinetry, and even drywall.
- Odor Control: Effective ventilation quickly removes unpleasant smells, keeping your bathroom fresh.
- Building Code Compliance: Most building codes require mechanical ventilation in bathrooms lacking operable windows.
Beginner Mistakes to Avoid During Bathroom Ventilation Upgrades
1. Undersizing the Exhaust Fan
One of the most common errors is installing a fan that’s too small for the space. Exhaust fans are rated by their airflow capacity, measured in cubic feet per minute (CFM). As a rule, a bathroom needs a minimum of 1 CFM per square foot. For example, a 60-square-foot bathroom requires at least a 60 CFM fan. If your bathroom has a jetted tub or separate shower enclosure, you may need a higher capacity.
2. Incorrect Fan Placement
Location matters. Installing the fan far from the shower or bathtub reduces its effectiveness. The fan should be situated near the main source of moisture—typically over or near the shower—while maintaining safe distances from wet zones as required by electrical codes.
3. Venting into the Attic or Crawlspace
This is a critical mistake. Some homeowners, or even contractors, make the error of venting bathroom fans into attics or crawlspaces. This simply transfers moisture to another part of your home, risking mold growth and wood rot. Exhaust ducts must terminate outdoors, not just into another enclosed space.
4. Using the Wrong Type of Ductwork
Flexible, corrugated ducting is easy to install but can trap condensation and restrict airflow. Rigid, smooth-walled metal ducts are preferred, as they minimize resistance and condensation. Short, direct runs with minimal bends are always best.
5. Neglecting Airtight Sealing and Insulation
Unsealed duct joints leak moist air, while uninsulated ducts allow condensation inside walls or attics—both can cause hidden water damage. Always seal joints with foil tape (not duct tape) and insulate ducts running through unconditioned spaces.
6. Ignoring Noise Ratings
Many homeowners are surprised by how loud a poorly chosen fan can be. Fan noise is measured in sones; anything under 2 sones is considered quiet. Always check the sone rating before purchasing.
7. Skipping Electrical Safety Steps
Improper wiring is both dangerous and against code. Always turn off power at the breaker before installation, use appropriate wire gauge, and ensure all connections are securely housed in approved electrical boxes.
8. Forgetting to Check Local Codes and Permits
Ventilation requirements vary by municipality. Some areas require permits, inspections, or specific installation standards (such as GFCI protection or dedicated circuits). Failing to check can result in failed inspections or costly do-overs.
Step-by-Step Guide: Upgrading Your Bathroom Ventilation
Step 1: Assess Your Current System
- Determine the size of your bathroom (length x width = square footage).
- Identify your current fan’s CFM and sone rating (usually on a label inside the fan housing).
- Check where the existing duct runs and where it terminates.
Step 2: Choose the Right Exhaust Fan
- Match the fan’s CFM to your bathroom size (minimum 1 CFM per square foot).
- Opt for models with energy-efficient motors and quiet operation (<2 sones).
- Consider additional features: humidity sensors, built-in lights, or timers.
Step 3: Plan the Ductwork
- Use the shortest, straightest duct run possible (ideally under 6 feet, with no more than two bends).
- Choose smooth-walled metal ducting over flexible plastic.
- Plan for exterior termination with a vent cap and backdraft damper.
Step 4: Gather Tools and Materials
- New exhaust fan (with mounting hardware)
- Rigid metal ducting
- Foil tape and duct insulation
- Vent cap with damper (for exterior wall or roof)
- Electrical tester, wire nuts, approved electrical box
- Drill, hole saw, drywall saw, screwdrivers, safety glasses, dust mask
Step 5: Remove the Old Fan (If Applicable)
- Turn off power at the breaker and verify with an electrical tester.
- Remove the fan grille and disconnect wiring.
- Detach the old fan housing from the ceiling joists.
- Carefully remove any old ductwork if it needs replacement.
Step 6: Install the New Fan
- Mount the new fan housing between ceiling joists, following manufacturer instructions.
- Connect the duct to the fan’s outlet, sealing joints with foil tape.
- Insulate the duct if it passes through unconditioned spaces (attic, crawlspace).
- Install the exterior vent cap and backdraft damper. Secure and seal all connections.
Step 7: Wire the Fan Safely
- Connect wiring as per the instruction manual and local codes.
- Use wire nuts and securely fasten all connections within an approved box.
- If adding timer or humidity controls, follow wiring diagrams carefully.
- Restore power and test operation.
Step 8: Final Inspection and Testing
- Check for strong airflow at the exterior vent while the fan is running.
- Listen for excessive noise or vibration.
- Inspect for air leaks and ensure all joints are sealed.
Maintenance Best Practices for Long-Term Performance
Clean the Fan Regularly
Dust and debris can reduce airflow and cause premature motor failure. Remove the grille and gently vacuum or wipe the fan blades and housing every six months.
Check Ducts Annually
Inspect ductwork for blockages, loose connections, or water stains indicating condensation issues. Reseal or reinsulate as needed.
Test Fan Function
Hold a strip of toilet paper near the fan while it’s running. If it’s not drawn up, airflow may be restricted or the fan underpowered.
Replace Filters (if applicable)
Some advanced models use filters to trap dust and humidity. Change or clean these as directed by the manufacturer.
Compliance, Permits, and When to Call a Professional
Know the Local Requirements
Building codes may dictate minimum CFM ratings, duct types, and termination standards. Some jurisdictions require permits for new installations, especially when adding new wiring or cutting through exterior walls/roofs. Check with your local building department before starting work.
DIY vs. Professional Installation
- Simple replacements (same size, same location) can be DIY-friendly for those comfortable with basic electrical and carpentry work.
- Upgrades involving new wiring, complex ductwork, or exterior wall/roof penetrations are best left to licensed professionals.
- Always hire a pro if you encounter asbestos, mold, or structural concerns during the project.
Cost Breakdown and Budgeting Tips
Typical Costs
- Basic fan replacement: $80–$200 for parts, $150–$400 for labor.
- Full upgrade (new ducting, vent cap): $250–$500 for parts, $400–$1,000 for labor.
- High-end features (humidity sensor, ultra-quiet fans): $250–$500+ for the fan alone.
Ways to Save
- Choose a model that matches your needs—don’t pay extra for features you won’t use.
- Bundle fan upgrades with other bathroom improvements to minimize labor costs.
- Shop for rebates—many energy-efficient fans qualify for utility rebates or tax credits.
- Get multiple quotes if hiring a contractor.
Conclusion: Invest in Healthy Air, Save on Future Repairs
Bathroom ventilation might not seem glamorous, but it is one of the most critical components of a healthy, low-maintenance home. By avoiding common beginner mistakes—such as undersizing the fan, using improper ductwork, or venting into attics—you not only comply with building codes but also protect your home from costly moisture damage. Investing in proper fan selection, installation, and maintenance ensures your bathroom stays fresh, mold-free, and structurally sound for years to come. If you’re ever in doubt, consult local experts, pull the proper permits, and don’t hesitate to bring in a professional for complex upgrades. With the right approach, your bathroom improvement project will add comfort, safety, and value—making it one of the smartest upgrades you can undertake as a homeowner.