
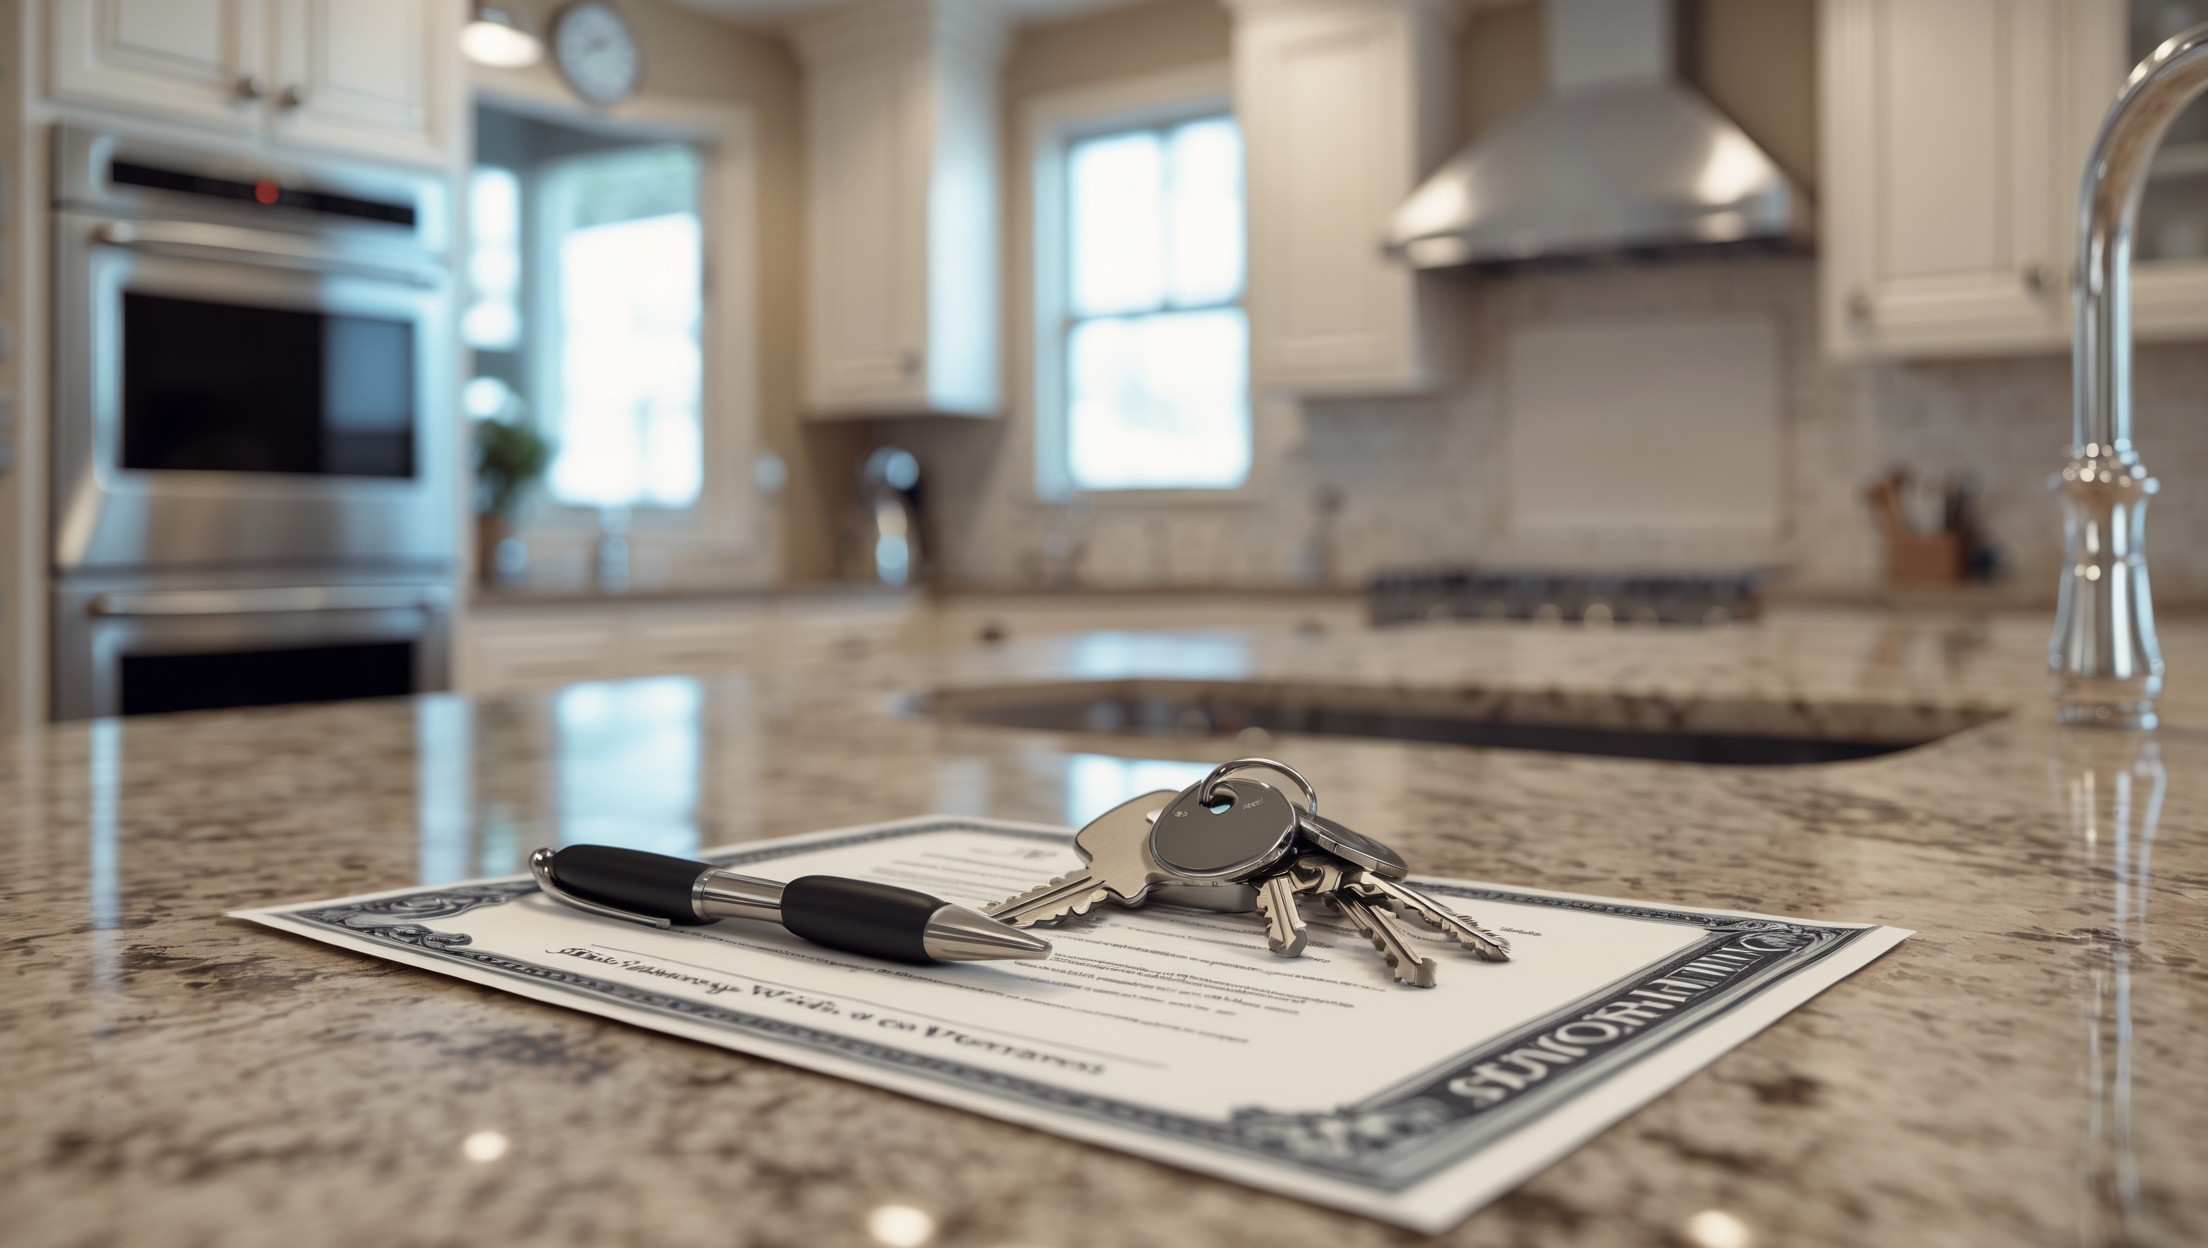
Introduction: Why Home Improvement Warranties Matter
Embarking on a home improvement project is both exciting and demanding. Whether you’re remodeling your kitchen, upgrading your bathroom, or finishing a basement, these projects often represent significant financial investments and emotional commitments. But what happens when something goes wrong after the dust settles? Appliances might malfunction, flooring might warp, or that brand-new roof could spring a leak. This is where home improvement warranties come into play. Understanding the ins and outs of these warranties can mean the difference between peace of mind and unexpected expenses. In this comprehensive guide, we’ll demystify the world of home improvement warranties, explain what they cover, how to secure the best terms, and what common pitfalls to avoid. By the end, you’ll be fully equipped to protect your renovation investment and ensure your hard-earned improvements stand the test of time.
What Is a Home Improvement Warranty?
Basic Definition
A home improvement warranty is a service contract that promises repair or replacement of certain components of your renovation if they fail within a specified period. Unlike a standard homeowner’s insurance policy, which covers accidental damage or disasters, a warranty focuses on defects in materials or workmanship related to your specific upgrade.
Types of Warranties
- Manufacturer’s Warranty: Covers individual products (e.g., appliances, windows, doors) against defects. Typically included at no additional cost.
- Contractor’s Warranty: Provided by the installer or general contractor, this covers workmanship, installation errors, and sometimes materials.
- Third-Party Home Warranty: Optional policies purchased from a warranty company to cover a broader range of systems or appliances.
Key Components of a Home Improvement Warranty
Coverage Scope
Not all warranties are created equal. Understanding what’s included—and what’s not—is critical. Key areas usually addressed include:
- Workmanship: Ensures the contractor’s labor meets industry standards.
- Materials: Covers faulty building materials, subject to manufacturer terms.
- Systems and Appliances: Protects new HVAC, plumbing, electrical, or other installed systems.
Duration
Warranties vary in length, commonly ranging from one to ten years. For example, roofing warranties may last 10-15 years, while flooring often has a 1-3 year policy. Always confirm the effective dates and expiration terms before signing a contract.
Limitations and Exclusions
This is where many homeowners get tripped up. Typical exclusions include:
- Normal wear and tear
- Damage from improper use or lack of maintenance
- Pre-existing conditions
- Acts of nature (unless specified)
Always read the fine print and ask questions about gray areas.
How to Evaluate and Compare Home Improvement Warranties
Questions to Ask Your Contractor
- What exactly does your warranty cover, and for how long?
- Are there any service fees or deductibles for warranty claims?
- How do you handle warranty repairs or disputes?
- Will you provide the warranty in writing?
Red Flags to Watch For
- Vague or verbally promised warranties with no documentation
- Excessively short warranty periods (less than one year)
- Complicated claim processes or hidden service fees
- Exclusions that negate most of the coverage
Comparing Third-Party Home Warranty Companies
If you’re considering an extended or supplemental home warranty, research providers carefully. Look for:
- Strong customer reviews and reputation
- Clear, upfront pricing and coverage details
- Accessible customer support and fast claim resolution
- Customizable plans tailored to your renovation
Real-World Examples: Warranty Claims in Action
Case Study 1: The Warped Hardwood Floor
A homeowner installed new hardwood flooring as part of a living room renovation. Six months later, the boards began to warp and separate. The contractor’s warranty covered labor defects, but the manufacturer’s warranty covered only material defects. After inspection, it was determined that improper acclimation before installation was to blame—a workmanship issue. The contractor honored the warranty, replacing the affected boards at no cost.
Case Study 2: Faulty Kitchen Appliance
During a kitchen remodel, new appliances were installed. The refrigerator stopped cooling after just eight months. The manufacturer’s warranty covered the repair, but only because the homeowner saved all paperwork and registered the product. Without proper documentation, the claim might have been denied.
Case Study 3: Roof Leak After Renovation
After an attic conversion, a homeowner noticed water stains on the ceiling. The roofing subcontractor’s warranty covered leaks for 5 years. A quick call and inspection revealed an improperly sealed flashing, which was repaired under warranty—saving the homeowner thousands.
How to Maximize Your Warranty Protection
Get Everything in Writing
Verbal promises won’t hold up if a dispute arises. Insist on a detailed, written warranty outlining coverage, duration, and claim procedures. Attach it to your contract or final invoice.
Register Your Products and Projects
Many manufacturers require warranty registration. Complete this step promptly, either online or by mail, and retain confirmation. For renovations, ask your contractor if they handle registration or if you must do it yourself.
Maintain Proper Documentation
- Save all receipts and invoices
- Keep a copy of the original contract and warranty details
- Document serial numbers and installation dates
- Take photos of completed work
Follow Maintenance Guidelines
Neglecting routine maintenance can void your warranty. Review the terms for required upkeep—such as annual HVAC service or sealing grout—and schedule reminders to stay compliant.
Act Promptly on Issues
If you spot a defect or problem, notify the responsible party immediately. Delays can lead to claims being denied due to ‘failure to mitigate damage’ clauses.
Filing a Warranty Claim: Step-by-Step
- Review Your Coverage: Double-check the warranty document to confirm the issue is covered.
- Gather Documentation: Collect receipts, contracts, photos, and any relevant correspondence.
- Contact the Provider: Reach out to the contractor, manufacturer, or warranty company as specified in your warranty.
- Submit the Claim: Provide all requested information and follow up with written communication.
- Schedule Inspection or Service: Arrange for a technician or contractor to inspect the issue, if required.
- Keep Detailed Records: Document all interactions, including dates, names, and outcomes.
Common Mistakes to Avoid With Home Improvement Warranties
- Failing to read the warranty in full before signing
- Assuming all parts or labor are covered
- Neglecting to register products or save receipts
- Overlooking required maintenance clauses
- Missing claim deadlines (some warranties require issues to be reported within 30-90 days)
- Not documenting communication with contractors or warranty providers
Special Considerations for DIY Renovations
Warranty Limitations
DIY work typically voids any workmanship warranty that a professional contractor would provide. Manufacturer warranties on products may still apply, but only if installation instructions were meticulously followed. Some manufacturers will deny claims if their products weren’t installed by certified professionals.
How to Protect Yourself
- Purchase products with robust manufacturer warranties
- Document your installation process with photos and receipts
- Consider third-party home warranties that cover systems and appliances, even if installed DIY
Home Improvement Warranties vs. Homeowners Insurance: Key Differences
It’s easy to confuse warranties with insurance, but they serve different purposes:
- Warranties: Cover defects in materials or workmanship after a renovation or installation.
- Homeowners Insurance: Covers damage from fire, storms, theft, and other perils not related to workmanship or defects.
For full protection, you may need both—especially for major renovations or additions.
Tips for Negotiating Better Warranty Terms
- Request longer coverage periods for major structural work
- Ask for transferable warranties if you might sell your home soon
- Negotiate for coverage of both materials and labor
- Ensure warranty work doesn’t void manufacturer warranties
- Include clear procedures for dispute resolution
Conclusion: Secure Your Investment With Smart Warranty Strategies
Investing in home improvement is about more than picking the right paint color or tile pattern—it’s about ensuring your upgrades serve you well for years to come. Home improvement warranties are your safety net against the unexpected, covering defects and installation errors that can otherwise drain your finances and patience. By understanding what warranties cover, how to compare and negotiate them, and how to file claims effectively, you can protect your renovation from costly surprises. Remember to read every detail, keep thorough documentation, and never hesitate to ask your contractor or supplier the tough questions before signing any agreement. If you’re a DIY enthusiast, pay close attention to manufacturer requirements, and consider extra coverage for peace of mind. Ultimately, securing a solid warranty transforms your next renovation from a leap of faith into a smart, protected investment. Don’t settle for ambiguity—insist on clarity, coverage, and professionalism, so you can enjoy your improved home with complete confidence.