Unexpected power surges can wreak havoc on your home’s sensitive electronics, appliances, and wiring. Lightning strikes, utility grid fluctuations, and even large appliances cycling on and off can send dangerous voltage spikes through your electrical system. The result? Expensive repairs or replacements for everything from your computer to your refrigerator—and sometimes even hidden damage to your wiring. Fortunately, a whole house surge protector offers robust, centralized defense against these threats. In this comprehensive, step-by-step tutorial, you’ll learn exactly how to select, install, and maintain a whole house surge protector. Whether you’re a seasoned DIY enthusiast or a careful homeowner, this guide will help you safeguard your property, reduce insurance risks, and enjoy greater long-term peace of mind. Let’s dive into how you can bring industrial-grade protection to your own home, one practical step at a time.
Understanding Whole House Surge Protectors
What Is a Whole House Surge Protector?
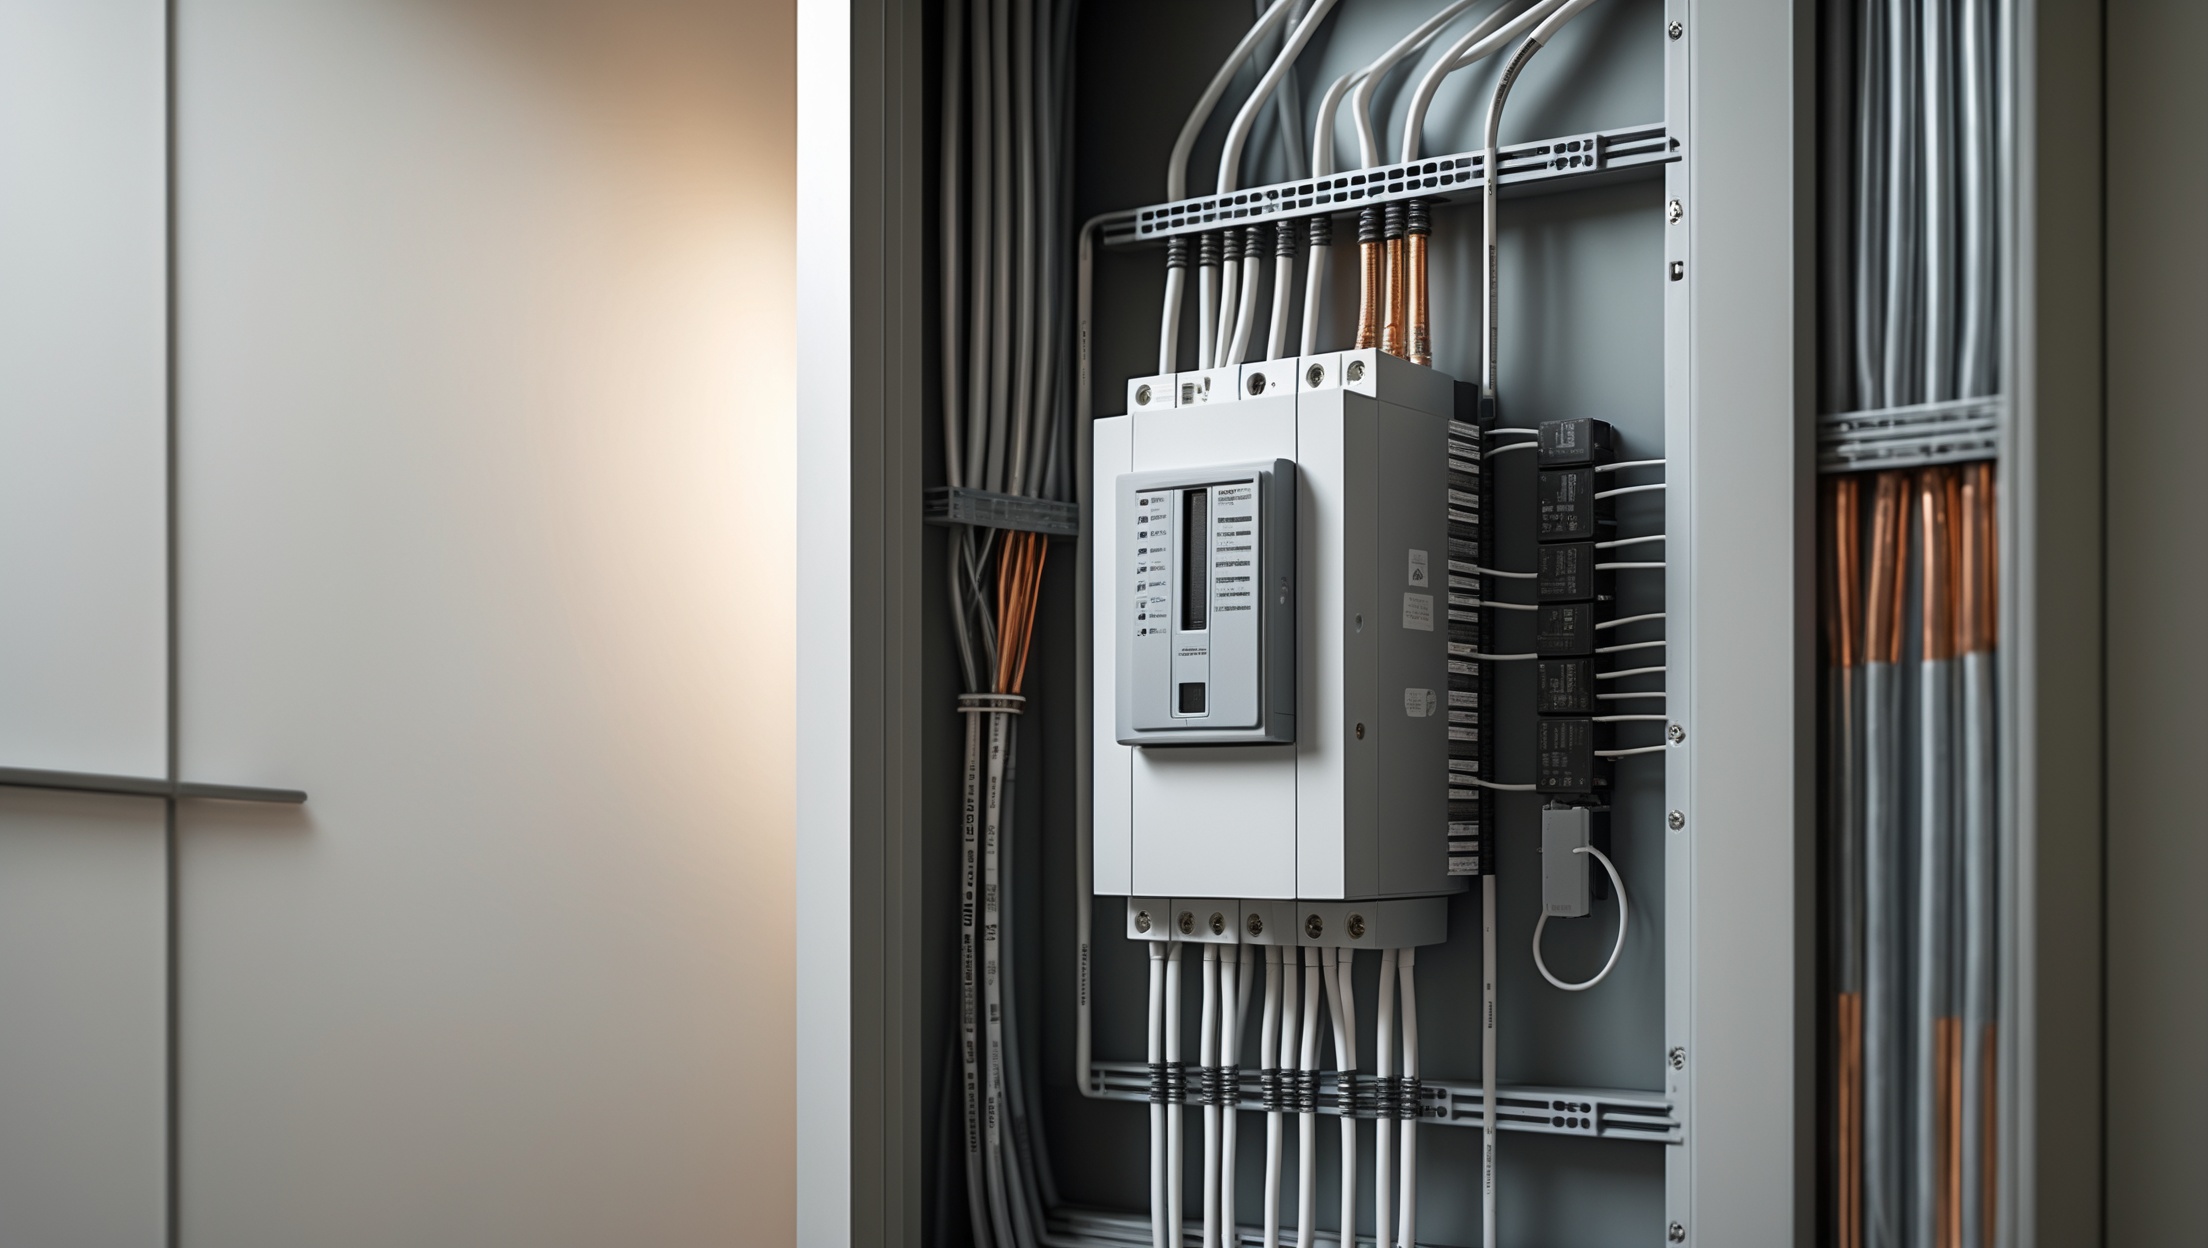
A whole house surge protector (WHSP) is a device installed directly to your home’s main electrical panel. Unlike plug-in surge strips, a WHSP protects all circuits and outlets from voltage spikes, providing comprehensive defense for your entire home. These devices are designed to divert excess voltage safely to the ground before it can enter and damage your wiring or devices.
Types of Surge Protectors
- Type 1: Installed between the utility pole and your home’s service meter, typically by professionals.
- Type 2: Installed at the main service panel (breaker box). Ideal for most homeowners. This guide focuses on this option.
- Type 3: Outlet-level surge protectors (power strips), used for individual devices.
Why Do You Need One?
- Protects all wired equipment: HVAC systems, refrigerators, washing machines, computers, TVs, and more.
- Prevents hidden damage: Micro-surges can degrade wiring and circuit boards over time, even if you don’t notice immediate failures.
- Can reduce insurance claims: Some policies offer discounts for whole house surge protection.
Choosing the Right Surge Protector
Key Features to Look For
- UL 1449 Certification: Ensures the device meets strict safety standards.
- Clamping Voltage: Lower is better (ideally 400V or less for residential units).
- Maximum Surge Current Rating: Look for at least 20,000–50,000 amps.
- Number of Modes of Protection: L-N (Line to Neutral), L-G (Line to Ground), N-G (Neutral to Ground).
- Indicator Lights: Visual status indicators help you monitor protection at a glance.
- Warranty: Some manufacturers cover connected equipment up to a certain dollar amount.
Popular Brands and Models
- Siemens FS140
- Eaton CHSPT2ULTRA
- Square D by Schneider Electric HOM2175SB
- Leviton 51120-1
Always verify compatibility with your specific electrical panel before purchasing.
Tools and Materials You’ll Need
- Whole house surge protector (Type 2)
- Flathead and Phillips screwdrivers
- Wire stripper/cutter
- Drill and appropriate bits (if mounting externally)
- Voltage tester or multimeter
- Torque screwdriver (recommended for proper tightening)
- Personal protective equipment: safety glasses, insulated gloves
- Electrical tape
- Label maker or permanent marker
- Owner’s manual for your electrical panel
- Flashlight or headlamp (in case of low light)
Safety Precautions Before You Start
- Always turn off the main breaker before working inside your electrical panel.
- Double-check power is off using a non-contact voltage tester on multiple panel wires.
- Wear safety glasses and insulated gloves.
- If unsure, hire a licensed electrician. Working inside the panel carries risk of electric shock or fire if done incorrectly.
Step-by-Step Installation Guide
Step 1: Review Local Codes and Manufacturer Instructions
Before beginning, review your local building codes regarding surge protection devices. Some areas require permits or professional installation. Read the device’s manual thoroughly and check if your electrical panel model has any special requirements.
Step 2: Shut Off Main Power
Locate your main breaker (usually a large switch at the top of your panel) and switch it to the OFF position. Confirm with a voltage tester that all circuits are de-energized before proceeding.
Step 3: Plan Surge Protector Placement
- Most Type 2 devices are either mounted inside the panel or immediately adjacent to it.
- Shorter wire runs are better—keep wires as short and straight as possible (under 12 inches if possible) to maximize protection.
Step 4: Remove Panel Cover
Using a screwdriver, carefully remove the screws securing the panel cover. Set the panel cover and screws aside in a safe place.
Step 5: Identify Available Breaker Slots
- Most WHSPs require a dedicated 2-pole (double) breaker. Consult your panel’s documentation and device manual for the correct amperage (usually 15A or 20A).
- If no open slots, you may need to install a tandem breaker or upgrade your panel—consult an electrician if needed.
Step 6: Mount the Surge Protector
- If mounting inside the panel, secure the device following manufacturer instructions.
- If mounting externally, drill a hole (often 3/4″) for the wiring to pass through, and attach securely to the wall near the panel.
Step 7: Connect Wires
- Most WHSPs have four wires: two hot (black and red), one neutral (white), and one ground (green or bare).
- Strip wire ends as needed, ensuring clean, straight cuts.
- Connect the hot wires to the designated terminals of the new 2-pole breaker.
- Connect neutral to the neutral bus bar and ground to the ground bus bar.
- Follow torque specifications in the manual to ensure tight, safe connections.
Step 8: Label and Check Connections
- Label the new breaker and surge protector for easy identification.
- Double-check all connections are secure and correct.
- Keep wires neat and away from moving parts inside the panel.
Step 9: Reinstall Panel Cover
Carefully replace the panel cover and secure all screws. Ensure nothing pinches or interferes with the surge protector’s wires.
Step 10: Restore Power and Test
- Switch the main breaker ON.
- Turn on the dedicated breaker for the surge protector.
- Check the surge protector’s indicator lights. Refer to the manual for what each status light means (typically green for protected).
- If lights do not illuminate as expected, double-check wiring or consult an electrician.
Testing and Maintenance
How to Test Your Surge Protector
- Check indicator lights monthly. Green or “Protected” lights mean the unit is functioning.
- If indicator lights are red or off, the device may have sacrificed itself to absorb a surge and should be replaced promptly.
Routine Maintenance Tips
- Inspect your panel and surge protector every 6 months.
- Keep the area around your panel clear and dry.
- Replace the unit according to manufacturer recommendations (typically every 5–10 years or after a major surge event).
- Log installation and maintenance dates for warranty purposes.
Common Mistakes to Avoid
- Ignoring Local Codes: Always check code requirements; improper installation can void insurance or warranties.
- Leaving Power On: Never work inside your panel with power on. Double-check all wires are de-energized.
- Long, Looped Wires: Excessively long or coiled wires reduce surge protection effectiveness. Keep runs short and straight.
- Improper Grounding: A surge protector is only as good as your home’s grounding system. Upgrade or repair your ground rod if needed.
- Not Checking Status Lights: Surge protectors wear out. Regularly check indicators to ensure ongoing protection.
When to Call a Professional
- If your panel is crowded or outdated.
- If you’re unsure about breaker types, wiring, or grounding.
- If local codes require licensed installation.
- If you encounter aluminum wiring or suspect prior DIY electrical work.
Many electricians offer surge protector installation as a fixed-fee service. For complex setups or high-end homes, professional installation may be the best route.
Cost Breakdown and Budgeting
- Whole house surge protector: $80–$300, depending on brand and features.
- New double-pole breaker (if needed): $10–$40.
- DIY installation supplies: $20–$50 (tools, labels, etc.).
- Professional installation: $150–$400 (labor varies by region).
Total estimated DIY cost: $110–$390. Professional install: $230–$700. Factor in potential discounts on homeowner insurance for added savings.
Frequently Asked Questions
- Will a whole house surge protector stop all surges? No device offers 100% protection, but a WHSP dramatically reduces risk from most common surges. For sensitive electronics, use plug-in surge strips as a secondary defense.
- How long do they last? Most last 5–10 years. Replace after any major surge event (lightning strike, etc.) or if status lights indicate failure.
- Do surge protectors need maintenance? Minimal—just regular visual checks and replacing when needed.
- Can I install one in an apartment? Not typically—these devices require access to the main panel. Check with your landlord or building manager.
Conclusion
Modern homes are filled with valuable electronics and intricate wiring that are vulnerable to unpredictable power surges. From lightning storms to utility fluctuations, the risks are ever-present—and the potential costs of damage can be staggering. Installing a whole house surge protector is one of the smartest, most cost-effective steps you can take to protect your investment, your appliances, and your peace of mind. With a solid understanding of how these devices work, a careful approach to selection and installation, and regular maintenance, you can enjoy robust, reliable protection for years to come. Whether you choose the DIY route or enlist a licensed electrician, the investment in a surge protector pays dividends in safety, convenience, and security. Don’t wait for a damaging surge to remind you of the importance of this often-overlooked home improvement—take action today and upgrade your home’s defenses for the future.