
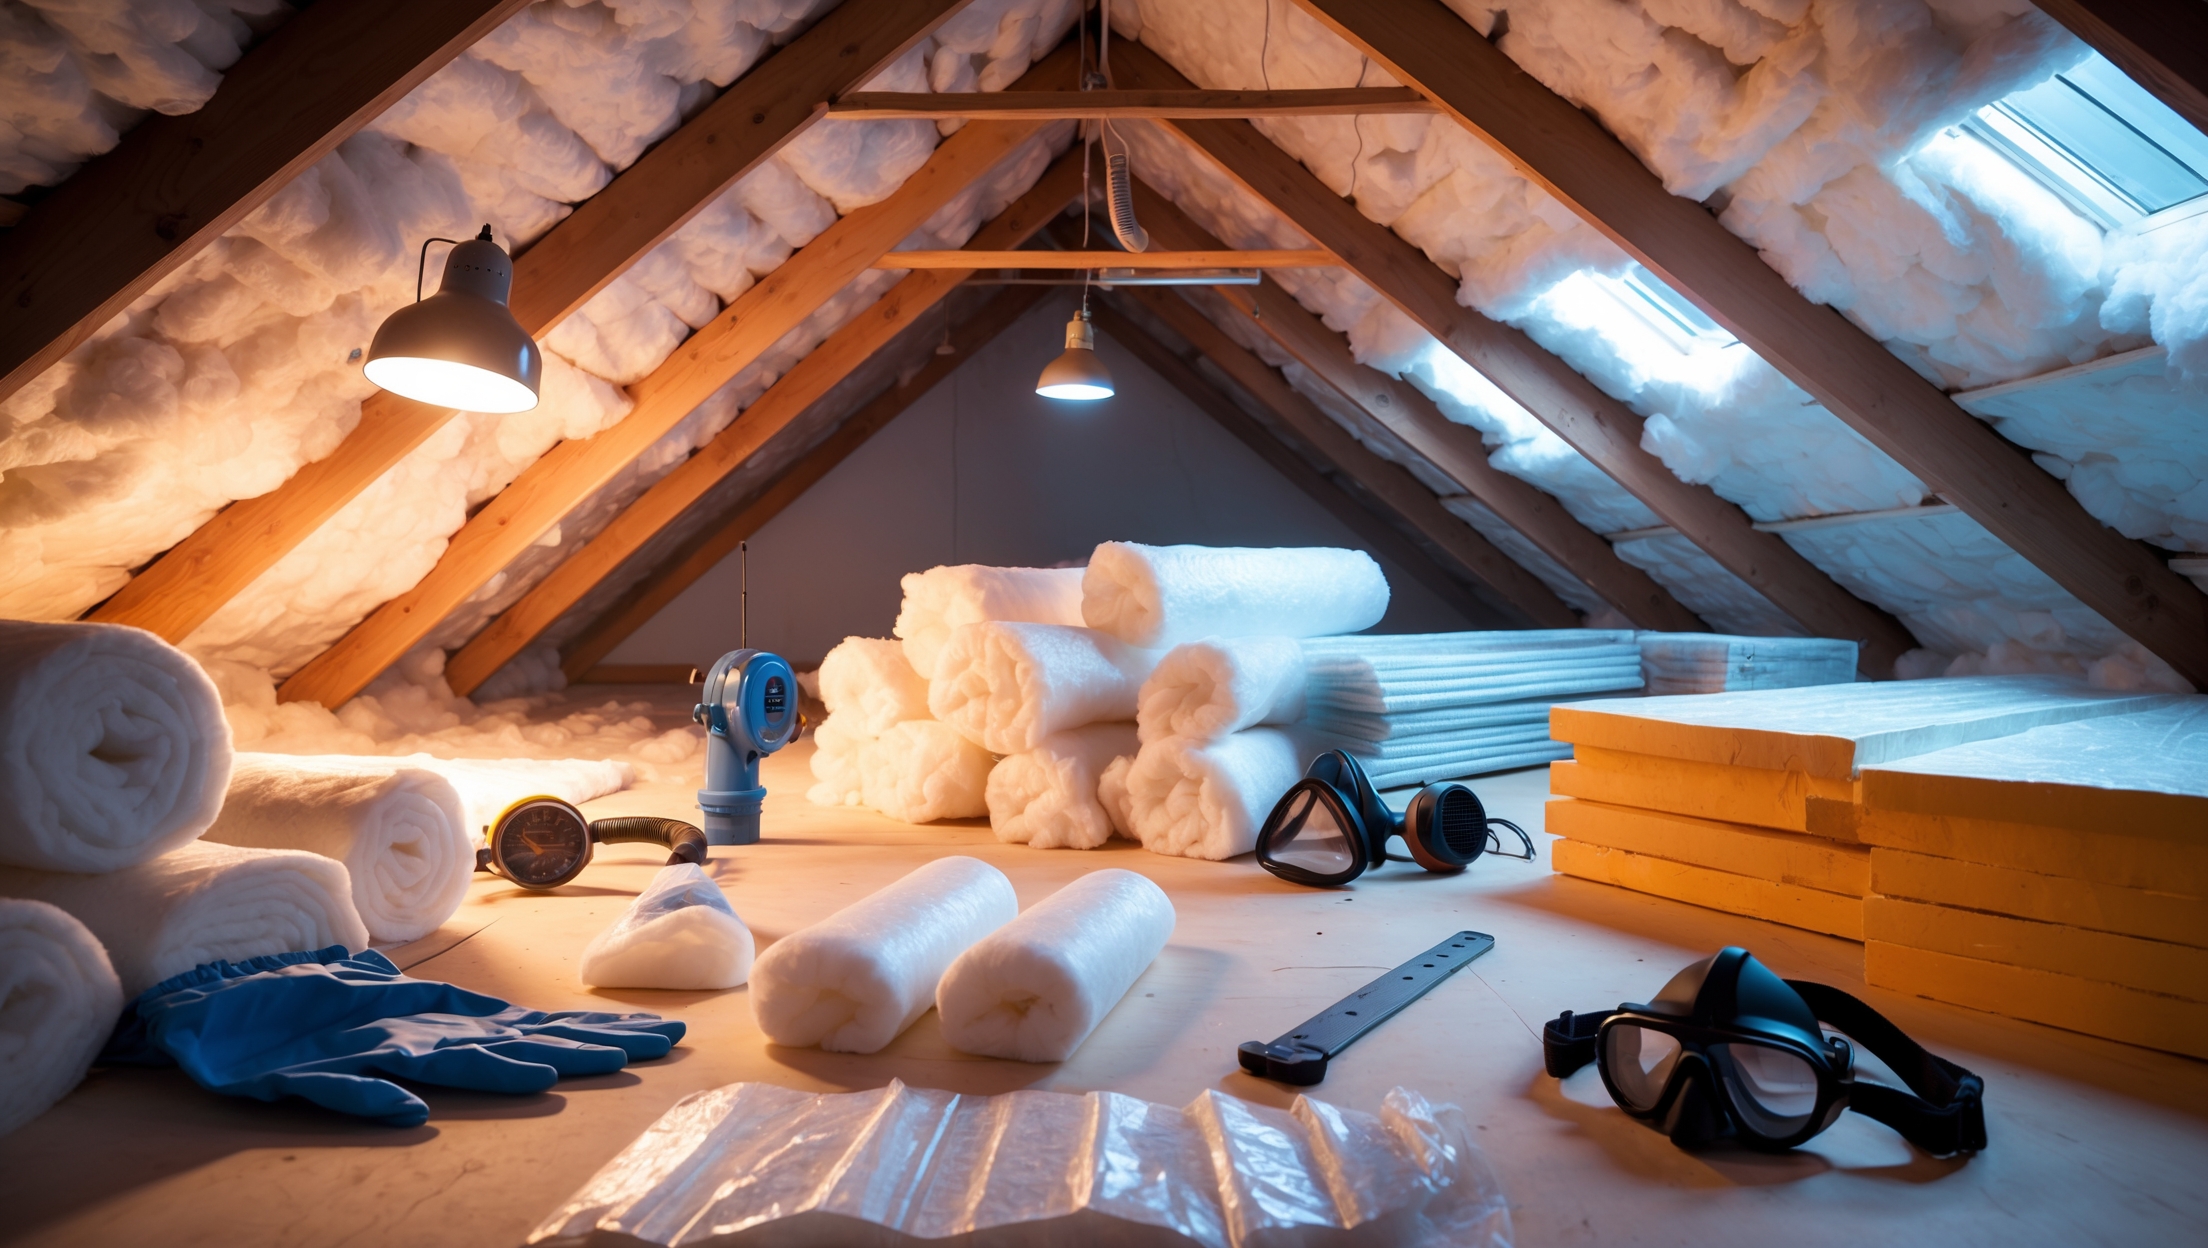
Introduction: Why Safety Matters in DIY Attic Insulation
Insulating your attic is one of the most cost-effective ways to improve your home’s energy efficiency and comfort. DIY attic insulation projects are increasingly popular among homeowners looking to cut utility bills and reduce environmental impact. However, attics present unique safety hazards—ranging from airborne particulates and extreme temperatures to unstable flooring and hidden electrical wiring. Failing to recognize and mitigate these risks can result in injury, property damage, or even long-term health issues. Before you grab a roll of insulation or rent a blower, it’s crucial to familiarize yourself with essential safety practices. This comprehensive checklist will walk you through every stage of a safe attic insulation project: from pre-project planning and selecting the right personal protective equipment (PPE), to handling insulation materials and ensuring proper ventilation. Whether you’re working with fiberglass batts, blown-in cellulose, or spray foam, these guidelines are specifically tailored to help beginners and seasoned DIYers alike avoid common—and costly—safety mistakes. Read on for the detailed steps and important reminders that will help you insulate your attic safely, efficiently, and confidently.
Understanding Attic Insulation Hazards
Common Risks in Attic Spaces
- Airborne Particulates: Fiberglass, cellulose, and mineral wool can release fine particles that irritate lungs, eyes, and skin.
- Electrical Hazards: Exposed wiring, junction boxes, or outdated electrical runs are common in attics and can pose shock or fire risks.
- Unstable Flooring: Most attics have joists with no decking between them. Stepping off a joist can result in a fall through the ceiling below.
- Heat Stress: Attic temperatures can exceed 120°F (49°C) in summer, increasing risk of dehydration and heat exhaustion.
- Pest Contamination: Animal droppings, nests, or dead pests can carry disease and contaminate the workspace.
- Low Clearance and Head Hazards: Sloped roofs and rafters increase the risk of head injuries.
- Hidden Obstacles: Nails, splinters, and sharp fasteners may be present in old framing or decking.
Pre-Project Planning and Preparation
1. Inspect and Prepare the Attic
- Remove stored items and clear pathways between joists.
- Look for signs of moisture, mold, or roof leaks. Address any issues before proceeding.
- Check for evidence of pests and remediate as needed.
- Inspect wiring and lighting. Repair or upgrade as necessary to meet current electrical codes.
- Ensure adequate attic lighting. Bring additional portable work lights if needed.
2. Gather Tools and Materials
- Appropriate insulation (batts, rolls, loose fill, or spray foam)
- Measuring tape, utility knife, straight edge
- Staple gun, insulation supports, or blowing machine (if applicable)
- Shop vacuum or broom for cleanup
- Heavy-duty garbage bags for debris
3. Set Up a Safety Station
- First aid kit
- Drinkable water and healthy snacks
- Mobile phone or communication device
- Fan or portable ventilation unit (if safe to use)
Personal Protective Equipment (PPE) Essentials
Head-to-Toe Protection
- Respirator or Dust Mask: Use a NIOSH-approved N95 or P100 respirator for airborne particles. Basic dust masks are insufficient for insulation work.
- Safety Goggles: Choose sealed goggles to prevent particles from irritating eyes.
- Gloves: Heavy-duty, chemical-resistant gloves protect hands from fiberglass and irritants.
- Long-Sleeve Shirt and Pants: Wear tightly woven clothing to shield skin from contact with insulation fibers.
- Disposable Coveralls: Consider Tyvek or similar coveralls for full-body protection, especially when handling blown-in or spray insulation.
- Knee Pads: Protect knees from prolonged kneeling on joists or decking.
- Hard Hat or Bump Cap: Shield your head from low rafters and protruding nails.
- Non-Slip Work Boots: Wear boots with good traction for navigating joists safely.
- Hearing Protection: Use earplugs or earmuffs if operating a blower or other loud equipment.
Ventilation and Air Quality Control
Why Proper Ventilation Matters
Insulation installation generates dust and, in the case of spray foams, potentially harmful fumes. Proper ventilation minimizes inhalation risks and prevents moisture buildup—critical for both your health and the longevity of your insulation.
Ventilation Checklist
- Open attic vents, gable windows, or access doors before starting work.
- If safe and possible, use portable fans to direct airflow out of the attic.
- Install temporary barriers (e.g., plastic sheeting) to prevent dust from entering the living space below.
- Never block existing soffit or ridge vents with insulation—maintain airflow for moisture control.
- Do not use gas-powered equipment without adequate venting.
Safe Handling and Installation of Insulation Materials
Fiberglass and Mineral Wool Batts
- Unwrap batts outside or in a well-ventilated area to minimize dust indoors.
- Cut insulation to size using a straight edge and utility knife—never tear by hand.
- Install batts snugly between joists without compressing them, as compression reduces effectiveness.
- Keep insulation at least 3 inches away from recessed lights or heat-producing fixtures unless they are IC-rated.
- Seal gaps around plumbing and wiring with approved fire-rated foam or caulk.
Blown-In Cellulose or Fiberglass
- Rent a blowing machine and follow manufacturer’s safety instructions carefully.
- Two-person job: one operates the blower outside, the other directs the hose inside the attic.
- Keep hose nozzle at least 6 inches from joists to avoid overfilling.
- Take frequent breaks to monitor air quality and temperature.
Spray Foam Insulation
- Use only in well-ventilated spaces and wear a full-face respirator.
- Follow all handling and curing time guidelines. Many spray foams contain isocyanates, which can be hazardous.
- Protect all exposed wiring and fixtures from overspray.
Electrical and Fire Safety Precautions
Before You Start
- Turn off power to attic outlets, lights, and circuits if possible.
- Locate all junction boxes and mark them clearly. They should remain accessible and not be buried under insulation.
- Inspect wiring for damage or outdated insulation (knob-and-tube, for example). If found, consult a licensed electrician before proceeding.
During Installation
- Keep insulation at least 3 inches away from heat sources—chimney flues, non-IC-rated recessed lighting, and exhaust fans.
- Install metal flashing or fire-rated barriers where local codes require.
- Do not cover ventilation ducts or fans with insulation.
After Installation
- Double-check that all electrical boxes, attic fans, and vents remain accessible and visible.
- Restore power and test attic lighting and outlets.
- Check smoke detectors in adjacent rooms for proper operation.
Preventing Falls and Physical Injuries
Joist Navigation and Temporary Walkways
- Only step on joists or properly installed attic decking. Never step on drywall or insulation between joists.
- Lay temporary plywood sheets (at least 3/4-inch thick) across joists for a stable work surface.
- Install portable guardrails or mark open edges if working near attic access points.
- Plan your work sequence to minimize trips across the attic.
Proper Lifting and Material Handling
- Lift insulation materials with your legs, not your back. Batts and rolls can be bulky—ask for help if needed.
- Limit time spent in awkward or cramped positions. Take frequent stretch breaks.
Heat Stress and Hydration
Managing High Temperatures
- Work early in the morning or late in the day during hot weather.
- Take a 10-minute break every 30–40 minutes in a cooler area.
- Drink water regularly, even if you don’t feel thirsty.
- Watch for signs of heat exhaustion: nausea, headache, dizziness, excessive sweating.
Pest and Contamination Precautions
Identifying and Handling Hazards
- Wear gloves and a respirator when cleaning animal droppings or old insulation.
- Double-bag contaminated materials for disposal.
- If you discover bat guano or suspected asbestos insulation (e.g., vermiculite), stop work and consult a remediation professional.
Post-Installation Cleanup and Safety Checks
Steps for a Safe Finish
- Use a shop vacuum with HEPA filter to remove dust and debris.
- Carefully remove coveralls and PPE before entering the living space to avoid spreading fibers.
- Wash hands and face thoroughly after cleanup.
- Inspect the attic for any missed hazards or debris before closing access panels.
Documentation and Future Access
- Take photos of completed insulation coverage for future reference.
- Label attic access with insulation type and installation date.
- Store leftover insulation and materials out of the attic to reduce fire and pest risks.
Conclusion: Insulate Smart, Insulate Safe
DIY attic insulation is a rewarding project that can yield significant energy savings and comfort improvements. However, the hidden dangers of attic work are real—and easily underestimated. By following this comprehensive safety checklist, you can confidently avoid the most common pitfalls: from inhaling hazardous fibers and encountering electrical shock risks, to suffering falls or heat-related illnesses. Remember, the most cost-effective home improvement is the one that doesn’t result in injury or costly mistakes. Prioritize PPE, thorough planning, and careful attention to every step—from pre-project inspection and ventilation setup, to proper handling of insulation materials and meticulous post-installation cleanup. Don’t hesitate to consult professionals for electrical or contamination hazards outside your skill set. By respecting both the opportunities and risks of attic insulation, you’ll protect your home, your health, and your investment for years to come. Make safety your top priority, and your attic upgrade will deliver the benefits you expect—without unwanted surprises.
The article mentions the risk of falling through the ceiling due to unstable flooring in attics. Can you recommend effective temporary solutions for creating a safe walking surface during the insulation process if installing permanent decking isn’t an option?
If installing permanent decking isn’t possible, you can use sturdy, wide wooden planks or sheets of plywood as temporary walkways. Make sure they span across multiple joists to distribute your weight evenly and minimize the risk of breaking through the drywall below. Always position the planks securely before stepping and avoid overreaching. Remember to move the planks as needed, and never walk directly on insulation or unsupported areas.
I noticed the article mentions dealing with airborne particulates from materials like fiberglass and cellulose. What type of personal protective equipment is most effective for keeping those particles out of your lungs and eyes during installation?
For attic insulation projects involving fiberglass or cellulose, a properly fitted N95 or P100 respirator mask is highly effective at filtering out airborne particles and protecting your lungs. For your eyes, tightly sealed safety goggles (not just glasses) are recommended to prevent irritation from fine dust. Wearing both the mask and goggles together gives you the best protection while working.
You mention that attics can have unstable flooring and that stepping off a joist could cause someone to fall through the ceiling. Are there tips or affordable materials for temporarily making the attic safer to walk on during an insulation project?
Absolutely, making the attic safer to walk on is important. You can use sturdy plywood sheets (at least 1/2 inch thick) laid across the joists to create temporary walkways—just be sure the sheets are long enough to span several joists for stability. Avoid compressing any existing insulation underneath. Always double-check that each sheet is secure before stepping on it, and keep your workspace well-lit to spot hazards easily.
I noticed the article talks about airborne particulates from different insulation types like fiberglass or spray foam. Is there a specific kind of mask or respirator recommended for working in the attic to best protect from those fine particles?
For attic insulation work involving fiberglass, spray foam, or other materials, a NIOSH-approved N95 respirator or better is recommended. These masks are effective at filtering out fine particulates. Make sure the respirator fits well without gaps, and avoid using simple dust masks, as they are not sufficient for the tiny fibers and particles you’ll encounter.
When it comes to choosing between fiberglass batts and blown-in cellulose, which type is safer for a beginner to handle in terms of both installation and potential health risks from airborne particulates?
Fiberglass batts are generally easier and safer for beginners to handle because they come in pre-cut sections and don’t require special equipment for installation. However, they can still release small fiberglass particles that may irritate skin, eyes, and lungs, so wearing gloves, long sleeves, a mask, and goggles is important. Blown-in cellulose creates a lot of airborne dust during installation, which poses a higher inhalation risk, especially without professional-grade protection. For most DIYers, fiberglass batts are the safer choice if proper precautions are taken.
The article mentions heat stress as a risk, especially in the summer. How long is it actually safe to work at a time in a hot attic, and what steps should I take if I start feeling overheated?
Working in a hot attic can be risky, especially during summer. It’s generally safest to limit work sessions to 15–20 minutes at a time, followed by breaks in a cool area with water. If you feel dizzy, nauseous, or excessively sweaty, stop immediately, move to a cooler space, and hydrate. If symptoms persist, seek medical help. Wearing lightweight clothing and scheduling work for early morning or late evening can also help reduce heat stress.
You mentioned that attic temperatures can get extremely high, especially in summer. For businesses trying to limit project downtime, are there recommended times of day, or best weather conditions, to schedule attic insulation work that can help minimize heat stress risks?
To reduce heat stress risks during attic insulation, it’s best to schedule work early in the morning or later in the evening when temperatures are cooler. Avoid working during midday or on particularly hot days. Choosing cooler, overcast weather can also help. Adequate ventilation and frequent breaks are important for safety, so plan accordingly to keep your team comfortable and efficient.
Is there a type of insulation material that’s generally safer to handle for beginners concerned about skin and lung irritation, or do all options (fiberglass batts, cellulose, spray foam) require a similar level of protective gear?
Cellulose insulation is usually considered a bit safer to handle than fiberglass batts or spray foam, as it creates less skin irritation and is often treated to reduce dust. However, any insulation material can cause some irritation or produce dust. It’s best to wear gloves, a dust mask or respirator, and protective clothing no matter which type you choose. This helps protect your skin and lungs during installation.
I’m a small business owner with a couple staff members—if I want to assign attic insulation tasks to employees, are there any OSHA-specific requirements I should keep in mind beyond what’s listed here?
Yes, beyond the general safety checklist, OSHA has specific requirements for employers. You must provide proper personal protective equipment (PPE) such as respirators, gloves, and eye protection. Training on safe work practices and hazard communication is required. Make sure your team is aware of fall protection if working near openings, and maintain good ventilation in the attic. Also, keep records of safety training and ensure compliance with OSHA’s standards for insulation materials and confined spaces.
When working in hot attic conditions, how often should I take breaks to avoid heat stress? Are there any specific tips for staying cool, especially during summer?
When working in a hot attic, try to take a break every 20 to 30 minutes, especially during the summer. Drink plenty of water before, during, and after your work. If possible, start early in the morning or later in the evening when temperatures are lower. Wear light, breathable clothing and use a portable fan for extra airflow. If you feel dizzy, stop immediately and cool down.
How much extra cost should I budget for safety equipment like masks, gloves, and portable fans for ventilation? I want to make sure I account for all safety-related expenses up front before I start the attic work.
For basic attic insulation safety, you should budget around $50 to $100 for quality masks (such as N95 or P100 respirators), gloves, safety goggles, and disposable coveralls. If you need a portable fan for ventilation, expect to spend an extra $30 to $60 for a decent unit. Altogether, setting aside $80 to $160 should cover most safety essentials for a typical DIY project.
You mention unstable flooring as a big risk. Are there recommended products or temporary solutions available to help DIYers safely move around in attics with exposed joists?
Yes, for attics with exposed joists, you can use sturdy temporary walkboards or planks to create safe walkways. Plywood sheets cut to fit between joists are a common option—just make sure they’re thick enough to support your weight and span multiple joists for stability. Always move the boards carefully as you work and never step directly on insulation, as it won’t support you.
I’m planning to tackle attic insulation myself, but my budget is pretty tight. Which safety equipment pieces from your checklist would you consider absolutely essential, and are there any cost-effective options for quality PPE?
For DIY attic insulation, the most essential safety gear includes a dust mask or N95 respirator, safety goggles, gloves, and long-sleeved clothing to protect your skin. You can find cost-effective PPE at hardware stores or online, often in multipacks. Make sure any mask you buy is rated for dust and fibers. Generic brands usually offer good protection at a lower price, but always check for safety ratings before purchasing.
The article talks about pests and possible contamination from droppings or nests. Should I try to clean these up myself before insulating, or is it safer (or even necessary) to call in a professional for attic pest cleanup?
If you find signs of pest activity like droppings or nests in your attic, it’s usually safer to call a professional for cleanup, especially if you suspect contamination or have never dealt with this before. Professionals have the right protective equipment and know how to handle hazardous materials safely. Cleaning it yourself can expose you to health risks, so consider professional help before proceeding with your insulation project.
Could you clarify how to safely navigate attics with only joists and no decking? Are there any temporary solutions or products that make moving around easier and safer during insulation installation?
Navigating attics with only joists can be risky since stepping between joists can damage the ceiling below or cause injury. A safe approach is to use wide, sturdy boards (like plywood planks) laid across several joists to create a temporary walking surface. You can move these boards as you progress with your work. Always make sure the boards are stable before stepping on them and avoid overreaching. This method gives you a safer, more secure footing while installing insulation.
If there’s evidence of pest contamination like droppings or nests in the attic, do you recommend addressing that before starting insulation, and what precautions should be taken for cleaning up safely?
Yes, it’s important to address any pest contamination before starting insulation. Remove droppings, nests, or debris while wearing gloves, a mask or respirator, and protective clothing to avoid direct contact or inhaling particles. Dispose of contaminated materials in sealed bags, clean the area with disinfectant, and ensure the attic is dry and ventilated before moving on to insulation work.
You list different insulation types like fiberglass, cellulose, and spray foam. Is there any difference in the level of protective equipment required for each, especially for someone with sensitive skin or mild respiratory issues?
Yes, the level of protective equipment needed does vary by insulation type, especially if you have sensitive skin or mild respiratory concerns. Fiberglass can irritate skin and lungs, so wearing gloves, long sleeves, goggles, and a respirator is important. Cellulose insulation creates dust, so a dust mask and goggles are recommended. Spray foam gives off fumes during application, requiring a full-face respirator and good ventilation. For sensitive individuals, extra caution and upgraded protective gear are advisable for all types.
If I discover signs of pests while clearing out the attic, like animal droppings or nests, should I stop the project and call pest control, or are there safe DIY steps I can take before continuing with the insulation?
If you notice signs of pests such as droppings or nests, it’s best to pause your insulation project. Disturbing these areas can expose you to health risks and may spread contamination. Contact a professional pest control service to assess and safely remove any infestations. Once your attic is cleared and sanitized, you can safely resume your insulation work.
I’m a beginner and a bit concerned about unstable flooring in my attic. Is there an affordable way to temporarily lay down safe walking paths over joists while I work, or do I need to invest in professional solutions?
You can create temporary walking paths in your attic by using sturdy plywood sheets, usually 1/2-inch or thicker. Simply lay them across the joists to distribute your weight evenly and provide a stable surface. Make sure the sheets are wide enough to cover multiple joists and are secured to prevent slipping. This is a safe and affordable DIY option for beginners, and you don’t need to invest in professional solutions unless you plan on using the attic regularly.
As a business owner who often tackles building upgrades myself, I’m curious about handling attics with older, possibly outdated electrical wiring. What’s the safest way to deal with exposed wiring or junction boxes when installing new insulation?
When working around older or exposed wiring and junction boxes in your attic, it’s crucial to shut off power to the area before starting. Never cover wiring or junction boxes with insulation, as this poses fire risks. If you find damaged or outdated wiring, consider having a licensed electrician inspect and update it before proceeding. Always keep insulation a few inches away from electrical fixtures to maintain safety.
If my attic gets really hot during the day—sometimes over 100°F—what’s the best way to keep cool and hydrated while working up there? Should I only work early in the morning, or are there other tricks for avoiding heat exhaustion?
Working in a hot attic can be risky, so it’s wise to plan carefully. Early mornings or late evenings are definitely the safest times, as temperatures are lower. Make sure to take frequent breaks outside the attic to cool down, drink plenty of water before and during your work, and wear lightweight, breathable clothing. You can also set up a fan near the attic entrance to help with airflow. Never ignore signs of heat exhaustion—if you feel dizzy or nauseous, stop immediately.
When insulating an attic during the warmer months, how do you suggest keeping the workspace cool to avoid heat exhaustion? Are there certain times of day or temperature limits at which it’s safest to work?
To keep your attic workspace cooler, aim to work early in the morning or later in the evening when temperatures are lower. Open any attic vents and, if possible, use a portable fan to increase airflow. Take regular breaks and stay hydrated. If the attic temperature climbs above 85°F (about 29°C), it’s best to pause work until it cools down to avoid the risk of heat exhaustion.