Introduction: Why Crawl Space Maintenance Matters
When most homeowners think about maintaining their property, crawl spaces rarely top the list. Yet, the area beneath your house plays a critical role in the overall health, safety, and value of your home. Neglected crawl spaces are notorious for harboring moisture, mold, wood rot, pest infestations, and even structural damage. Over time, these issues can compromise indoor air quality, drive up energy costs, and result in expensive repairs. Fortunately, with a proactive approach and a solid understanding of best practices, you can prevent these problems before they start. This comprehensive guide will walk you through the essential steps to keep your crawl space dry, clean, and structurally sound for years to come.
Understanding the Risks: What Happens in a Neglected Crawl Space?
1. Moisture Accumulation
Crawl spaces are naturally prone to moisture due to their proximity to the ground. Without proper barriers and drainage, water vapor can seep in, condense on surfaces, and create a humid environment. This moisture is the root cause of many crawl space issues.
2. Mold and Mildew Growth
Excess moisture provides ideal conditions for mold and mildew. These can spread quickly, not only damaging wood and insulation but also releasing spores into the air that may circulate throughout your home, triggering allergies and respiratory issues.
3. Structural Deterioration
Persistent dampness can weaken wooden beams, joists, and subflooring. Over time, this leads to wood rot, sagging floors, and even foundational instability.
4. Pest Infestations
Rodents, termites, and other pests are attracted to moist, dark environments. Once inside, they can cause further damage to insulation and wooden structures, as well as introduce health hazards.
Step-By-Step Crawl Space Maintenance Checklist
1. Inspect Regularly
- Frequency: At least twice a year (spring and fall) and after major storms.
- What to Look For: Signs of moisture, standing water, mold, mildew, droppings, damaged insulation, or structural issues.
2. Address Drainage Around the Foundation
- Ensure gutters and downspouts direct water at least 6 feet away from the foundation.
- Grade soil to slope away from your home, preventing water pooling near crawl space vents or walls.
- Install French drains or swales if you notice persistent water accumulation.
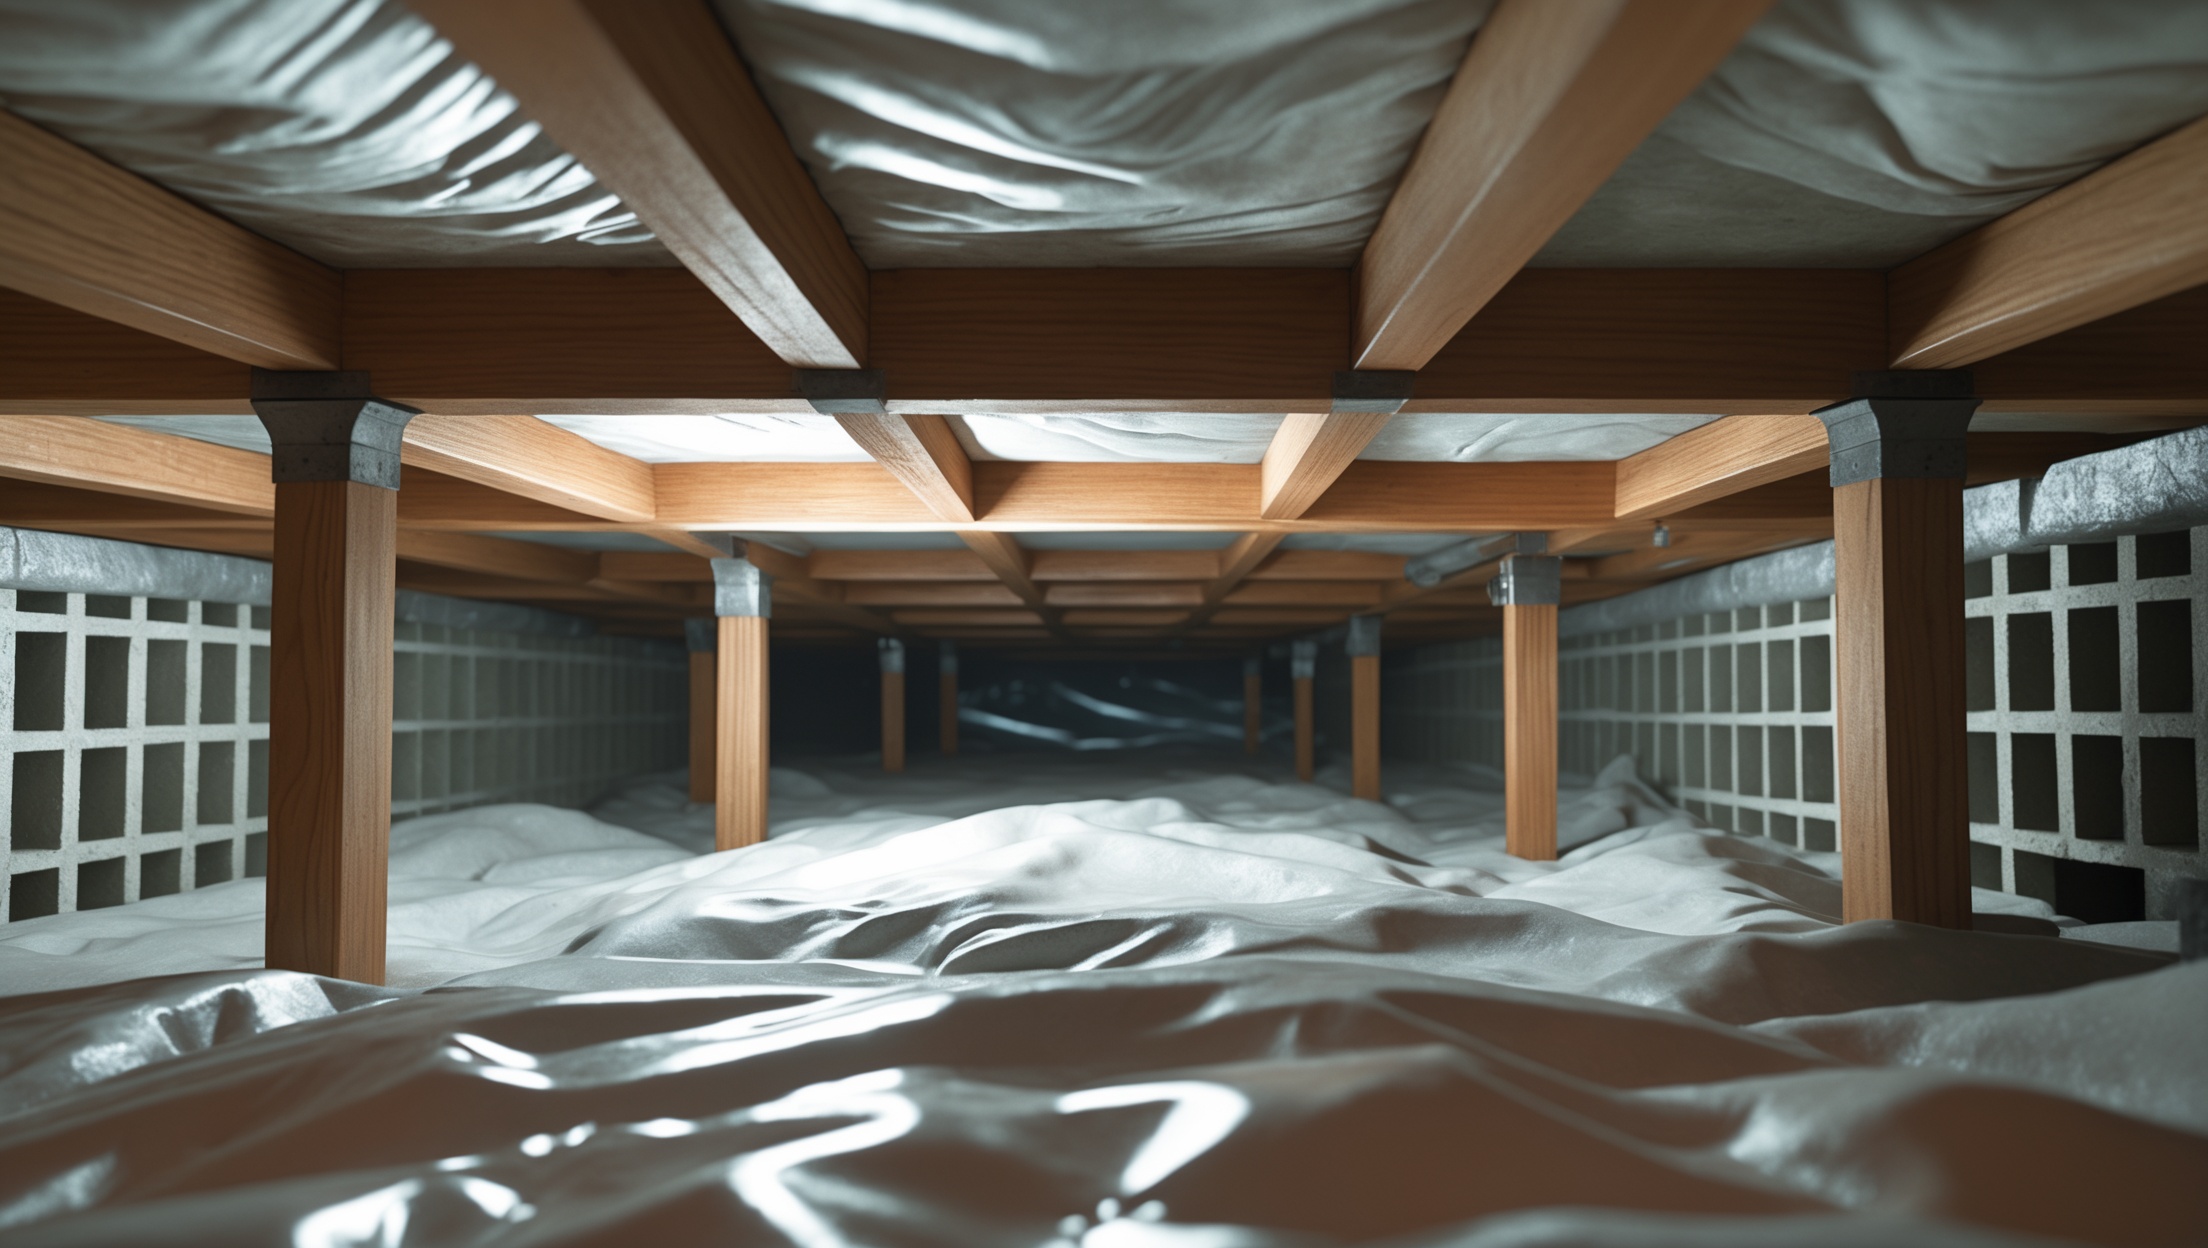
3. Install a Quality Vapor Barrier
- Use a heavy-duty (at least 6-mil) polyethylene vapor barrier to cover the entire crawl space floor and at least 6 inches up the walls.
- Overlap seams by 12 inches and tape them securely with waterproof tape.
- Secure the barrier to piers and foundation walls with mechanical fasteners or construction adhesive.
4. Seal and Insulate
- Seal all crawl space vents, gaps, and penetrations with expanding foam or caulk to prevent air leaks and pest entry.
- Insulate crawl space walls with rigid foam board rated for ground contact. Avoid fiberglass batt insulation on the floor joists, as it absorbs moisture and can harbor mold.
5. Control Humidity
- Install a crawl space dehumidifier, especially in humid climates or if moisture persists after other interventions.
- Maintain humidity below 60% to deter mold and mildew.
- Check and empty the dehumidifier’s collection tray or connect it to a sump pump for automatic drainage.
6. Check for Plumbing Leaks
- Inspect plumbing lines and HVAC condensate drains for drips or leaks.
- Address any leaks immediately to prevent moisture buildup and water damage.
7. Monitor for Pests
- Set up non-toxic traps and regularly inspect for droppings, nests, or chewed materials.
- Seal entry points and consider professional pest control if infestations are found.
Key Tools and Equipment for Crawl Space Maintenance
- Protective Gear: N95 mask, gloves, coveralls, safety goggles, and knee pads.
- Moisture Meter: For detecting hidden dampness in wood and insulation.
- Flashlight or Headlamp: Essential for visibility in dark spaces.
- Utility Knife and Shears: For cutting vapor barrier material.
- Heavy-Duty Tape and Sealant: For securing vapor barrier seams and sealing gaps.
- Dehumidifier: Specifically rated for crawl spaces.
- Sump Pump: For areas prone to water intrusion.
- Rigid Foam Insulation and Fasteners: For wall insulation projects.
- Moisture Alarm: To alert you to standing water or leaks in the crawl space.
Advanced Upgrades for Maximum Protection
Encapsulation Systems
Full encapsulation involves completely sealing the crawl space with a reinforced vapor barrier on the floor, walls, and piers; sealing all vents and access doors; and installing a dedicated dehumidifier. Though more costly upfront, encapsulation significantly reduces the risk of moisture, mold, and energy loss. Professional installation is usually recommended for best results.
Sump Pump Installation
If your crawl space is prone to flooding or high groundwater, a sump pump is essential. Choose a model with an automatic float switch and battery backup to ensure reliable operation even during power outages. Regular maintenance, including cleaning the pump basin and testing the float, is crucial.
Remote Monitoring Systems
Smart moisture sensors and temperature monitors can alert you to rising humidity, leaks, or equipment failure. These devices send real-time notifications to your phone, offering peace of mind and enabling you to address issues before they escalate.
Dealing with Existing Issues: Step-by-Step Remediation
1. Mold Remediation
- Wear full protective gear, including a respirator.
- Use EPA-registered mold cleaners to scrub affected surfaces.
- Remove and dispose of heavily contaminated insulation or materials.
- Dry the area thoroughly with fans or a dehumidifier.
- Address the underlying moisture source to prevent recurrence.
2. Wood Rot and Structural Repairs
- Assess the extent of damage—replace or sister rotted joists and beams as needed.
- Consult a structural engineer for major repairs or if you notice sagging floors above.
- Treat remaining wood with borate-based preservatives to deter future rot and termites.
3. Pest Infestation
- Identify and remove nests, droppings, and contaminated materials.
- Seal all entry points with steel mesh, caulk, or expanding foam.
- Consult a pest control professional for severe or repeated infestations.
Maintenance Scheduling and Record-Keeping
Keeping track of crawl space maintenance tasks ensures nothing gets overlooked. Create a digital or paper log that includes:
- Date of each inspection and maintenance activity
- Observations (e.g., moisture levels, signs of mold, pest activity)
- Actions taken (e.g., repairs made, equipment serviced)
- Next scheduled maintenance date
Photographing the crawl space before and after major work can help track changes and support insurance claims if needed.
When to Call in the Professionals
- Persistent water intrusion that cannot be resolved with DIY drainage solutions
- Extensive mold contamination (more than 10 square feet or in HVAC systems)
- Significant structural damage (sagging floors, large cracks, or rotted beams)
- Electrical or plumbing issues beyond simple leak repairs
- Major pest infestations involving termites or rodents
Professionals have the tools, training, and experience to safely address these situations, ensuring the long-term stability and health of your home.
Conclusion: Protect Your Investment with Proactive Crawl Space Care
Many homeowners overlook crawl spaces, unaware of the critical impact this hidden area has on their home’s health and longevity. By following the best practices detailed in this guide—regular inspections, moisture management, vapor barrier installation, sealing and insulation, and pest control—you can prevent the most common and costly crawl space problems. Whether you’re handling maintenance yourself or partnering with professionals, investing in crawl space care pays dividends in improved air quality, lower energy bills, and protection against expensive structural repairs. Remember: a dry, clean, and well-maintained crawl space is the foundation of a safe and comfortable home. Take action today to ensure this often-forgotten space remains an asset, not a liability, for years to come.