
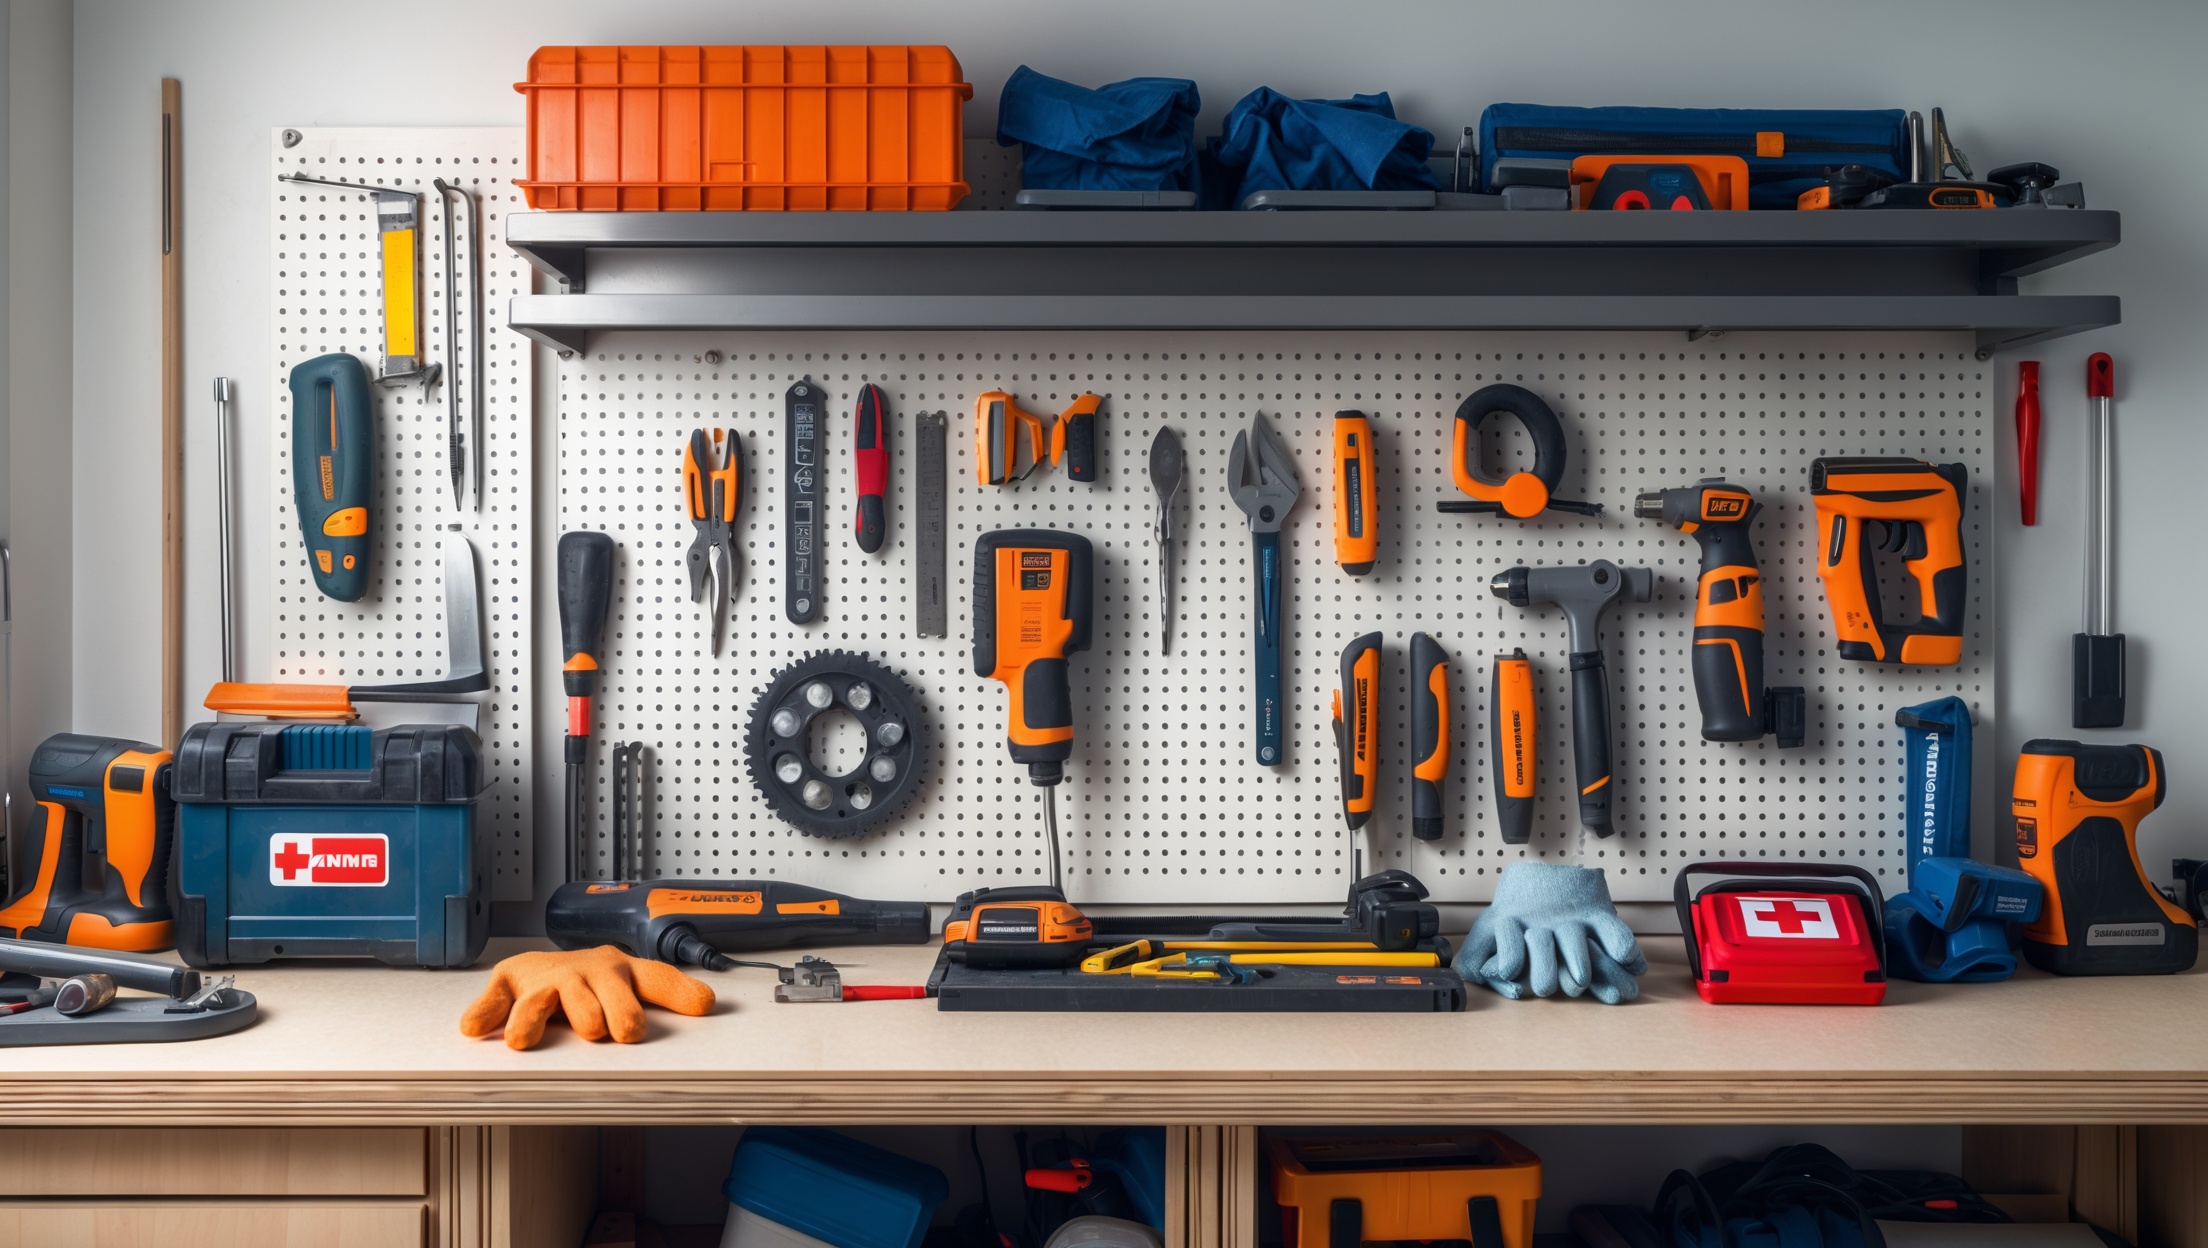
Introduction: The Crucial Role of Tool Safety in Home Improvement
Home improvement projects empower homeowners to personalize their spaces, boost property value, and save money on labor costs. However, these benefits come with an often-overlooked responsibility: ensuring personal safety. Each year, thousands of DIY enthusiasts sustain injuries due to improper tool use, lack of safety gear, or simple oversight. Many of these incidents are entirely preventable with the right precautions and an informed approach to tool safety. Whether you’re hanging shelves, remodeling a room, or tackling a full-scale renovation, understanding and implementing a comprehensive safety checklist is not just prudent—it’s essential. This guide will walk you through a detailed tool safety checklist, explaining why each step matters, how to implement best practices, and what equipment can help keep your home projects accident-free. Let’s make safety your most reliable tool, every time you pick up a hammer, drill, or saw.
Understanding the Risks: Why Tool Safety Matters
Before diving into the checklist, it’s important to grasp the range of risks involved in home DIY projects. Injuries can stem from:
- Improper tool selection: Using the wrong tool for a task increases the chance of slips, breakage, or misuse.
- Lack of protective gear: Failing to wear eye, ear, or hand protection makes you vulnerable to serious injuries.
- Poor workspace setup: Cluttered or poorly lit areas heighten the risk of accidents.
- Neglected tool maintenance: Dull blades, worn cords, and malfunctioning equipment can cause unexpected failures.
- Inadequate knowledge: Unfamiliarity with a tool’s operation or safety features can lead to dangerous mistakes.
Recognizing these risks is the first step toward building a safer DIY experience.
Step 1: Prepare Your Workspace for Safety
Clear and Organize the Area
Begin each project by removing clutter, debris, and trip hazards from your workspace. Ensure that all tools and materials are stored in designated locations when not in use. An organized area not only streamlines your workflow but also reduces the likelihood of accidents.
Ensure Adequate Lighting and Ventilation
Work under bright, even lighting to clearly see what you’re doing. If you’re sanding, painting, or using chemicals, ensure the room is well-ventilated with open windows or fans to prevent inhalation of fumes or dust.
Check Electrical Outlets and Cords
Inspect outlets for damage and avoid overloading circuits with multiple power tools. Keep cords untangled and out of walkways to prevent tripping or accidental unplugging.
Step 2: Know Your Tools—Read Manuals and Labels
Before using any tool—especially power tools—read the manufacturer’s manual. This documentation covers proper operation, safety features, and maintenance tips specific to your device. Pay attention to warning labels and recommended safety gear. If you’re borrowing or renting equipment, ask for a demonstration or review online tutorials from reputable sources.
Step 3: Inspect Tools Before Use
- Check Power Cords: Look for fraying, exposed wires, or loose plugs. Damaged cords are a major fire and shock hazard.
- Test Moving Parts: Ensure blades, bits, and moving components are secure and function smoothly. Replace dull or damaged parts before starting.
- Look for Missing Safety Features: Confirm that guards, shields, and safety switches are present and operative.
- Clean Tools: Remove dust, oil, and debris that could interfere with performance or cause slipping.
Never use a tool you suspect may be unsafe. Address issues immediately, or replace the tool if necessary.
Step 4: Wear the Right Personal Protective Equipment (PPE)
PPE is your first line of defense against injury. Depending on your project, you may need:
- Safety goggles or glasses: Protect your eyes from flying debris, dust, or splinters.
- Hearing protection: Use earplugs or earmuffs when operating loud power tools.
- Work gloves: Choose gloves suited for the task—cut-resistant for sharp tools, insulated for electrical work, or rubber for handling chemicals.
- Respirators or dust masks: Essential when sanding, painting, or working with insulation and adhesives.
- Steel-toe boots: Shield your feet from dropped tools or heavy objects.
- Hard hats: Necessary for overhead work or in areas with falling object risks.
Always inspect PPE before use and replace items that are worn, cracked, or otherwise compromised.
Step 5: Use Tools Properly—Best Practices
Hand Tools
- Grip tools firmly, using the handle as designed.
- Cut away from your body with knives, chisels, and saws.
- Use the correct size screwdriver, wrench, or pliers for the job.
- Never use a tool as a substitute for another (e.g., don’t use a wrench as a hammer).
Power Tools
- Keep both hands on the tool when operating.
- Start tools before contacting the work surface and let them reach full speed.
- Unplug or remove batteries before changing blades or bits.
- Wait for blades or moving parts to stop before setting the tool down.
- Do not bypass or disable safety mechanisms.
Ladders
- Set ladders on flat, stable surfaces and lock spreaders or braces.
- Maintain three points of contact (two feet and one hand) at all times.
- Do not stand on the top rung or overreach to the side.
Step 6: Protect Others—Household and Pets
Inform other household members when and where you’ll be working. Keep children and pets away from the work area by using gates, closed doors, or signs. Store sharp or powered tools out of reach when not in use, and unplug equipment at the end of each session.
Step 7: Fire Prevention and Emergency Preparedness
Fire Safety
- Keep a fire extinguisher rated for electrical and chemical fires within reach.
- Avoid working near flammable materials (solvents, rags, gasoline) with power tools that generate heat or sparks.
- Never leave tools running unattended.
First Aid
- Stock a first aid kit with bandages, antiseptics, burn cream, and eye wash.
- Know the location of your phone and have emergency numbers accessible.
- If you’re working alone, let someone know your plans and check in regularly.
Step 8: Maintain and Store Tools Safely After Use
- Clean tools thoroughly before storage to prevent rust and preserve performance.
- Wind up cords and store them off the ground to prevent tripping and rodent damage.
- Lock away hazardous items, especially saw blades, sharp hand tools, and chemicals.
- Regularly inspect and service tools according to manufacturer recommendations.
Step 9: Stay Informed—Continuous Learning and Updates
Technology and safety standards evolve. Subscribe to credible DIY or home improvement publications, and attend workshops at local hardware stores when possible. Stay up to date on recalls, safety alerts, and new protective equipment. If you’re unsure about a tool or technique, consult an expert before proceeding.
Comprehensive Tool Safety Checklist
- Workspace is clean, well-lit, and ventilated
- All tools inspected for damage and cleanliness
- Correct PPE selected, inspected, and worn appropriately
- Family and pets notified and secured away from work area
- Fire extinguisher and first aid kit accessible
- Tools used for intended purpose only, following manufacturer instructions
- No bypassing of safety features or guards
- Power tools unplugged when not in use or during adjustments
- Emergency contacts easily accessible
- Tools cleaned and stored securely after project completion
Conclusion: Safety as Your Most Valuable Tool
Home improvement is both rewarding and empowering, but each project—no matter how small—demands a serious commitment to safety. By following this comprehensive tool safety checklist, you protect not only yourself, but also your loved ones and your property. The key to a successful, accident-free DIY experience lies in preparation, knowledge, and vigilance. From organizing your workspace and inspecting equipment to selecting the right protective gear and ensuring emergency readiness, every precaution counts. Remember: the few moments you spend on safety at the start of a project can prevent injuries, costly mistakes, and ruined weekends. Make safety a habit, not an afterthought, and you’ll enjoy the true satisfaction of home improvement—confidently, competently, and injury-free. Whether you’re a DIY beginner or a seasoned renovator, elevate your skillset by making safety your most reliable, indispensable tool. Happy building, and stay safe!