
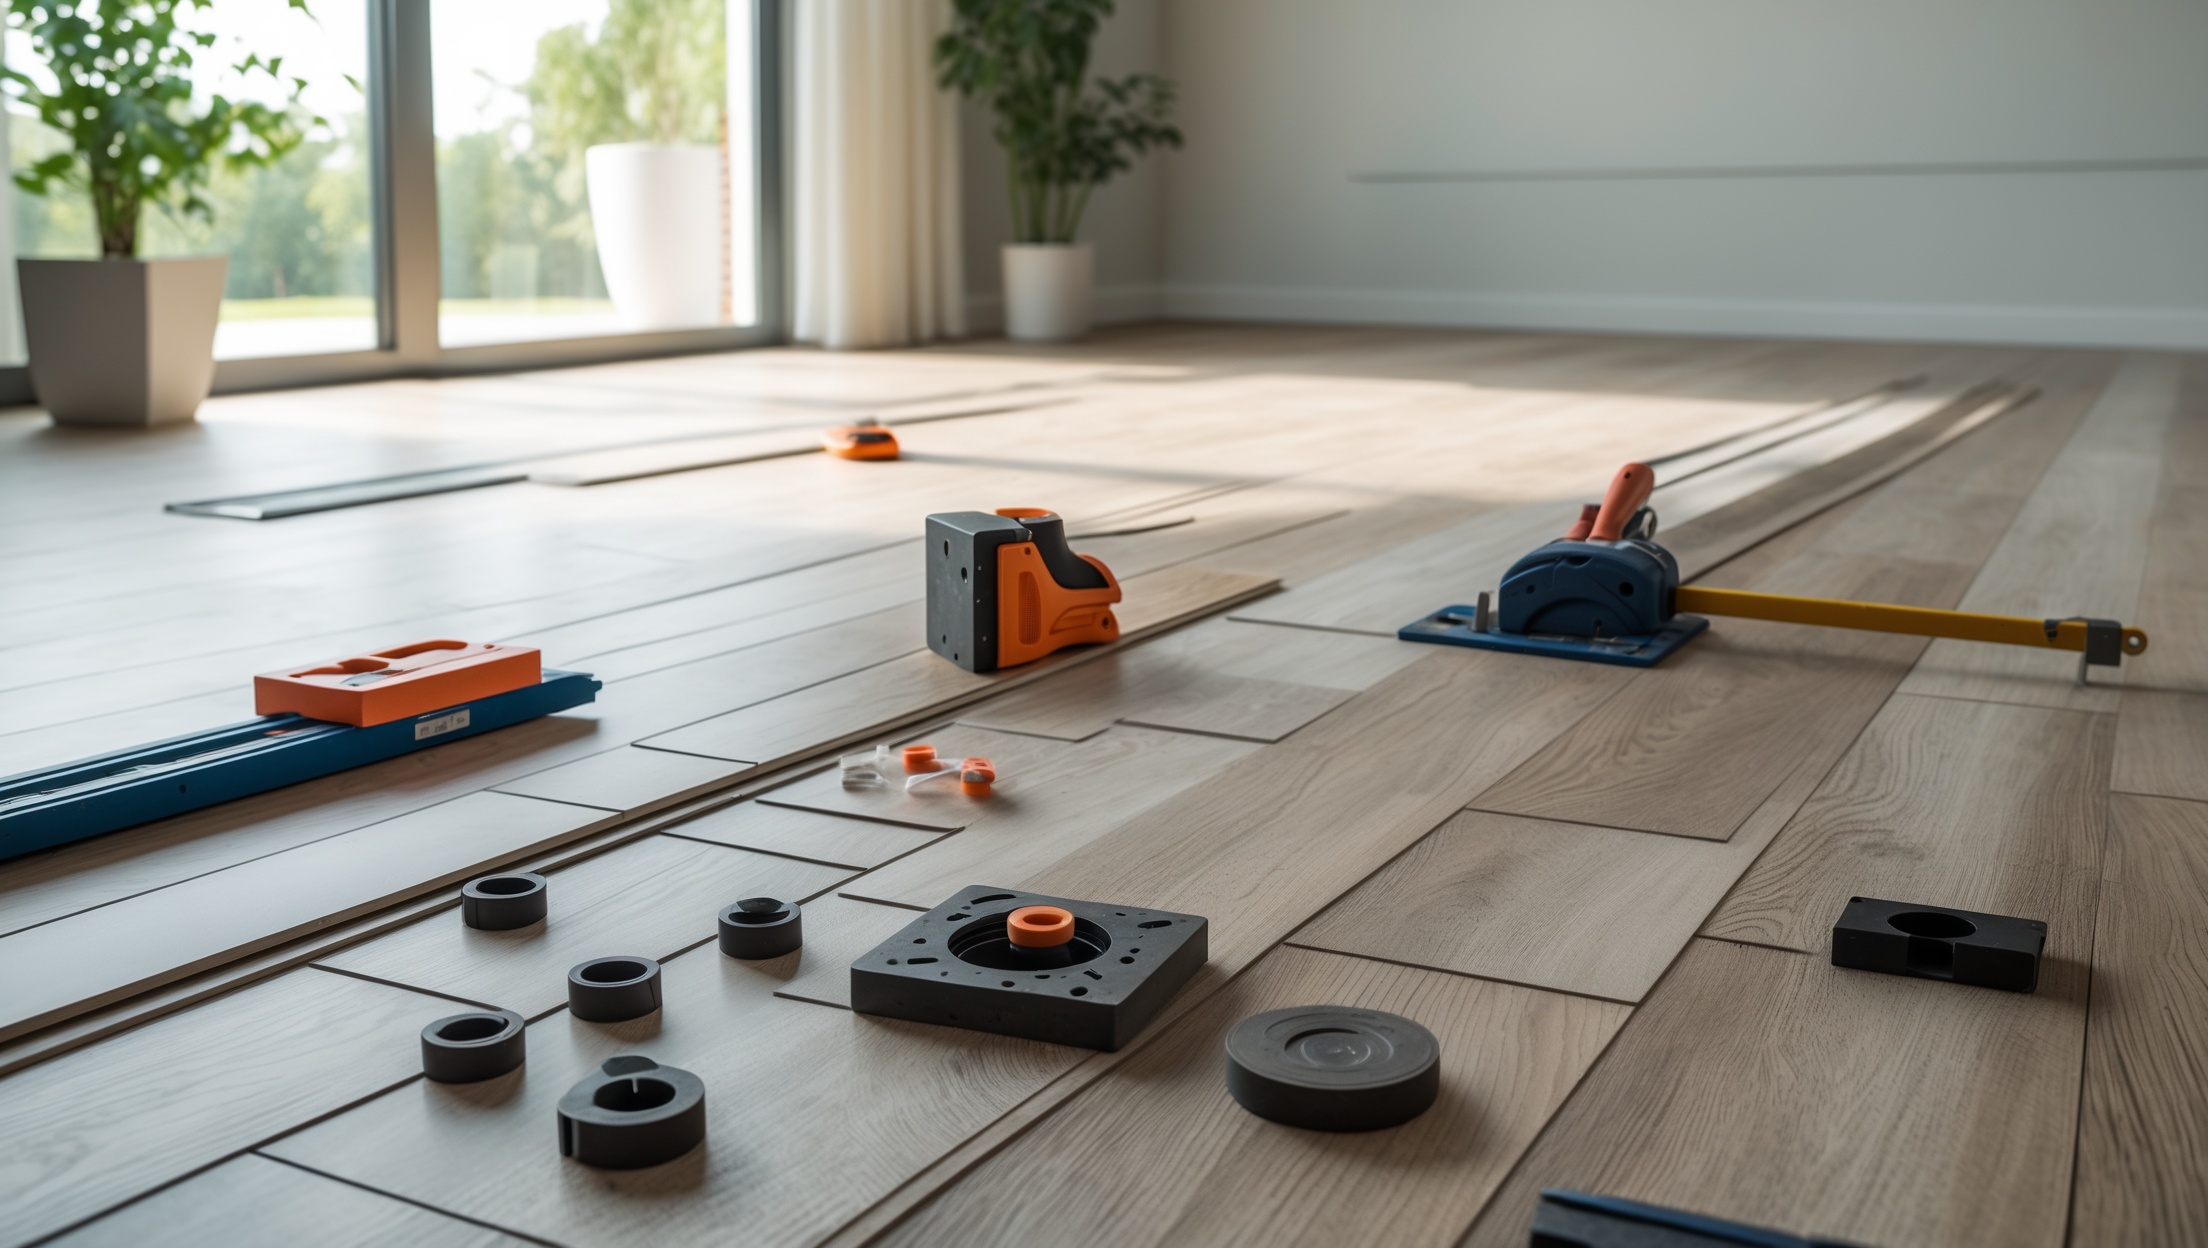
Introduction: Why Floating Laminate Flooring Appeals to DIYers
Floating laminate flooring is a popular choice for homeowners eager to upgrade their spaces with a stylish, durable, and budget-friendly option. Unlike traditional hardwood, laminate is engineered for easy installation and can often be installed directly over existing flooring without nails or glue. The floating method—where planks lock together and “float” above the subfloor—makes it especially attractive to first-time DIYers. However, despite its relatively simple process, installing floating laminate flooring involves critical steps that, if skipped or mishandled, can lead to uneven surfaces, premature wear, and costly rework. In this guide, we’ll cover the most common beginner mistakes to avoid, provide practical solutions, and share expert insights that will ensure your new floors look flawless and last for years. Whether you’re tackling a single room or your entire home, understanding these key pitfalls will empower you to approach your project with confidence and achieve professional-quality results.
1. Skipping Proper Subfloor Preparation
Understanding Subfloor Requirements
A floating laminate installation is only as good as the surface beneath it. Many beginners assume that any flat-looking floor will do, but laminate is sensitive to imperfections. Subfloor issues—such as dips, high spots, or debris—can create uneven planks, noisy spots, and even breakage over time.
Common Subfloor Mistakes
- Ignoring Levelness: Failing to check that the subfloor is level within manufacturer-specified tolerances (typically within 3/16″ over 10 feet).
- Not Cleaning Thoroughly: Leaving dust, staples, or old adhesives can result in an unstable foundation.
- Overlooking Moisture Issues: Especially in basements or on concrete, undetected moisture can warp or ruin laminate planks.
Expert Solutions
- Check for Level: Use a long straightedge or level to identify high and low spots. Address discrepancies with self-leveling compound or sanding.
- Clean Thoroughly: Sweep and vacuum to remove all debris. Scrape off any paint or adhesive residue.
- Test for Moisture: Use a moisture meter, especially over concrete. If moisture is detected, install a vapor barrier or resolve leaks before proceeding.
2. Neglecting Acclimation of Flooring Planks
Why Acclimation Matters
Laminate planks expand and contract with changes in temperature and humidity. If you install them immediately after delivery, they may shift, buckle, or form gaps as they adjust to your home’s environment.
Common Acclimation Errors
- Installing Immediately: Skipping the manufacturer’s recommended acclimation period (usually 48-72 hours).
- Storing Incorrectly: Leaving boxes in a garage, basement, or unconditioned space instead of the installation room.
Expert Solutions
- Acclimate Properly: Place unopened boxes of laminate flat in the installation room at normal living temperature and humidity for the full recommended time.
- Plan Ahead: Schedule your project to allow for acclimation, and avoid rushing this critical step.
3. Failing to Use the Right Underlayment
The Role of Underlayment
Underlayment provides cushioning, moisture protection, and sound reduction for laminate flooring. Using the wrong type—or skipping it altogether—can compromise comfort and durability.
Common Underlayment Mistakes
- Not Using Any: Assuming underlayment is optional when most manufacturers require it.
- Using the Wrong Kind: Installing foam underlayment on a concrete subfloor without a vapor barrier.
- Doubling Up: Using both attached and separate underlayment, which can make floors too soft and cause joint failure.
Expert Solutions
- Check Manufacturer Instructions: Match the underlayment to your flooring and subfloor type.
- Install Correctly: Overlap seams as recommended and tape them to prevent movement.
- No Doubling Up: If your laminate has attached underlayment, do not install another layer underneath unless specified.
4. Incorrect Expansion Gap Spacing
Why Expansion Gaps Are Critical
Laminate flooring must be able to expand and contract freely with humidity changes. Failing to leave proper expansion gaps around walls, doorways, and fixed objects can cause planks to buckle or separate.
Common Expansion Gap Errors
- Gap Too Small: Not leaving the manufacturer-recommended space (usually 1/4″ to 1/2″).
- No Gap at Doorways/Transitions: Forgetting to leave gaps at transitions or around pipes and cabinets.
- Filling Gaps with Caulk: Trying to seal gaps with caulk, which prevents movement.
Expert Solutions
- Use Spacers: Insert spacers along all walls and fixed objects during installation. Remove them after the floor is complete.
- Follow Instructions: Adhere to the specific gap size in your laminate’s manual.
- Cover Gaps Properly: Use baseboards or transition strips to conceal gaps, not fill them.
5. Poor Planning of Plank Layout
Importance of Planning the Layout
Jumping into installation without a clear plan often leads to awkward seams, too-narrow end pieces, or a visually unbalanced floor.
Common Layout Mistakes
- Not Staggering Joints: Lining up end joints, which weakens the floor and looks amateurish.
- Small Slivers at Walls: Ending up with a narrow plank (less than 2″ wide) along a wall.
- Ignoring Room Features: Not accounting for doorways, vents, or odd angles in advance.
Expert Solutions
- Dry Lay First Row: Lay out planks without locking them to ensure you won’t have a sliver at the opposite wall. Adjust the first row width as needed.
- Stagger Joints: Offset end joints by at least 12″ in adjacent rows for strength and aesthetics.
- Measure Twice: Account for all obstacles and measure carefully before cutting planks.
6. Using Improper Tools or Techniques
Essential Tools for Success
Laminate flooring doesn’t require specialized tools, but using the wrong ones—or improper technique—can damage planks or slow your progress.
Common Tool Mistakes
- Improper Cutting: Using dull blades, resulting in chipped edges.
- Forcing Planks: Hammering planks directly, which can break locking mechanisms.
- Skipping Mallet and Block: Failing to use a tapping block and mallet for snug joints.
Expert Solutions
- Use a Fine-Tooth Saw: For clean cuts, use a fine-tooth miter saw, jigsaw, or laminate cutter.
- Tapping Block: Use a tapping block and mallet to gently click planks together without damage.
- Pull Bar: A pull bar helps fit the last plank in a row snugly against the wall.
7. Ignoring Manufacturer Instructions
Why Instructions Matter
Each laminate brand and product line has unique requirements for installation, care, and maintenance. Overlooking specific recommendations can void warranties and lead to premature floor issues.
Common Oversight Errors
- Assuming All Laminate is the Same: Not reading instructions because of previous experience with other products.
- Ignoring Warranty Stipulations: Not following required steps, which can nullify coverage for defects.
Expert Solutions
- Read the Manual: Review all installation steps and warranty conditions before beginning.
- Keep Documentation: Save instructions and receipts in case of future warranty claims.
8. Improper Cleaning and Maintenance After Installation
First Steps Post-Installation
Failing to clean and maintain your new laminate correctly can cause scratches, dullness, and swelling—especially in the first days after installation.
Common Maintenance Mistakes
- Wet Mopping: Using excessive water, which can seep into seams and cause swelling.
- Harsh Chemicals: Applying abrasive cleaners that strip protective layers.
- Neglecting Floor Protection: Not using felt pads on furniture legs or area rugs in high-traffic areas.
Expert Solutions
- Dry or Damp Mop Only: Use a microfiber mop and laminate-specific cleaner for routine cleaning.
- Protect the Surface: Install felt pads on furniture and use entry mats to prevent dirt and scratches.
- Promptly Wipe Spills: Blot up any liquids immediately to prevent damage.
9. Overlooking Transitions and Finishing Touches
Importance of Professional Finishing
Rushing through the final steps—like installing transition strips, threshold moldings, and baseboards—can detract from the appearance and function of your floor.
Common Finishing Mistakes
- Poorly Installed Transitions: Crooked or loose transition strips between rooms or at doorways.
- Missing Baseboard or Quarter Round: Not reinstalling or replacing trim to cover expansion gaps.
- Sloppy Caulking: Using caulk or filler that doesn’t match the flooring color.
Expert Solutions
- Take Your Time: Double-check measurements and cut trim pieces carefully for a snug fit.
- Match Colors: Use matching or complementary finishing materials for a seamless look.
- Secure Properly: Attach transition strips and trim as per manufacturer instructions for stability and appearance.
10. Underestimating the Time Commitment
Realistic Project Planning
Many first-timers underestimate how long a quality installation takes, especially when factoring in acclimation, subfloor prep, and finishing. Rushing leads to shortcuts and mistakes.
Time Management Tips
- Read the Full Process: Familiarize yourself with all steps before starting.
- Set Aside Enough Time: Allocate entire days for each stage—prep, installation, and finishing.
- Don’t Rush: Allow yourself breaks and pause when tired to avoid costly errors.
Conclusion: Achieving Flawless Results With Careful Planning
Installing floating laminate flooring is a rewarding project that can dramatically transform your home’s appearance and functionality. While it’s a task well within reach for a motivated DIYer, the difference between a professional-looking, long-lasting floor and one plagued with issues often comes down to avoiding common beginner mistakes. Carefully preparing your subfloor, allowing for proper acclimation, choosing the right underlayment, and planning your layout will save you time, money, and unnecessary frustration. Respecting expansion gaps, using the correct tools, and following manufacturer guidelines ensure that your investment remains beautiful and functional for years to come. Don’t overlook the finishing touches—transitions, trim, and maintenance routines all play a crucial role in the final result. By approaching each step methodically and setting realistic expectations for your time and effort, you’ll not only avoid costly errors but also take pride in a job well done. Whether this is your first flooring project or you’re refining your skills, these lessons will help you achieve the flawless, resilient floor you envision.