
Introduction
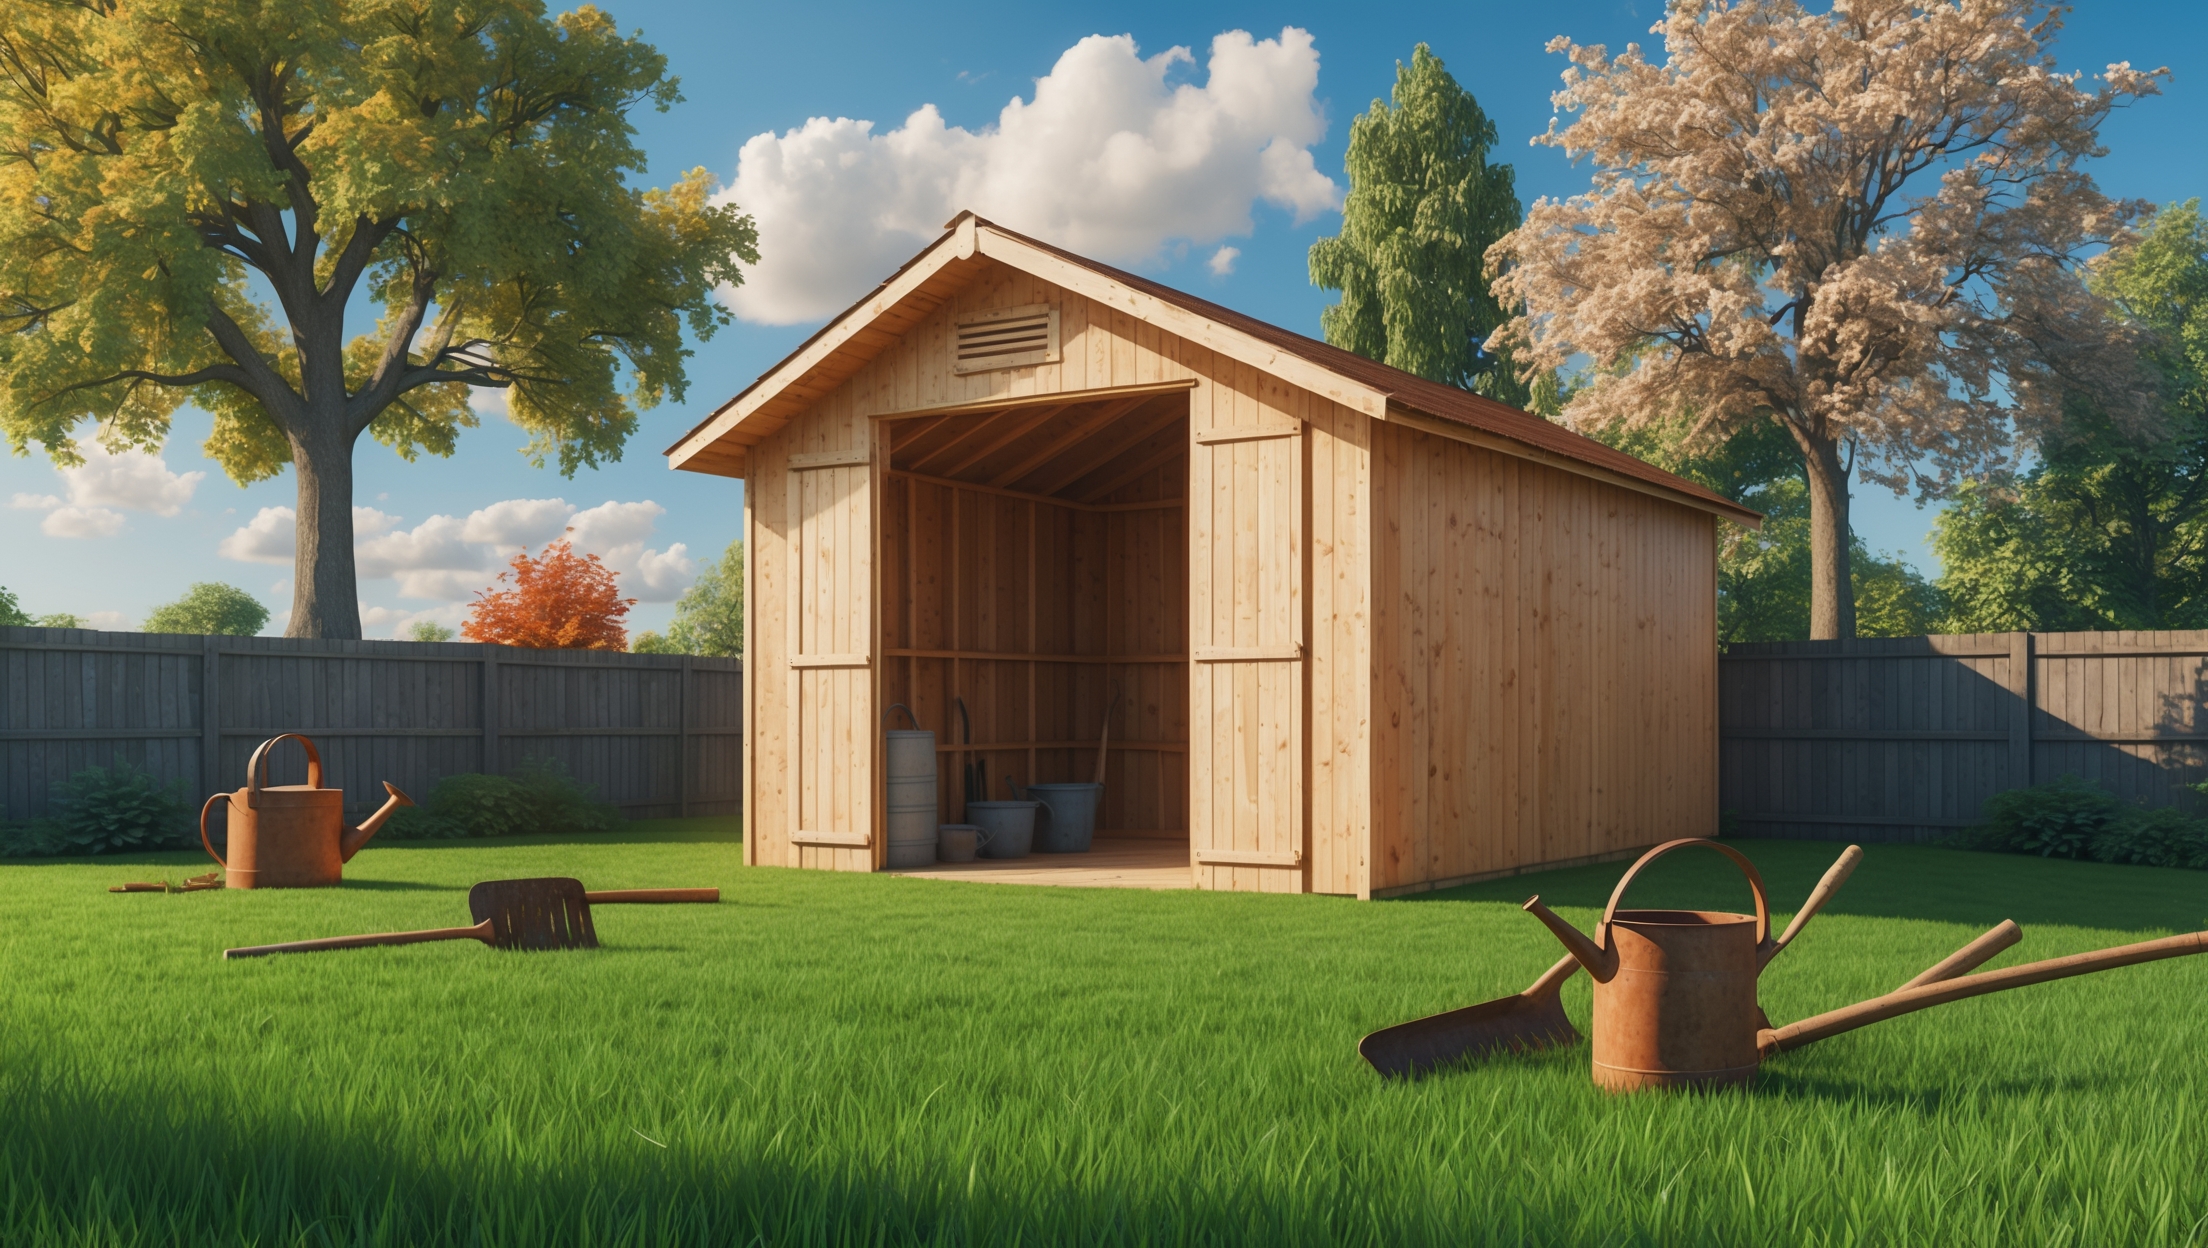
Adding a backyard shed is one of the most rewarding home improvement projects you can tackle. Whether you need extra storage, a dedicated workspace, or a place for hobbies, a well-built shed adds both value and functionality to your property. However, many homeowners are intimidated by the idea of constructing a shed from scratch. Concerns about planning, permitting, materials, and construction can make the project feel overwhelming. The good news? With the right information and a methodical approach, building a backyard shed is entirely achievable—even if you’re not an experienced DIYer.
This comprehensive, step-by-step tutorial covers every aspect of shed construction, from initial planning and site selection to framing, roofing, siding, and finishing touches. You’ll learn how to choose the right materials, avoid common pitfalls, and ensure your shed stands the test of time. This guide also addresses essential considerations like foundation types, weatherproofing, ventilation, and ongoing maintenance. By the end, you’ll have the knowledge and confidence to create a durable, functional, and attractive backyard shed tailored to your needs.
Planning Your Shed Project
Assessing Your Needs
Start by defining the primary purpose of your shed. Will it be strictly for storage, or do you envision a workshop, potting shed, or hobby space? Your intended use will influence the size, layout, and features required.
- Storage: Consider shelving, double doors for large equipment, and easy access.
- Workshop: Plan for windows, electrical outlets, and workbenches.
- Garden Shed: Allow space for potting benches, greenhouse windows, and tool racks.
Checking Local Regulations
Before you break ground, check with your municipality or homeowners’ association for rules regarding sheds. Many areas have guidelines on location, maximum size, height, setbacks from property lines, and appearance. Some require permits, while smaller sheds may be exempt. Never skip this step—noncompliance can result in costly fines or removal orders.
Choosing the Right Location
Pick a site that’s level, well-drained, and easily accessible. Avoid low-lying spots prone to flooding. Consider proximity to your house, gardens, and utilities. Allow enough room around the shed for maintenance and airflow.
Design and Size Considerations
Measure your available space and sketch out possible shed dimensions. Standard sizes range from 6’x8’ to 12’x16’, but you can customize as needed. Think about roof style—gable is classic and sheds water efficiently, while lean-to is great for tight spaces.
Gathering Materials and Tools
Essential Materials
- Lumber for framing (pressure-treated for the base, standard for walls and roof)
- Plywood or oriented strand board (OSB) for floor, walls, and roof sheathing
- Concrete blocks, gravel, or precast piers for foundation
- Felt paper or synthetic underlayment for roofing
- Asphalt shingles, metal panels, or other roofing material
- Siding (T1-11 plywood, vinyl, or engineered wood)
- Doors and windows (pre-hung or site-built)
- Hinges, nails, screws, and construction adhesive
- Paint, stain, or sealant for weather protection
Recommended Tools
- Measuring tape, carpenter’s square, and level
- Circular saw or miter saw
- Power drill and impact driver
- Hammer and nail set
- Shovel and tamper
- Ladder and safety gear (goggles, gloves, ear protection)
- Chalk line and marking pencils
- Paintbrushes or rollers (for finishing)
Step-by-Step Shed Construction
Step 1: Preparing the Site and Foundation
- Clear the Area: Remove grass, rocks, and debris from the site. Use stakes and string to mark the shed’s footprint.
- Level the Ground: Use a shovel and tamper to create a flat, compacted base. For sloped sites, excavate and add fill as needed.
- Choose a Foundation:
- Concrete Blocks: Affordable, easy to install on level ground. Set blocks at corners and every 3-4 feet along the perimeter.
- Gravel Pad: Spread 4-6 inches of compacted gravel; lay pressure-treated skids on top.
- Concrete Slab: Most durable, but requires forming and pouring concrete. Ideal for larger sheds or heavy use.
- Precast Piers: Great for uneven terrain, supports beams directly.
Step 2: Framing the Floor
- Build the Frame: Use pressure-treated 2x6s or 2x8s to assemble a rectangular frame. Fasten corners with galvanized screws.
- Add Joists: Space joists 16” on center for stability. Attach joist hangers for added strength.
- Install Floor Sheathing: Lay 3/4” exterior-grade plywood or OSB on top. Stagger seams for rigidity and fasten with screws every 8 inches.
Step 3: Constructing and Raising Walls
- Frame Wall Sections: Assemble wall panels on the ground using 2x4s. Include door and window openings as planned.
- Raise and Secure: With help, stand each wall upright. Attach to the floor frame and temporarily brace for plumb.
- Join Corners: Use overlapping studs or corner blocks for strong connections. Check squareness before securing.
Step 4: Roof Framing and Sheathing
- Choose a Roof Style:
- Gable: Two sloping sides meeting at a ridge. Simple, classic, and sheds snow well.
- Lean-to: Single slope, great for placing next to a wall or fence.
- Build Roof Trusses: Assemble trusses on the ground using 2x4s and metal gussets or plywood plates.
- Install Trusses: Set trusses on top of the walls, spacing them 24 inches apart. Secure with hurricane ties for wind resistance.
- Add Roof Sheathing: Cover with 1/2” plywood or OSB, leaving a small gap between sheets for expansion.
Step 5: Installing Doors and Windows
- Pre-hung Doors: Fastest option, available at most home centers. Ensure rough opening matches manufacturer specs.
- Custom Doors: Build simple double doors from plywood and 2x4s for wide access.
- Windows: Use vinyl or aluminum units for low maintenance. Flash and caulk around frames for weatherproofing.
Step 6: Siding and Exterior Finishes
- Siding Options:
- T1-11 Plywood: Affordable, easy to install, classic look.
- Vinyl: Low maintenance, many colors, resists rot.
- Engineered Wood: Durable and weather-resistant, mimics real wood grain.
- Install Siding: Start from the bottom, overlap seams, and nail securely to wall studs.
- Paint or Stain: Apply exterior-grade paint or stain for protection against the elements. Caulk gaps and seams to prevent water intrusion.
Step 7: Roofing
- Underlayment: Lay roofing felt or synthetic underlayment over sheathing for moisture control.
- Install Roofing: Asphalt shingles are cost-effective and easy to install. Metal panels are durable and shed snow easily. Follow manufacturer’s instructions for best results.
- Flashing: Install metal flashing at eaves, rakes, and around penetrations to prevent leaks.
Step 8: Ventilation and Weatherproofing
- Vents: Install gable or ridge vents to allow airflow and prevent condensation.
- Drip Edge: Add metal drip edge at roof edges to direct water away from the shed.
- Seal All Openings: Use exterior caulk to seal windows, doors, and trim.
Step 9: Interior Finishing (Optional)
- Insulation: Add fiberglass batts or rigid foam if you plan to use the shed year-round.
- Wall Panels: Cover interior walls with plywood or drywall for a finished look.
- Shelving and Storage: Install shelves, hooks, and pegboards for organization.
- Electricity: Hire a licensed electrician if you want lighting, outlets, or climate control.
Maintenance and Longevity Tips
Annual Inspection Checklist
- Roof: Check for missing shingles, leaks, or rust on metal panels. Repair promptly to prevent water damage.
- Siding: Look for cracks, warping, or rot. Repaint or reseal every 3-5 years, as needed.
- Foundation: Ensure shed remains level and foundation is free from erosion or settling.
- Doors/Windows: Lubricate hinges and locks. Check seals for drafts or water intrusion.
- Ventilation: Clear vents of debris to maintain airflow.
Preventing Common Problems
- Pest Control: Keep shed area clear of brush and woodpiles. Seal any gaps to deter rodents and insects.
- Moisture Management: Maintain proper grading and downspouts to direct water away from the shed.
- Structural Integrity: Replace damaged boards or fasteners immediately to prevent further issues.
Cost and Time Estimates
The total cost of building a backyard shed varies widely based on size, materials, and features. On average, expect to spend $1,000–$3,000 for a basic 8’x10’ wood shed built DIY, including foundation, framing, siding, roofing, and standard doors. Larger sheds, premium materials, or professional labor will increase costs.
Most DIYers can complete a small-to-medium shed in two to three weekends, depending on complexity and weather. Enlist a helper for raising walls and handling heavy materials—many hands make lighter work and ensure safety.
Safety Checklist
- Wear protective gear: safety glasses, gloves, and ear protection.
- Use ladders and power tools according to manufacturer instructions.
- Keep your workspace clean and organized to prevent trips and falls.
- Be cautious when handling heavy lumber and roofing materials.
- If installing electricity, always hire a licensed professional.
Conclusion
Building a backyard shed is a practical and satisfying home improvement project that pays dividends for years to come. By following this step-by-step guide, you’ll avoid common mistakes and create a sturdy, attractive structure tailored to your needs—whether it’s for storage, work, or hobbies. Remember, the key to a successful shed build is thorough planning, attention to detail, and commitment to safety at every stage. Take the time to check local regulations, invest in quality materials, and don’t rush the foundational steps. Small investments in weatherproofing and ventilation will protect your shed from the elements, while consistent annual maintenance ensures its longevity.
Most importantly, embrace the process and enjoy the transformation of your outdoor space. With your new shed in place, you’ll not only gain valuable extra square footage but also the satisfaction of a job well done. Whether you’re stowing away garden tools, tackling DIY projects, or simply adding charm to your backyard, a well-built shed is an asset you’ll appreciate for years to come. Happy building!