Introduction: Why Exterior Paint Failure Happens—and Why It Matters
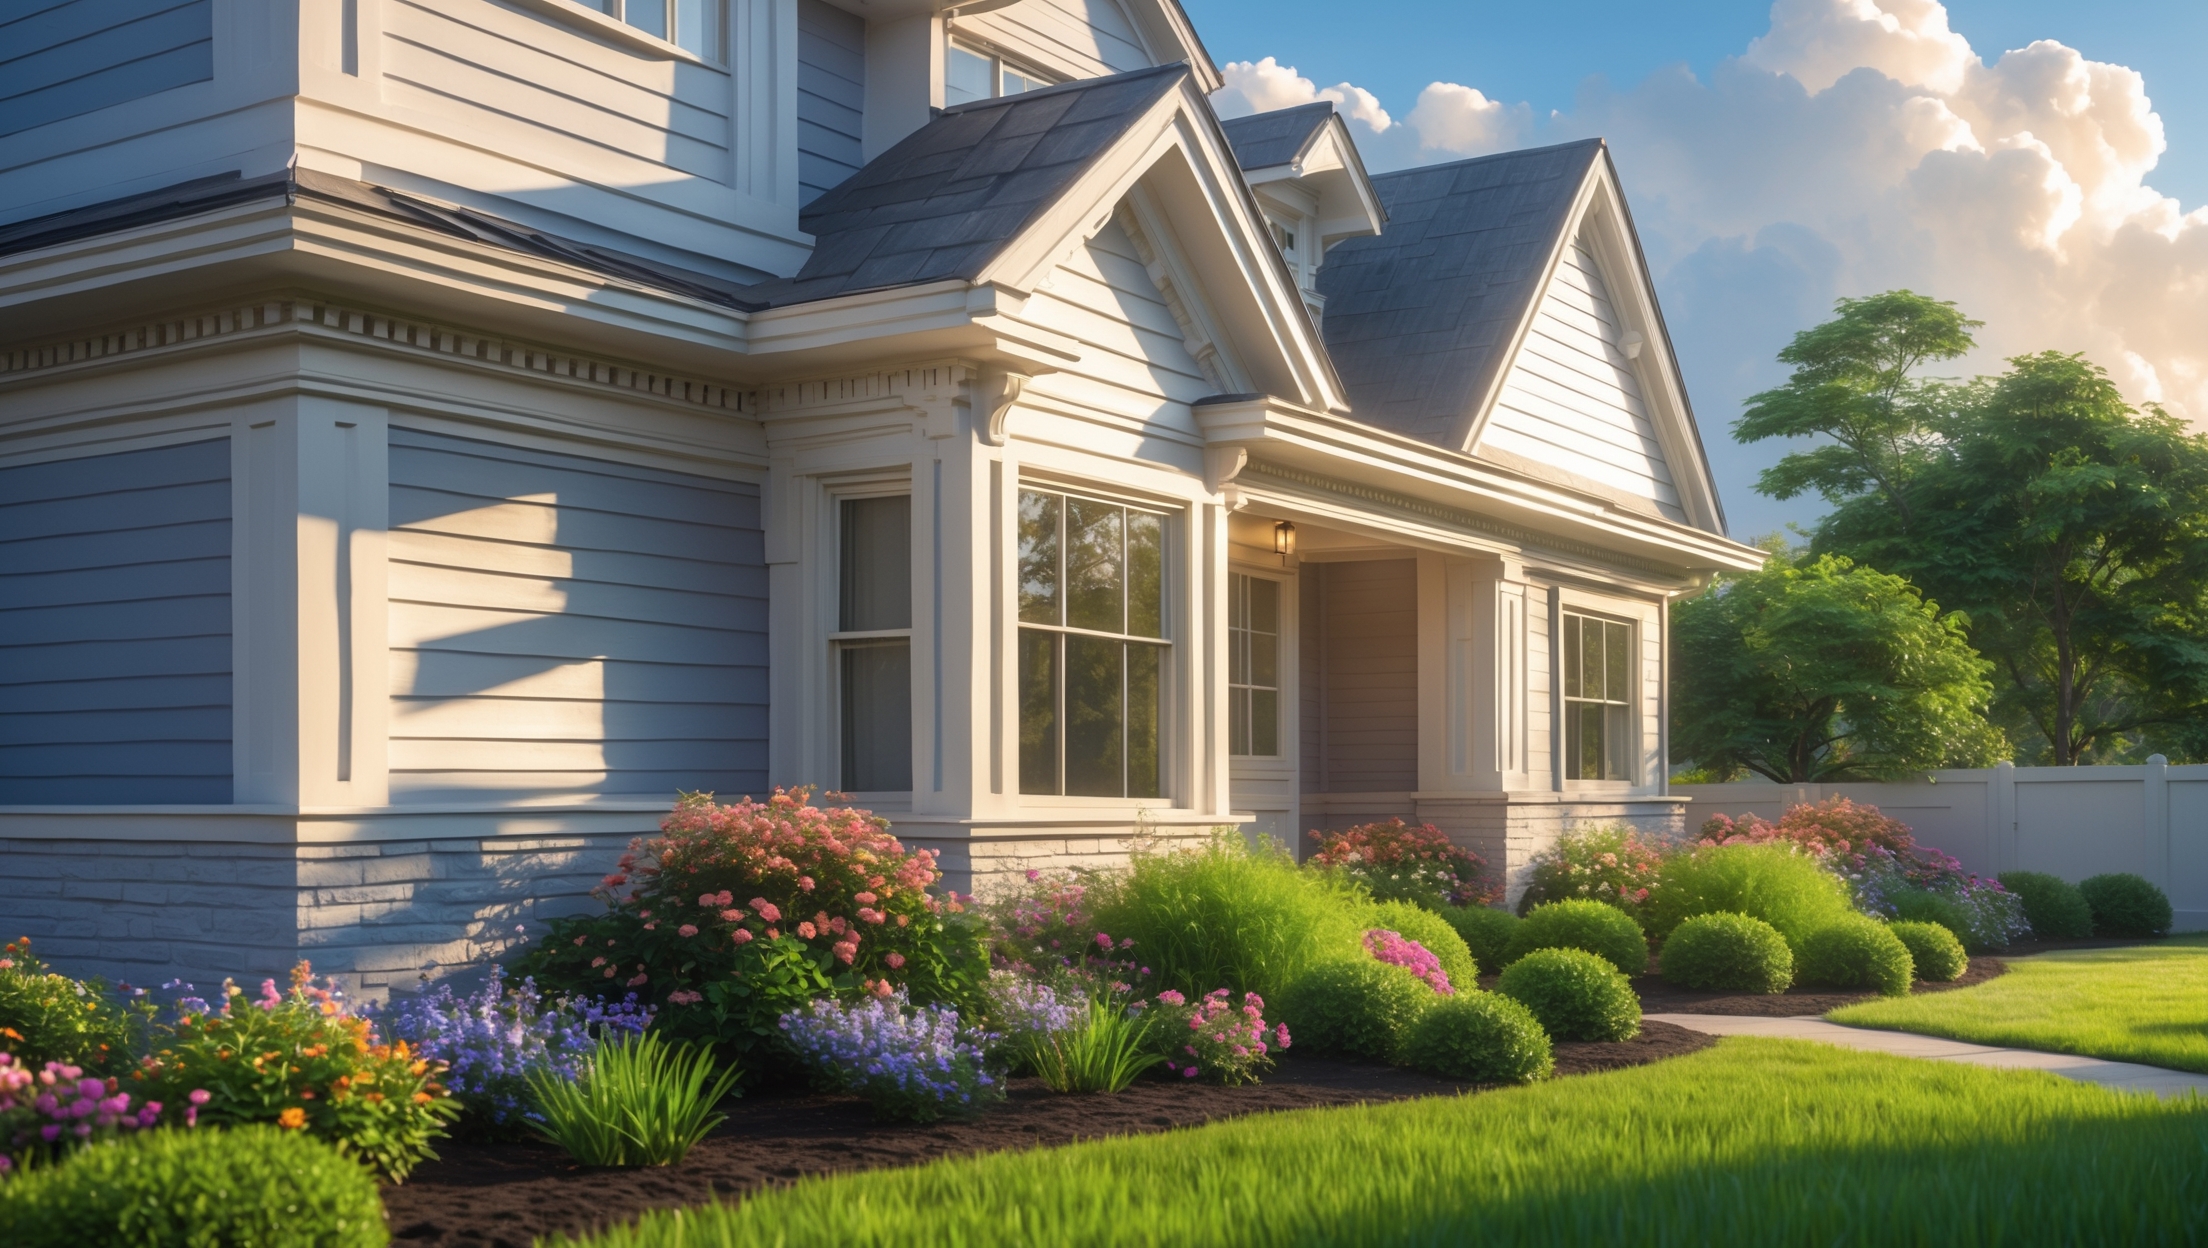
Painting the exterior of your home is more than a cosmetic upgrade—it’s a critical layer of protection against the elements. Yet, countless homeowners see their investment in exterior paint deteriorate prematurely, leading to peeling, cracking, blistering, and unsightly mildew stains. These failures aren’t just eyesores; they can expose your siding, trim, and other surfaces to costly moisture damage, wood rot, and even structural issues.
Understanding the causes of exterior paint failure and applying expert maintenance best practices can save you thousands in repairs, boost your home’s curb appeal, and extend the longevity of your paint job by years. Whether you’re planning your first repaint or want to maximize the life of an existing finish, this in-depth guide will walk you through the essential steps—from surface preparation and paint selection to seasonal upkeep and troubleshooting common problems. Let’s dive into the practical strategies every homeowner needs to keep exterior paint looking fresh and functional for the long haul.
Common Causes of Exterior Paint Failure
1. Poor Surface Preparation
The majority of paint failures can be traced back to inadequate prep work. Dirt, mildew, chalkiness, and loose paint prevent new coatings from adhering properly. Skipping these crucial steps often leads to peeling, blistering, and early breakdown.
2. Moisture Intrusion
Excess moisture—whether from leaks, condensation, or capillary action—can push paint off surfaces from underneath. This is especially common around gutters, window sills, and lower wall areas where water can pool or seep in. Moisture also encourages mold and mildew growth, which can stain and degrade paint films.
3. Inferior Paint or Incompatible Products
Low-quality paint or using interior paints outdoors may save money up front but rarely stands up to UV exposure, temperature swings, and rain. Incompatible primers and topcoats can result in poor bonding, leading to early failure.
4. Application Errors
Applying paint too thickly, in extreme weather, or over damp surfaces can cause bubbling, wrinkling, or incomplete curing. Not following manufacturer’s instructions for coverage and drying times is a recipe for disappointment.
5. Neglecting Maintenance
Painted exteriors need regular care. Dirt, pollen, and pollutants break down paint over time. Failing to wash, inspect, or touch up damaged areas accelerates failure and can void warranties.
Step-by-Step: Preparing Exterior Surfaces for Painting
Inspection and Assessment
- Walk around your home: Look for peeling, cracking, chalky residue, mildew, and soft spots in wood.
- Check for moisture issues: Inspect gutters, downspouts, window sills, and all horizontal surfaces for signs of leaks or standing water.
Cleaning
- Remove dirt and debris: Use a garden hose, soft scrub brush, and mild detergent. For stubborn grime, a pressure washer on a low setting is effective, but avoid driving water into seams or under siding.
- Eliminate mildew: Treat affected areas with a solution of 1 part bleach to 3 parts water, rinse thoroughly, and let dry completely.
Removing Loose or Failing Paint
- Scrape and sand: Use a paint scraper or wire brush to remove flaking paint. Feather rough edges with medium-grit sandpaper for a smooth transition.
- Address lead paint: For homes built before 1978, test for lead paint and use EPA-approved removal methods if present.
Repairing Surfaces
- Fill gaps and holes: Use exterior-grade spackle or wood filler for small imperfections. For larger repairs, replace damaged wood or siding sections.
- Caulk joints and seams: Apply high-quality, paintable exterior caulk around windows, doors, trim, and siding seams to block moisture entry.
Priming
- Choose the right primer: Bare wood, patched areas, or chalky surfaces require a bonding primer. Stain-blocking primers can prevent bleed-through from knots or tannins.
- Apply primer properly: Follow manufacturer recommendations for coverage and drying times. Don’t rush this step—it’s the foundation for long-lasting paint.
Selecting the Best Paint for Long-Term Protection
Paint Types: Acrylic vs. Oil-Based
- Acrylic (latex) paints: Durable, flexible, and resistant to UV degradation. Ideal for most wood, fiber cement, and vinyl siding.
- Oil-based paints: Offer excellent adhesion but are less flexible and prone to yellowing. Best reserved for select applications like metal railings or historic restoration.
Key Performance Features
- UV resistance: Prevents fading and breakdown from sunlight.
- Mildew resistance: Essential in humid or shaded locations.
- Breathability: Allows moisture vapor to escape, reducing blistering.
- Self-priming formulas: Some modern paints combine primer and topcoat for faster application—though bare or repaired surfaces may still need a dedicated primer.
Sheen Selection
- Flat/Matte: Hides imperfections but is less washable and durable. Best for older, rough surfaces or large wall areas.
- Satin/Eggshell: Strikes a balance between appearance and durability. Ideal for siding.
- Semi-gloss/Gloss: Highlights trim, doors, and railings and resists dirt and moisture.
Expert Application Techniques
Weather and Timing
- Ideal temperatures: Most paints perform best between 50°F and 85°F. Avoid painting in direct sun, strong wind, or when rain is imminent.
- Humidity: High humidity can slow drying and promote mildew. Paint when relative humidity is below 70% if possible.
Tools and Equipment
- Quality brushes and rollers: Use synthetic bristles for water-based paints; natural bristles for oil-based.
- Paint sprayer: Efficient for large, flat surfaces but requires skill and careful masking to avoid overspray.
- Ladders and scaffolding: Ensure safe, stable access to high areas. Never overreach or paint from unstable surfaces.
Application Best Practices
- Stir paint thoroughly: Mix each can before and during use for consistent color and sheen.
- Brush edges and trim first: “Cutting in” creates crisp lines and prevents lap marks.
- Work in manageable sections: Maintain a wet edge to avoid streaks and roller marks.
- Apply two coats: The first seals and builds color; the second ensures uniform coverage and durability.
Routine Maintenance to Prevent Paint Degradation
Annual Cleaning
- Wash exteriors: Use a soft brush, mild detergent, and hose to remove dirt, pollen, and air pollutants. Avoid harsh chemicals that can strip paint.
- Inspect for mildew: Treat spots as soon as they appear with a diluted bleach solution, then rinse thoroughly.
Biannual Inspections
- Check for damage: Look for peeling, blistering, or cracking paint. Pay special attention to horizontal surfaces, south- and west-facing walls, and areas around windows and doors.
- Probe wood trim: Use a screwdriver to test for soft spots that may indicate rot beneath the paint.
Touch-Ups and Repairs
- Address small chips or scratches promptly: Clean, sand, prime, and repaint only the affected area to prevent spreading.
- Re-caulk as needed: Replace cracked or missing caulk to keep moisture out.
Managing Vegetation
- Trim landscaping: Keep bushes, vines, and trees at least a foot away from painted surfaces to improve airflow and reduce mildew risk.
- Avoid sprinklers hitting the house: Redirect irrigation to minimize constant wetting of siding and trim.
Seasonal Checklist: Prolonging Exterior Paint Life Year-Round
- Spring: Clean surfaces, check for winter damage, and touch up as needed.
- Summer: Schedule major painting projects; ensure gutters and downspouts are clear.
- Fall: Inspect for caulk failures, repair before winter moisture sets in, remove debris from eaves and trim.
- Winter: Monitor for ice dams and condensation around windows; address promptly to prevent water intrusion.
Troubleshooting: Identifying and Fixing Common Paint Problems
Peeling and Flaking
Causes: Moisture intrusion, poor surface prep, incompatible paints.
Solution: Scrape and sand affected areas, repair moisture sources, prime bare spots, repaint with compatible products.
Blistering and Bubbling
Causes: Painting over damp surfaces or in direct sunlight.
Solution: Remove bubbles, allow area to dry, repaint in optimal conditions.
Mildew and Mold Stains
Causes: Insufficient sun exposure, poor ventilation, or low-quality paint.
Solution: Clean with bleach solution, rinse, allow to dry, repaint with mildew-resistant paint if needed.
Fading and Chalking
Causes: UV exposure, low-quality paint, or insufficient pigment.
Solution: Wash away chalk, prime if necessary, repaint with high-quality, UV-resistant paint.
Advanced Tips for Difficult Surfaces
Stucco and Masonry
- Patch cracks with exterior-grade masonry filler before painting.
- Use breathable masonry paint to allow moisture vapor to escape.
Metal Surfaces
- Remove any rust, prime with rust-inhibiting primer, and use a paint formulated for metal.
- Check for flaking around fasteners and repaint as needed to prevent corrosion.
Previously Painted Surfaces
- If unsure whether old paint is oil- or water-based, test with alcohol: latex paint softens, oil-based does not. Use appropriate primer if switching types.
Conclusion: Protect Your Investment with Proactive Maintenance
Exterior paint is your home’s first line of defense against sun, rain, and fluctuating temperatures. By understanding the underlying causes of paint failure and applying these expert maintenance practices, you can extend the life of your paint job, enhance curb appeal, and preserve the structural integrity of your home. From diligent surface preparation and careful product selection to routine cleaning and seasonal inspections, each step plays a vital role in preventing costly damage and maintaining a beautiful exterior for years to come.
Remember: The small investment of time and care in upkeep pays enormous dividends. If you spot the early warning signs of paint failure—peeling, cracking, mildew—address them promptly. Don’t hesitate to consult a professional for advanced repairs or when tackling large-scale projects. Above all, treat exterior paint maintenance as an ongoing process, not a one-time event. With the right approach, your home will stay protected and attractive no matter what the elements throw its way.
Can you clarify which type of primer works best for older wood siding that already has some peeling and mildew stains? The excerpt mentions poor surface prep as a major cause of failure, so I want to be sure I’m using the right products for my repairs.
For older wood siding with peeling paint and mildew stains, use an oil-based or high-quality bonding primer after thoroughly scraping off loose paint and cleaning mildew with a fungicidal wash. Oil-based primers seal wood and help block stains, while bonding primers adhere well to weathered surfaces. Proper cleaning and prep are essential before priming to ensure the new paint lasts.
You mention moisture intrusion as a major cause of paint failure, especially near gutters and window sills. Are there specific maintenance tips for those high-risk spots to prevent water from seeping in over time?
Absolutely, paying special attention to gutters and window sills is crucial. For gutters, keep them clear of debris so water flows away from your exterior walls, and check for leaks or gaps at the joints. Around window sills, inspect caulking and repaint as needed to seal gaps. Also, make sure water can’t pool or collect against sills—good drainage is key.
The article mentions that inferior paints can deteriorate quickly. Is there a noticeable difference in longevity between premium exterior paints and mid-tier options, or does prep matter more than paint quality?
Both prep work and paint quality play important roles, but there is a noticeable difference in longevity between premium and mid-tier exterior paints. Premium paints typically contain better resins and pigments, which help them resist fading, cracking, and peeling for longer. However, even the best paint can fail if the surface isn’t properly prepped. For the longest-lasting results, it’s best to combine thorough surface preparation with a high-quality exterior paint.
Regarding surface preparation, you said that skipping cleaning or removing loose paint can lead to premature peeling and blistering. Could you provide a detailed step-by-step prep process a homeowner should follow before applying exterior paint?
Absolutely. Start by washing the surface with a garden hose or pressure washer to remove dirt and mildew, letting it dry completely. Scrape off all loose or peeling paint with a putty knife or paint scraper. Sand rough edges to smooth transitions between bare wood and painted areas. Fill any cracks or holes with exterior-grade filler, then sand again for a smooth surface. Finally, wipe away dust and apply primer to any bare spots before painting. This approach ensures excellent paint adhesion and long-lasting results.
You mentioned that poor surface preparation is a major cause of exterior paint failure, especially issues like leftover dirt and mildew. What specific cleaning methods or products do you recommend for prepping wood siding before painting to make sure the new paint adheres properly?
For prepping wood siding, start by washing the surface with a garden hose or pressure washer on a low setting to remove loose dirt. For mildew or stubborn grime, use a mixture of water and mild detergent, or a solution of one part bleach to three parts water. Scrub affected areas with a stiff-bristle brush, then rinse thoroughly and let the wood dry completely before sanding and priming. These steps help new paint bond well and last longer.
The article talks about paint compatibility with primers and topcoats. Could you explain how to tell if two products will work well together, especially if I am considering switching brands halfway through a project?
To ensure paint and primer or topcoat compatibility, always check the labels for recommended pairings and base types—products labeled as oil-based should be used together, as should water-based ones. If you’re switching brands, compare manufacturer guidelines for mixing with other products. When in doubt, do a small test patch to check for issues like poor adhesion or bubbling before committing to the whole surface.
You mention that poor surface preparation is a big reason for paint failure. Could you break down what proper prep looks like for someone doing it for the first time? Are there any beginner-friendly tools or products you recommend for cleaning and prepping exterior wood siding?
Proper prep for exterior wood siding starts with cleaning the surface—use a garden hose or pressure washer on a low setting to remove dirt and mildew. Let it dry fully. Next, scrape off any loose or flaking paint with a paint scraper, then sand the rough spots smooth. Fill any holes or cracks with exterior-grade filler. Finally, dust off the surface before priming. For beginners, a handheld scraper, medium-grit sandpaper, and a basic caulk gun are all easy to use.
I noticed the guide warns against using interior paint outdoors because it can’t handle UV or weather. Are there affordable exterior paints you’d recommend for someone repainting on a budget but who still wants durability?
You’re right—using interior paint outdoors can lead to fast deterioration. For budget-friendly but durable exterior paints, look for reputable brands’ economy lines labeled specifically for exterior use. Options like Behr Premium Plus Exterior or Valspar 2000 Exterior generally offer good protection at a lower price point. Focus on 100% acrylic formulas, as they tend to last longer and resist fading, even in challenging weather.
You mentioned that moisture intrusion around window sills can cause paint to blister and peel. Are there specific caulks or sealants you recommend for those areas that work well with most exterior paints?
For sealing around window sills, look for high-quality exterior-grade acrylic latex caulks. These are flexible, paintable, and adhere well to various surfaces. Brands labeled as ‘siliconized acrylic’ or ‘polyurethane’ are also reliable for weather resistance. Always choose a caulk specifically marked as ‘paintable’ to ensure good compatibility with most exterior paints. Make sure the area is clean and dry before applying for best results.
If my house already has some minor mildew stains on the siding, should I treat those areas first before repainting, or will a quality primer handle it? What cleaning solution works best for mildew without damaging the surface?
It’s important to treat any mildew stains before repainting. A quality primer won’t kill or fully block mildew, so cleaning the affected areas first is key. The best approach is to use a solution of one part bleach to three parts water, applied with a soft brush or sponge. Rinse thoroughly afterward and let the surface dry completely before painting. This will help ensure the mildew doesn’t return under your new paint job.
You noted that using inferior paint can lead to early breakdowns. For a business on a tight budget, are there mid-range paint brands or products that balance cost and durability for exterior surfaces?
Yes, there are several mid-range paint brands that offer good durability without the premium price tag. Brands like Behr, Valspar, and Sherwin-Williams’ lower-tier lines are often recommended for their balance of quality and affordability. Look for paints labeled as exterior and with added resistance to weather and UV. Investing just a bit more in these options can prevent costly early repaints and maintenance down the line.
When selecting exterior paint, are there certain brands or qualities I should prioritize to avoid premature peeling and cracking? The article talks about the drawbacks of low-quality or incompatible products, but more guidance on what to look for would be helpful.
To minimize peeling and cracking, choose exterior paints labeled as 100% acrylic or acrylic latex, as they offer excellent durability and flexibility. Prioritize reputable brands known for exterior performance, and check for features like UV resistance and mildew protection. Also, select paints recommended for your specific surface (wood, masonry, etc.), and avoid bargain or generic brands, as these may lack the additives needed for long-term protection.
The article talks about how poor surface prep causes most paint failures. If my house has a lot of old, flaky paint, how do I know when it’s time to strip everything down to bare wood versus just sanding and priming the trouble spots?
If you see widespread flaking, peeling, or cracking across large areas, it’s usually best to strip back to bare wood for a long-lasting result. If the old paint is mostly sound and only a few spots are affected, you can sand and feather those areas, then prime and repaint. Always check by pressing or scraping: if paint comes off easily or the wood underneath is exposed in many places, full stripping is likely needed.
What’s the most cost-effective way for a small business owner to detect and prevent moisture intrusion around tricky areas like gutters and window sills?
For small business owners, the most cost-effective way to detect and prevent moisture intrusion around gutters and window sills is regular visual inspections. Check for peeling paint, discoloration, or soft spots, especially after heavy rain. Clean gutters to prevent overflow and make sure window sills have intact caulking and sealing. Address any minor cracks or gaps immediately with exterior-grade sealant to stop moisture before it causes significant paint failure.