
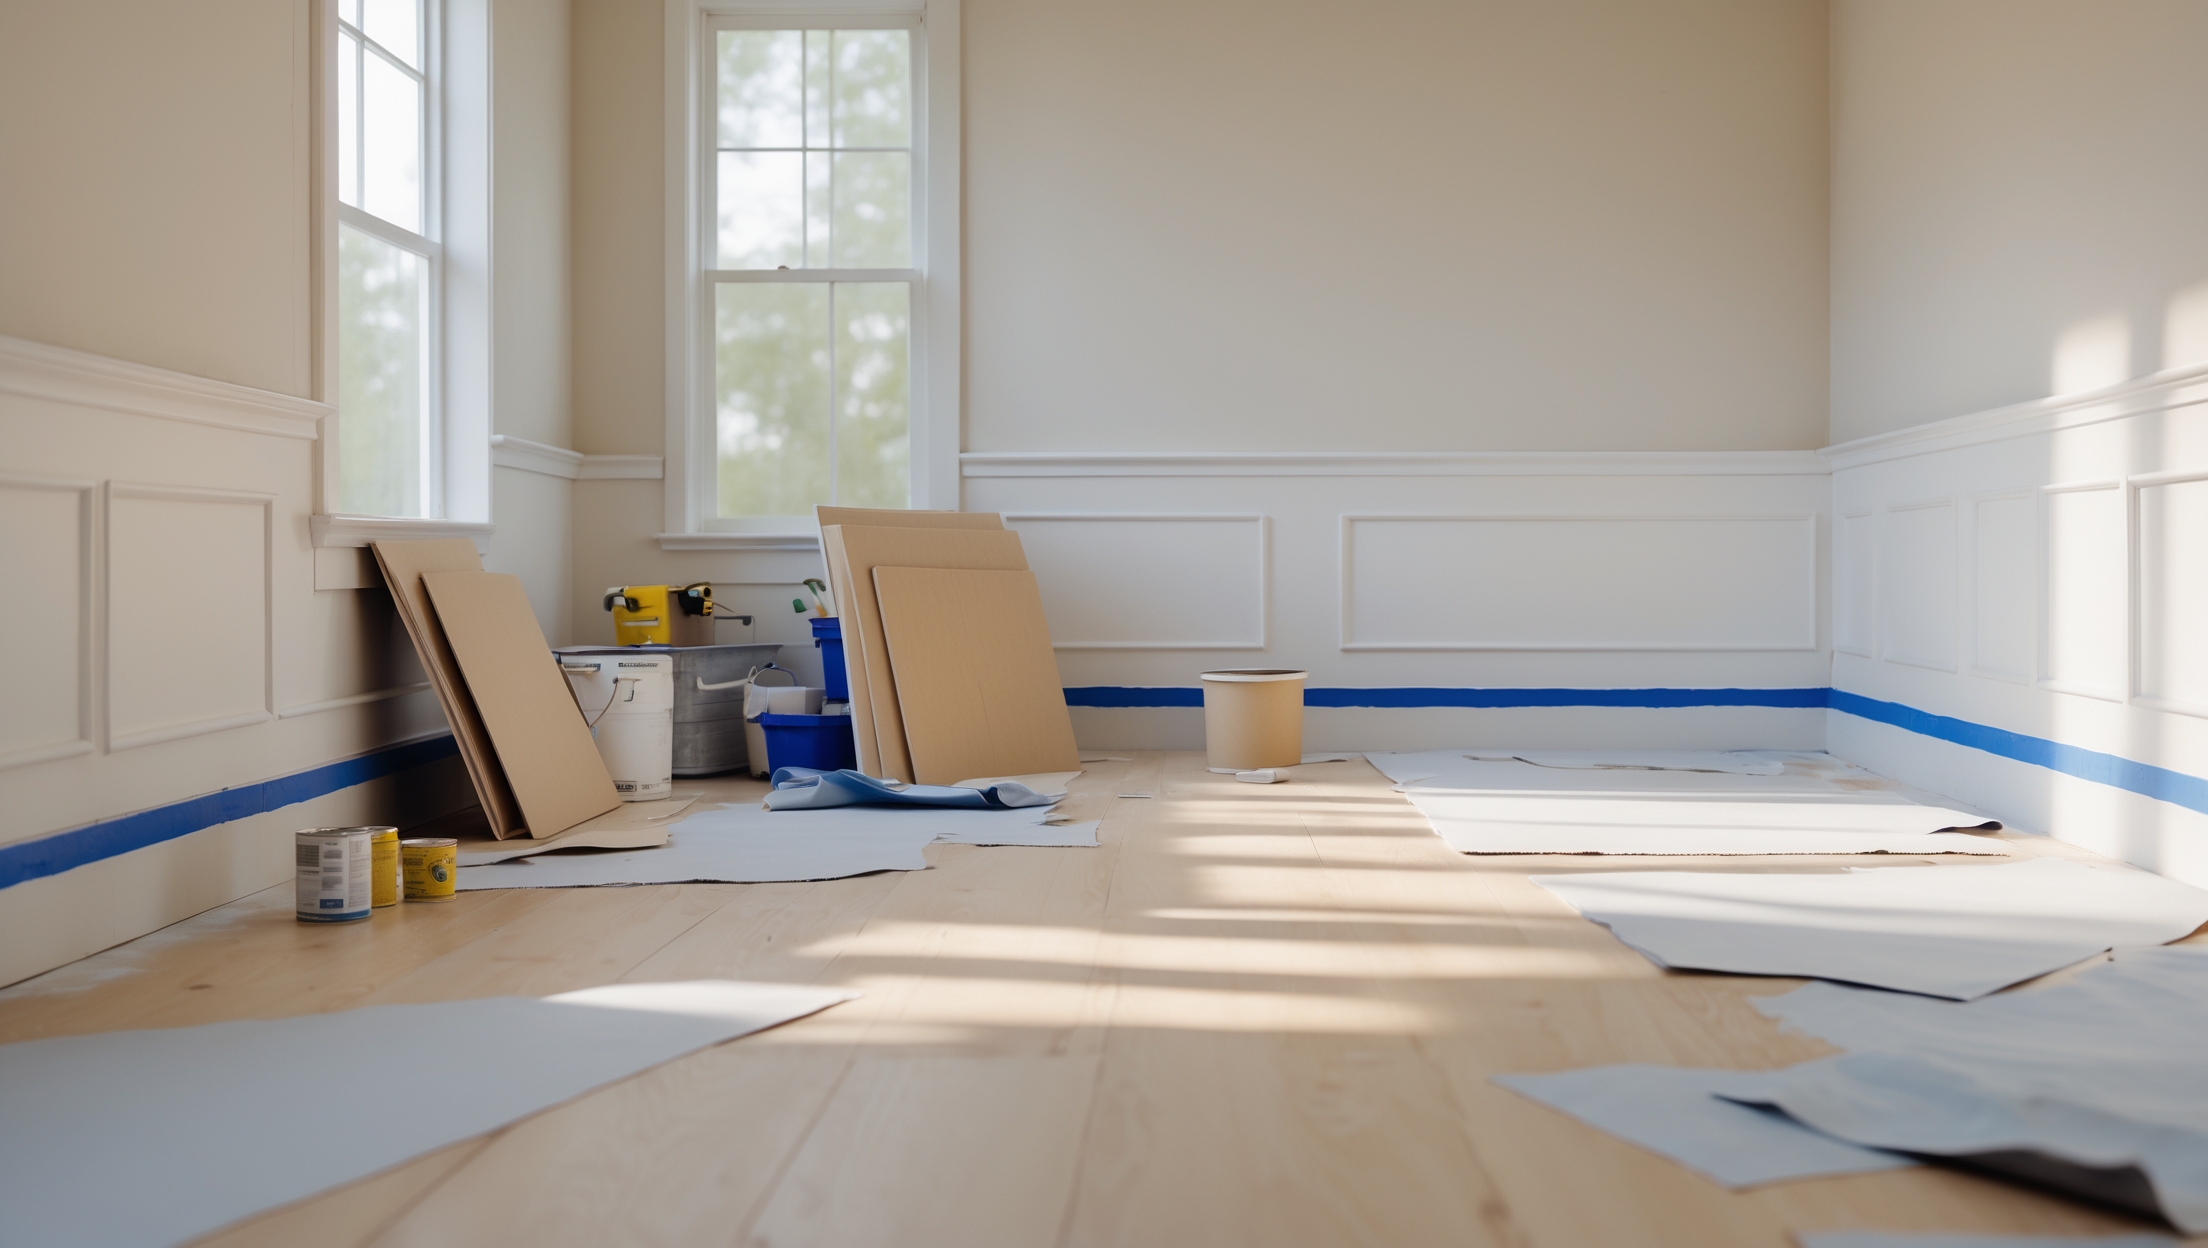
Introduction: Why Surface Preparation Is the Key to a Flawless Paint Job
Painting a room or the exterior of your home can dramatically transform its look and feel. Yet, many homeowners are disappointed when their paint peels, bubbles, or fades far sooner than expected. The root cause isn’t always the paint itself—it’s often the surface preparation. Thorough prep work is the unsung hero of a successful, professional-quality paint job. It provides the foundation for paint adhesion and long-lasting durability, ensuring your investment pays off for years to come. Unfortunately, surface prep is also where many DIYers and even some pros cut corners, leading to costly, time-consuming fixes down the line.
This guide dives deep into the step-by-step process of surface preparation for home painting projects, both interior and exterior. Whether you’re tackling drywall, wood trim, masonry, or siding, you’ll learn the practical techniques, tools, and materials needed for each surface type. From cleaning and repairing imperfections to priming and proper masking, every detail matters. By the end of this guide, you’ll be equipped with the expert knowledge to prep like a pro, boost curb appeal, and achieve a paint finish that truly lasts.
Understanding the Role of Surface Preparation
What Happens If You Skip Prep?
Skipping or rushing the prep stage can result in:
- Poor paint adhesion, leading to peeling, flaking, or blistering
- Visible stains, cracks, or patched areas showing through new paint
- Uneven sheen and texture
- Mold or mildew growth beneath paint, especially in damp areas
- Reduced paint lifespan, requiring frequent repainting
Key Principles of Surface Prep
- Cleanliness: Paint adheres best to clean, dust-free surfaces.
- Soundness: Surfaces must be stable, free from peeling paint or loose material.
- Dryness: Moisture can cause paint to bubble or prevent adhesion.
- Texture: Properly sanded and primed surfaces accept paint smoothly and evenly.
Essential Tools and Materials for Surface Preparation
- Drop cloths and plastic sheeting
- Painter’s tape (various widths)
- Putty knives and scrapers
- Sandpaper (80–220 grit) and sanding blocks
- Spackle or joint compound
- Wood filler and caulk (paintable)
- Trisodium phosphate (TSP) or mild detergent
- Sponges, rags, buckets
- Vacuum or dust brush
- Primer (specific to surface type)
- Respirator or dust mask, gloves, safety goggles
Step-by-Step Surface Preparation: Interior Walls and Ceilings
1. Clear and Protect the Area
Move furniture out or to the center of the room. Cover floors and furniture with drop cloths. Use plastic sheeting and painter’s tape to mask off windows, doors, trim, and outlets.
2. Clean the Surfaces
Dust and dirt interfere with adhesion. Wipe walls and ceilings with a damp sponge or cloth. For greasy areas (like kitchens), use TSP or a mild detergent solution to remove oils and residues. Rinse with clean water and let dry completely.
3. Inspect and Repair Imperfections
- Nail holes, dings, and dents: Fill with spackle or joint compound using a putty knife. Overfill slightly to allow for sanding.
- Cracks: Widen tiny cracks with a utility knife, then fill with spackle. For larger cracks (especially in plaster), use fiberglass mesh tape before applying compound.
- Loose paint or wallpaper: Scrape off any peeling paint. Remove wallpaper completely and wash off adhesive residue.
4. Sand for Smoothness
Once repairs dry, sand patched areas flush with the wall using 120–220 grit sandpaper. For glossy surfaces, scuff lightly to promote adhesion. Wipe away dust with a damp cloth or vacuum brush attachment.
5. Address Stains and Mold
- Water stains: Treat the underlying cause first. Once dry, seal stains with a stain-blocking primer.
- Mold/mildew: Clean with a 3:1 water-bleach solution. Rinse well and allow to dry. If the problem persists, consult a professional.
6. Prime as Needed
Priming creates a uniform surface and improves paint adhesion, especially on repaired areas, new drywall, stained spots, or surfaces transitioning between dark and light colors. Choose a primer suited for your wall type (drywall, plaster, masonry, etc.).
Surface Preparation for Wood Trim, Doors, and Cabinets
1. Remove Hardware and Mask
Take off handles, knobs, and hinges where possible. Use painter’s tape to protect adjacent surfaces.
2. Clean Thoroughly
Wood trim, doors, and cabinets often harbor oils and fingerprints. Clean with TSP or a degreasing cleaner. Rinse well and dry.
3. Repair Dents, Holes, and Gaps
- Fill nail holes and dents: Use wood filler and a putty knife. Let dry fully before sanding.
- Caulk gaps: Apply paintable caulk to seams and corners. Smooth out with a damp finger or caulk tool.
4. Sand for Adhesion
Sand all surfaces lightly with 120–180 grit sandpaper. For glossy finishes, sand thoroughly to dull the sheen. Remove dust with a tack cloth or vacuum.
5. Prime
Use a bonding primer designed for wood, especially if painting over stained or varnished surfaces. For bare wood, apply a stain-blocking primer.
Exterior Surface Preparation: Siding, Masonry, and More
1. Wash the Surface
- Pressure washing: Most exteriors benefit from pressure washing to remove dirt, chalk, mildew, and loose paint. Use the lowest effective pressure to avoid damage.
- Hand washing: For delicate or historic surfaces, use a soft brush and mild detergent solution.
Allow surfaces to dry completely (typically 1–2 days) before proceeding.
2. Scrape and Sand Loose Paint
Use paint scrapers and wire brushes to remove peeling or blistered paint. Sand edges of remaining paint smooth to feather into the bare surface. Wear a respirator if dealing with old (pre-1978) paint, as it may contain lead.
3. Repair and Patch
- Wood siding: Fill holes, cracks, and gouges with exterior-grade wood filler. Caulk all joints and seams with paintable exterior caulk.
- Masonry: Patch cracks with mortar repair caulk or patching compound. Address efflorescence (white powdery deposits) with a stiff brush and masonry cleaner.
- Stucco: Repair cracks and chips with stucco patch. Allow to cure fully before painting.
4. Address Mold, Mildew, and Algae
Apply a mold/mildew remover or a 3:1 water-bleach solution. Scrub affected areas, rinse thoroughly, and let dry.
5. Prime Problem Areas
- Prime all bare wood, patched areas, and stains with an exterior-grade primer.
- For masonry, use a masonry primer to block alkalinity and improve adhesion.
- On metal, remove rust and prime with a rust-inhibiting metal primer.
Special Surface Prep Considerations
1. Wallpapered Walls
- Remove wallpaper completely for best results. Use a wallpaper steamer or remover solution as needed.
- Wash off adhesive residue, rinse, and let dry.
- Repair and sand walls before priming with a high-adhesion primer.
2. Previously Painted Surfaces
- If paint is sound and clean, scuff sand to dull the sheen and improve adhesion.
- For oil-based paint being covered by latex, always prime first to prevent peeling.
3. Textured Surfaces
- Repair any damaged texture with patching compound.
- Use a thick-nap roller for priming and painting to reach into crevices.
Masking and Taping: The Professional Edge
1. Where and How to Tape
Apply painter’s tape to baseboards, crown molding, window and door trim, and any fixtures you want to protect. Press tape down firmly to prevent paint bleed. Use wide tape for floors and narrower tape for trim.
2. Masking for Spray Painting
For spray applications, use masking film or plastic sheeting to shield windows, doors, and landscaping. Double-check all edges for gaps.
Final Pre-Paint Checklist
- All repairs and patches are dry and sanded smooth
- Surfaces are clean, dry, and dust-free
- All necessary areas are primed
- All masking and taping is secure
- Room is well-ventilated and at proper temperature/humidity for painting
Expert Tips for Efficient, High-Quality Prep
- Work from the top down—start with ceilings, then walls, then trim.
- Invest in high-quality sandpaper and fillers; cheap products often fail prematurely.
- Allow ample drying time between cleaning, patching, and priming steps.
- Keep a bright work light handy to spot flaws.
- Always wear personal protective equipment, especially when sanding or dealing with chemicals.
Conclusion: Invest in Prep for Results That Last
It’s tempting to rush into the fun part—rolling on that fresh color and watching your space transform. But as countless homeowners discover, the true secret to a flawless, durable paint job is the care you invest before the first brushstroke. Meticulous surface preparation is the difference between paint that lasts for years and paint that disappoints within months. By following these step-by-step techniques, you’ll prevent peeling, bubbling, and unsightly imperfections, ensuring your hard work stands the test of time and daily life.
Remember, every surface has unique needs, from drywall and trim to stucco and siding. The time spent cleaning, repairing, sanding, and priming is never wasted. Your paint will adhere better, cover more evenly, and resist wear, saving you money and effort on future touch-ups. Most importantly, a well-prepped surface elevates the final look—showcasing the true beauty and value of your home improvement project.
So, before you open that paint can, take a critical look at your surfaces and commit to professional-grade prep. Your home—and everyone who sees it—will thank you for years to come.