
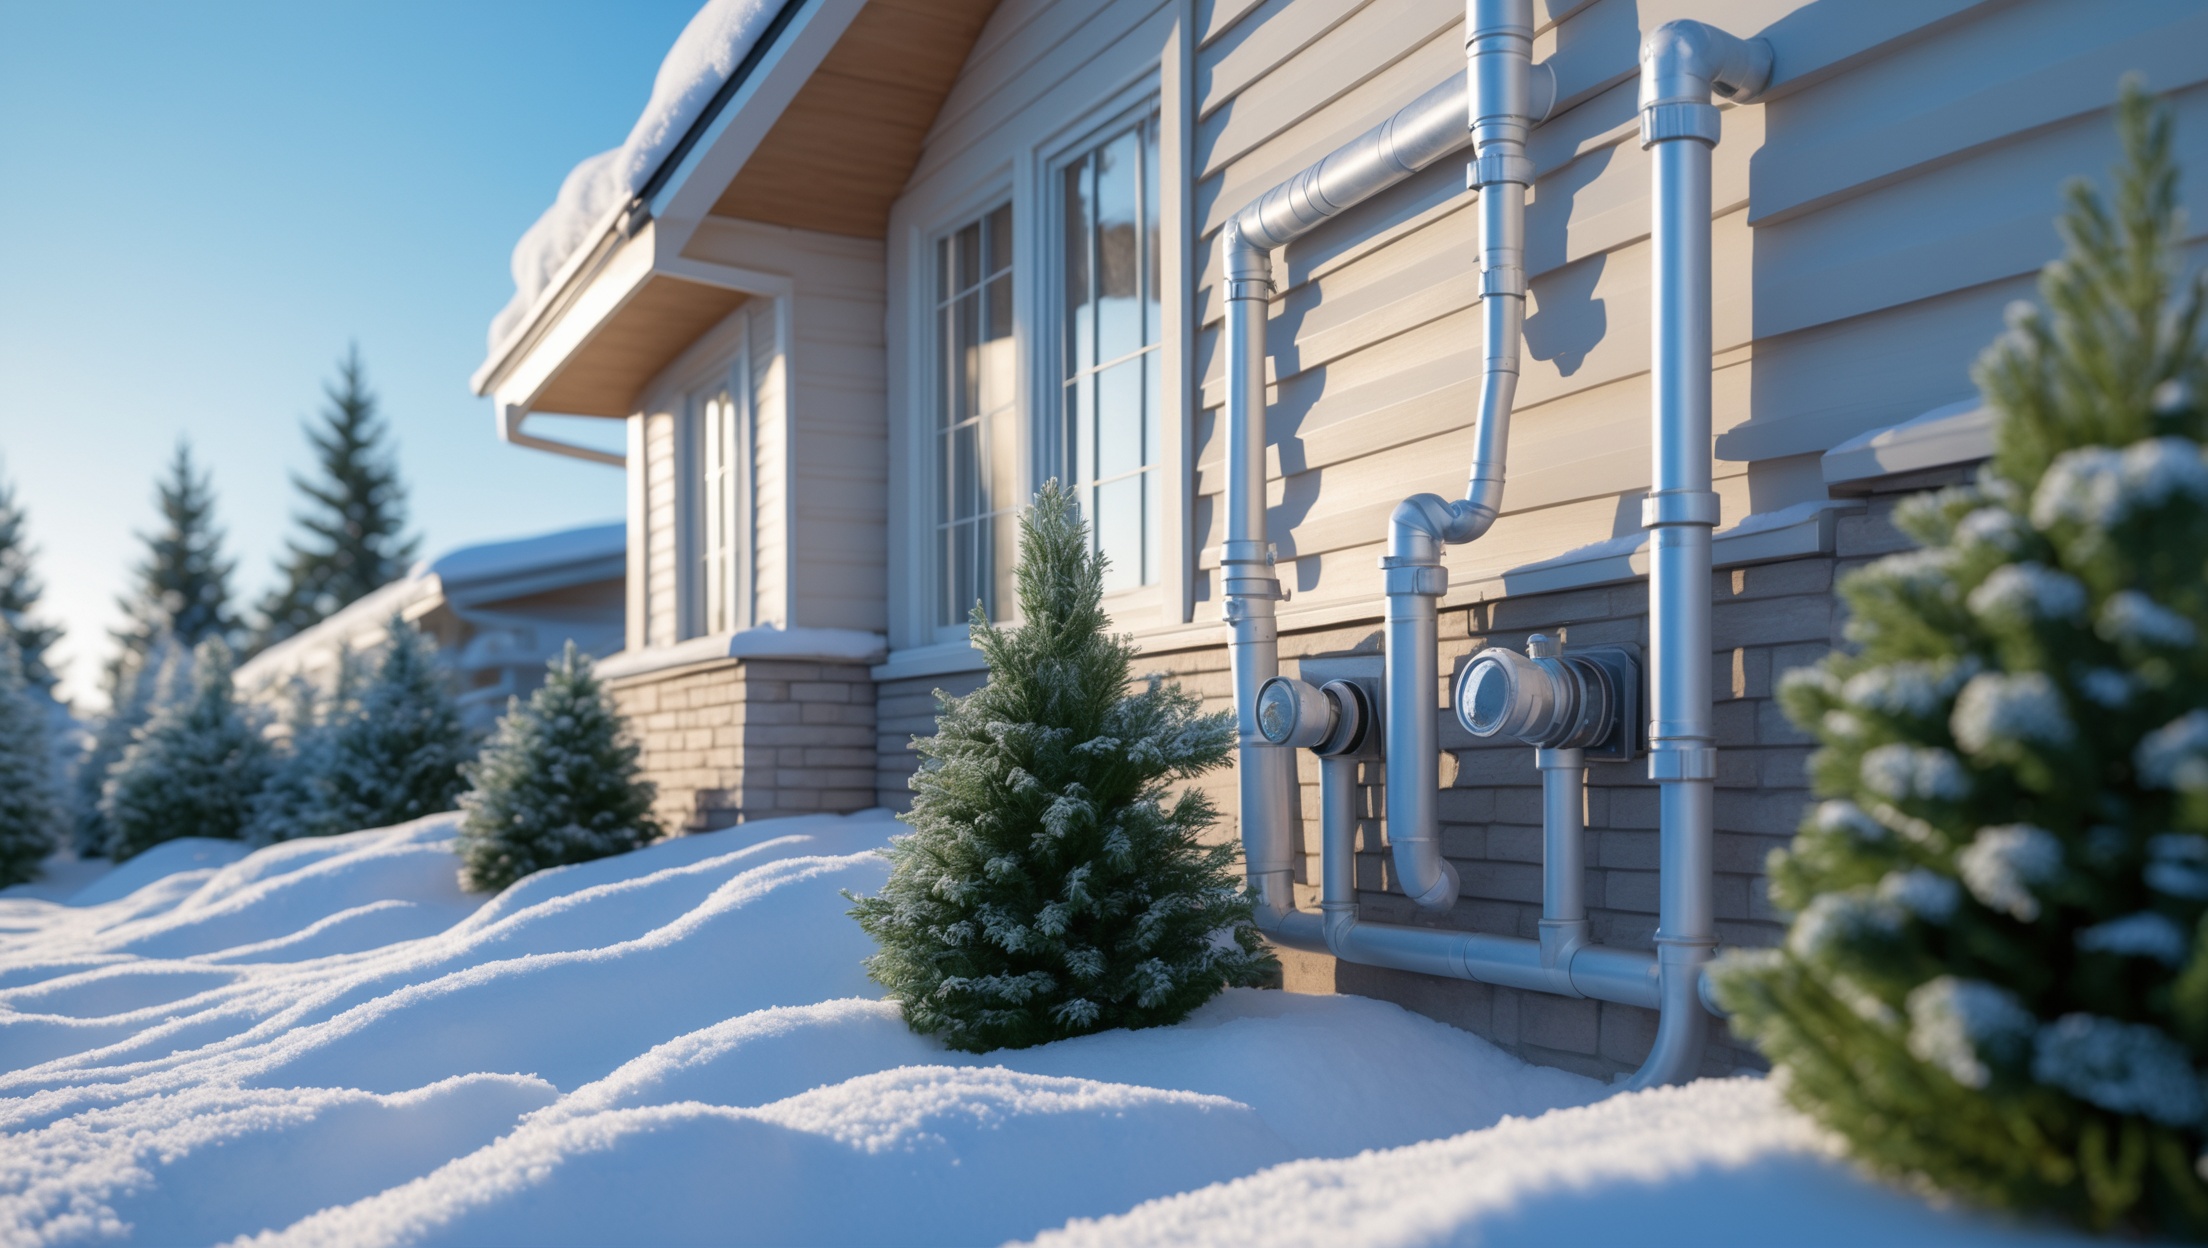
Introduction: Why Winterizing Your Home Plumbing Matters
Every year, thousands of homeowners face burst pipes, costly repairs, and water damage simply because they underestimated the impact of freezing temperatures on their plumbing systems. Winterizing your home plumbing is not just a precaution—it’s an essential part of home maintenance, especially if you live in a region with cold winters. When water freezes in pipes, it expands, creating pressure that can rupture pipes and flood your home. Even a small crack can lead to significant water loss, mold growth, and structural damage. But the good news is that with a proactive, step-by-step winterization plan, you can dramatically reduce your risk and enjoy peace of mind all season long.
This comprehensive guide offers a practical, homeowner-friendly checklist to prepare your plumbing for winter’s worst. You’ll learn which pipes are most vulnerable, what tools and materials you’ll need, and how to protect every part of your system—from outdoor spigots to interior fixtures and hidden crawlspaces. Whether you’re a seasoned DIYer or just getting started, these expert strategies will help you safeguard your home, avoid emergency repair bills, and keep your plumbing system running smoothly until spring.
Understanding the Risks: How Cold Weather Affects Plumbing
Why Pipes Freeze
Water expands as it freezes, and pipes—especially those exposed to cold air—can succumb to this pressure. Pipes in unheated areas (crawl spaces, basements, garages, exterior walls, and attics) are at greatest risk. Outdoor hose bibs and irrigation lines are also highly vulnerable.
Consequences of Frozen Pipes
- Burst Pipes: A pipe with just a 1/8-inch crack can leak 250 gallons of water in a day.
- Water Damage: Flooding can ruin floors, walls, insulation, and electrical systems.
- Mold Growth: Moisture from leaks fosters mold, which can affect air quality and health.
- Costly Repairs: Emergency plumber visits and restoration can cost thousands.
Essential Tools and Materials for Winterizing Plumbing
- Pipe insulation (foam sleeves, fiberglass wrap, or rubber insulation)
- Heat tape or heat cables (UL-listed for plumbing use)
- Weatherproof faucet covers
- Plumber’s tape
- Adjustable wrench and pliers
- Buckets and sponges
- Caulk or expanding foam sealant
- Flashlight or work light
- Hose bib shutoff key (if required)
Step-by-Step Checklist: Winterizing Your Home Plumbing
1. Inspect and Identify Vulnerable Pipes
- Walk through your home and locate all water supply pipes.
- Pay attention to pipes along exterior walls, in unheated basements, garages, crawl spaces, and attics.
- Check for visible gaps, cracks, or areas where cold air can enter.
2. Insulate Exposed Pipes
- Measure the length and diameter of exposed pipes.
- Install foam pipe sleeves or wrap with fiberglass insulation. Secure with tape.
- For pipes that are extremely cold-prone, consider installing UL-listed heat tape or heat cables, following manufacturer instructions.
3. Seal Air Leaks
- Use caulk or expanding foam to seal gaps or holes where pipes enter walls or floors.
- Check for drafts near plumbing, especially in basements and crawl spaces.
- Seal around windows, vents, and foundation cracks to reduce cold air infiltration.
4. Winterize Outdoor Faucets and Hose Bibs
- Disconnect, drain, and store all garden hoses.
- Close the interior shutoff valve (if available) that supplies the outdoor faucet.
- Open the outdoor faucet to drain any remaining water; leave it slightly open.
- Install an insulated faucet cover for added protection.
- For frost-free spigots, ensure proper installation and check for leaks.
5. Drain and Protect Irrigation Systems
- Shut off the main irrigation supply valve.
- Open all manual drain valves to release water.
- Use compressed air to blow out the system if needed (consult manufacturer or hire a professional for large systems).
6. Prep Plumbing in Unused or Vacant Properties
- Shut off main water supply.
- Drain all pipes by opening faucets and flushing toilets.
- Add non-toxic RV antifreeze to toilet bowls, tanks, and sink traps to prevent freezing.
7. Maintain Safe Temperatures Indoors
- Keep your thermostat set to at least 55°F (13°C), even if you are away.
- Open cabinet doors under sinks to let warm air circulate around pipes.
- For especially cold nights, let faucets drip slightly to keep water moving through pipes.
8. Prepare for Emergencies
- Know the location of your main water shutoff valve and ensure it operates smoothly.
- Keep a plumber’s contact info handy.
- Stock up on towels, buckets, and a wet/dry vacuum in case of leaks.
Special Considerations for Different Plumbing Systems
Older Homes
Older homes often have insufficient insulation and outdated plumbing materials (e.g., galvanized or copper pipes) that may be more prone to freezing. Inspect crawl spaces and attics closely. Consider upgrading insulation and replacing vulnerable pipes with PEX or other freeze-resistant materials.
Homes with Crawl Spaces
Ensure all crawl space vents are closed for winter. Add insulation to the subfloor and wrap pipes in high-risk areas. Check for standing water or dampness, which can accelerate freezing and damage.
Mobile and Manufactured Homes
Pipes in mobile homes are often exposed under the floor. Insulate thoroughly, ensure skirting is intact, and use heat tape where needed. Check for drafts along the chassis and seal any openings.
Preventative Maintenance: What to Check Throughout Winter
- Inspect pipe insulation monthly; replace if damp or damaged.
- After severe cold snaps, check for slow drains, low pressure, or wet spots—signs of frozen or burst pipes.
- Monitor areas near exterior walls for icy drafts.
- Test sump pumps and backup systems before major freezes.
- Keep gutters clear to prevent ice dams that can cause water to seep into walls and affect plumbing.
Signs of Trouble: What to Do If a Pipe Freezes
- Turn off the main water supply immediately to minimize damage.
- Open all faucets to relieve pressure.
- Use a hair dryer or portable heater (never an open flame) to gently warm the frozen section.
- If you notice leaks or bursts, call a professional plumber right away.
Cost Breakdown: What to Expect When Winterizing Plumbing
- Pipe insulation: $1–$3 per 6-foot length
- Heat tape/cables: $20–$60 for 12–30 ft
- Faucet covers: $3–$10 each
- Caulk/foam: $5–$10 per can/tube
- Professional winterization: $100–$300 for a typical home
Most homeowners can complete basic winterization for under $100 in materials. Professional services cost more but offer added peace of mind—especially for large or complex systems.
Frequently Asked Questions (FAQs) About Winterizing Plumbing
- When should I start winterizing my plumbing? Begin when nighttime temperatures regularly drop below 32°F (0°C).
- Can I use heat tape on all pipes? Only use UL-listed heat tape designed for plumbing and follow instructions. Do not overlap tape or use on plastic pipes unless specified.
- Is it necessary to drain my water heater? Not unless the home will be vacant for the winter. Otherwise, keep it running and insulated.
- What if I’m leaving my home for an extended time? Shut off the main water, drain pipes, and add antifreeze to traps and toilets.
Conclusion: Protect Your Investment with Proactive Plumbing Winterization
Winterizing your home’s plumbing is not merely a seasonal chore—it’s a critical safeguard for your property, your investment, and your peace of mind. Each winter, countless homeowners face the stress, mess, and expense of burst pipes and water damage—yet with just a few hours of preparation, these disasters are almost entirely preventable. By following the comprehensive checklist outlined above, you can insulate vulnerable pipes, block drafts, and ensure your plumbing system is ready to withstand even the harshest winter weather.
Remember, the cost of pipe insulation and faucet covers is negligible compared to the thousands you might spend repairing water damage. Taking the time to seal air leaks, drain outdoor lines, and maintain a consistent indoor temperature will pay off in lower utility bills, fewer emergencies, and a home that stands strong through the coldest months. For those with complex plumbing or older homes, consider consulting a professional for added assurance. But for most homeowners, a methodical, proactive approach is all it takes.
Don’t wait until the first freeze to start your winter plumbing prep. Use this guide as your seasonal reference, and revisit it each year before temperatures plunge. With preparation and attention to detail, you’ll protect your plumbing, preserve your home’s value, and enjoy a safe, worry-free winter.