
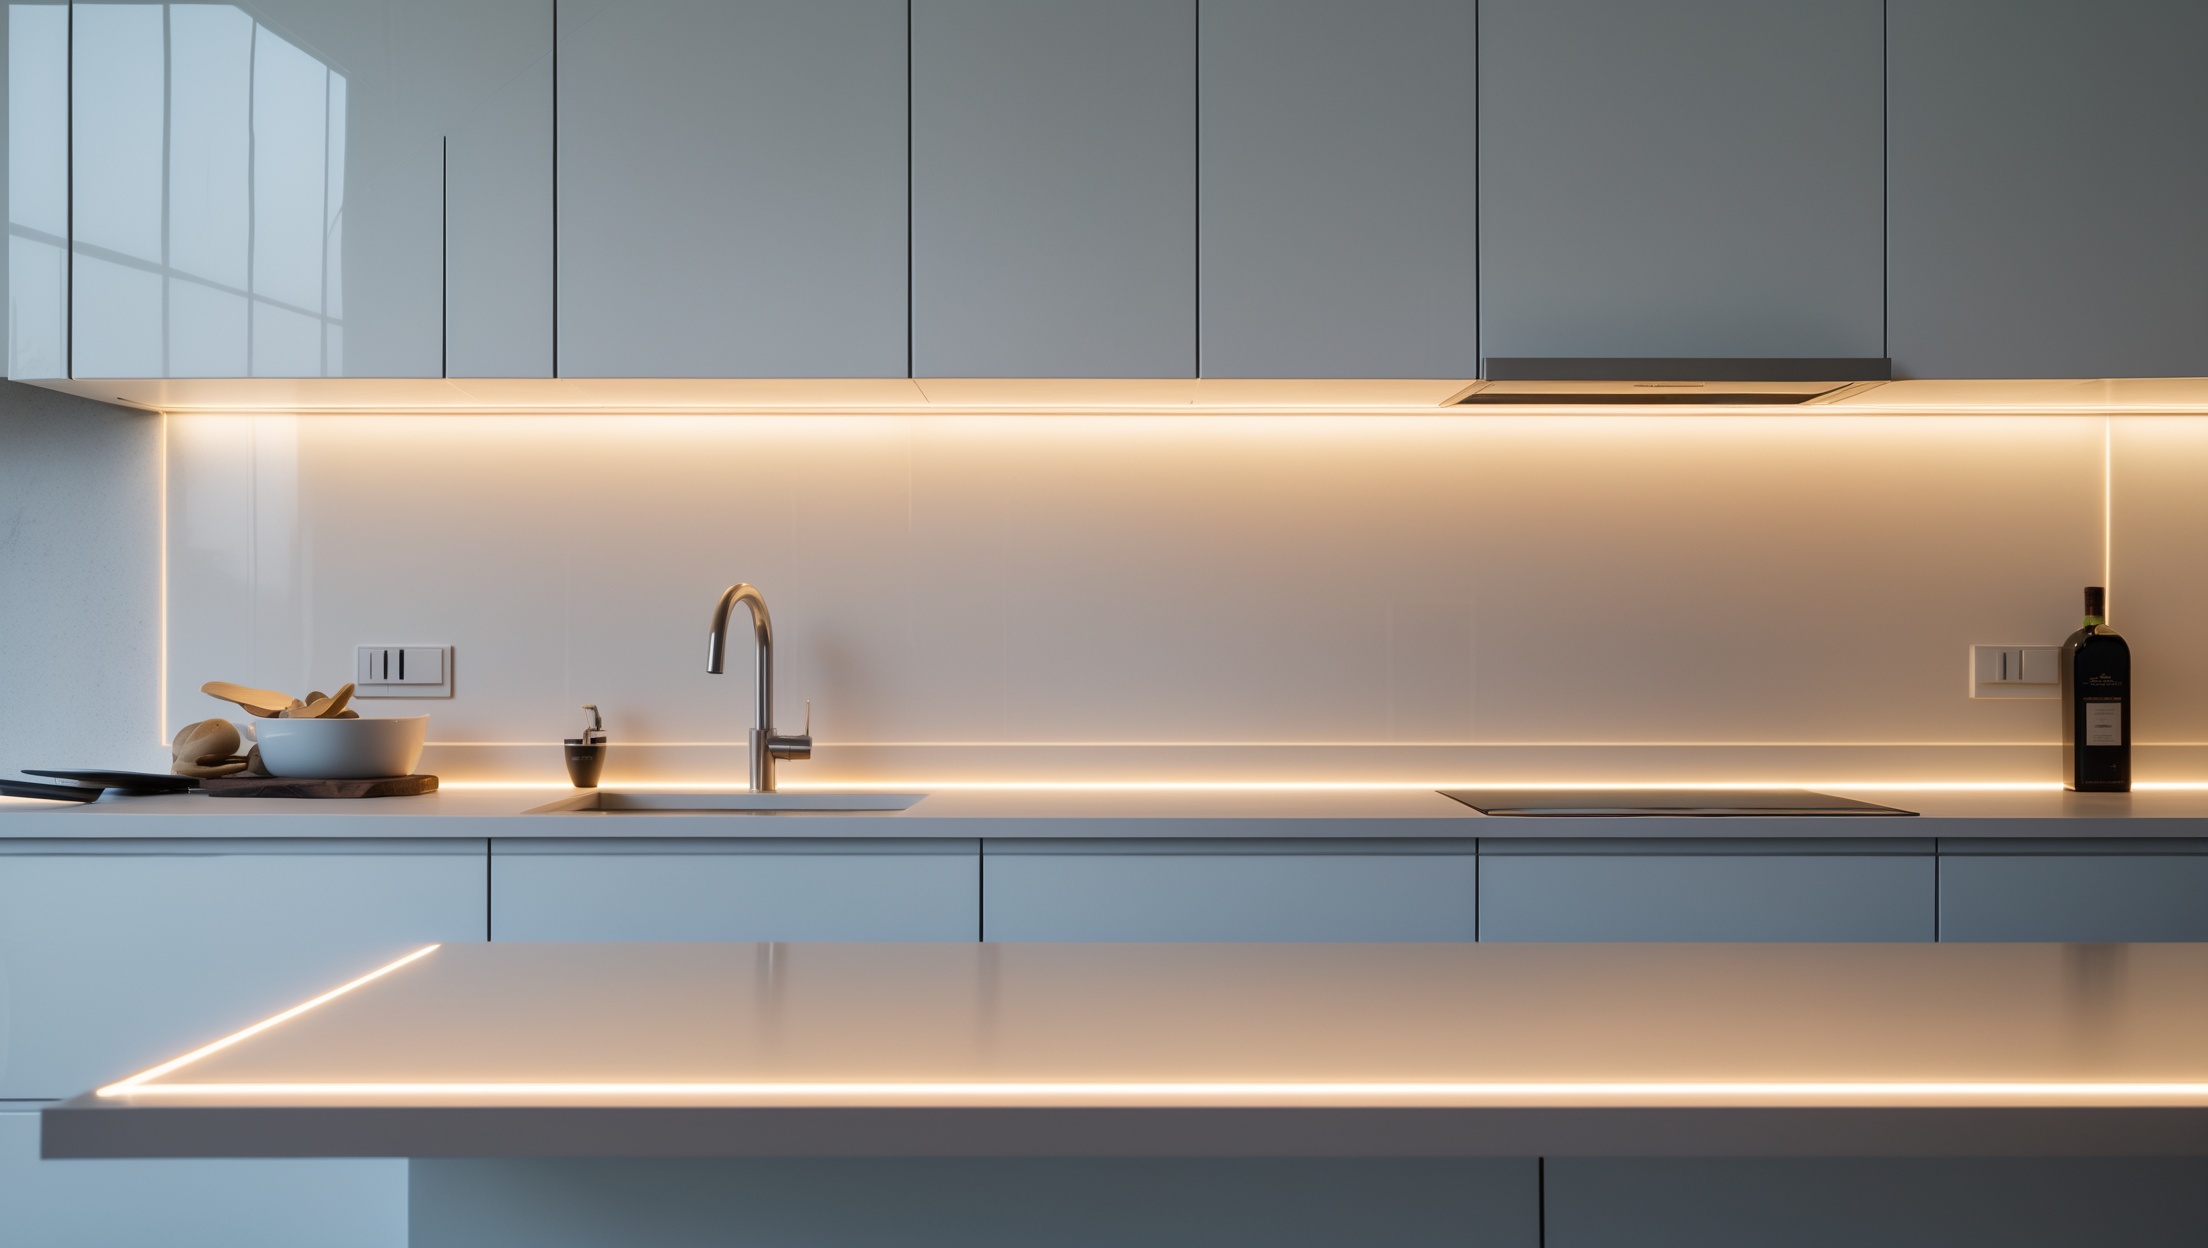
Introduction: Why Under-Cabinet Lighting is a Game-Changer for Kitchens
Kitchen renovations are often centered around large-scale projects like new cabinetry or appliances, but one of the most impactful yet overlooked upgrades is under-cabinet lighting. This feature not only elevates the aesthetic appeal of your kitchen by adding a warm, inviting glow to your countertops but also enhances functionality by improving visibility for food prep and cooking. Whether you’re a passionate home cook seeking optimal task lighting or simply want to modernize your space with energy-efficient solutions, under-cabinet lighting offers remarkable benefits. However, the installation process can feel daunting to many homeowners, especially those new to electrical projects.
This step-by-step guide is designed to demystify under-cabinet lighting installation. We’ll walk you through every stage—from planning and choosing the right system to safe wiring, mounting, troubleshooting, and long-term maintenance. By the end, you’ll have the confidence and know-how to execute this project yourself, saving on labor costs while achieving a professional-quality result. Read on to transform your kitchen with lighting that is both beautiful and highly practical.
Planning Your Under-Cabinet Lighting Project
Assessing Your Kitchen and Lighting Goals
Before purchasing materials, take a thorough look at your kitchen layout. Consider the following:
- Cabinet Lengths: Measure the length of each cabinet run where you want lighting.
- Work Zones: Identify key work areas—such as near the stove, sink, and prep spaces—where task lighting is most beneficial.
- Power Source Access: Locate nearby outlets or existing wiring that can power your system.
- Cabinet Structure: Check for obstructions like brackets, pipes, or irregularities under the cabinets.
Choosing the Right Under-Cabinet Lighting System
There are three primary types of under-cabinet lighting:
- LED Strip Lights: Flexible, energy-efficient, and easy to install. Excellent for continuous, even light.
- Puck Lights: Small, round fixtures that offer focused lighting. Suitable for highlighting specific areas.
- Light Bars: Rigid, linear fixtures that provide uniform light and are often linkable for longer runs.
Consider these factors when making your choice:
- Color Temperature: Warm white (2700K–3000K) for cozy, inviting light; cool white (4000K–5000K) for modern, crisp illumination.
- Dimmability: Dimmable options allow you to adjust brightness for ambiance or task needs.
- Wiring Preference: Plug-in systems are easy for beginners, while hardwired systems offer a cleaner look and integrate with wall switches.
- Smart Features: Some systems offer wireless control via apps or voice assistants for added convenience.
Budgeting for Materials and Tools
Pricing varies based on the system you choose. Here’s a typical breakdown:
- LED Strip Kit: $30–$80 per kit (covers 10–20 feet).
- Puck Lights: $20–$60 for a pack of 3–6.
- Light Bars: $40–$100 per set, depending on length and features.
- Additional Materials: Wire, connectors, mounting clips, cable management ($15–$40).
- Tools: Wire stripper, drill, measuring tape, level, voltage tester ($30–$60 if not already owned).
Plan for a total cost of $75–$250 for a standard DIY installation, depending on kitchen size and system complexity.
Tools and Materials Checklist
- Under-cabinet lighting kit (LED strips, puck lights, or bars)
- Measuring tape and pencil
- Wire strippers/cutters
- Drill and small drill bits
- Mounting clips or brackets (usually included with kits)
- Adhesive cable organizers or conduit
- Voltage tester (for hardwired installations)
- Screwdriver set
- Level
- Electrical tape
- Optional: Dimmable switch or smart controller
Step-by-Step Installation Process
Step 1: Plan Fixture Placement
Lay out your lighting system before mounting anything. Mark the optimal position for maximum illumination—usually 1–2 inches back from the cabinet face to avoid harsh shadows. For LED strips or bars, run the tape or bar parallel to the cabinet edge along the underside. For puck lights, space them evenly (typically 8–12 inches apart) to minimize dark spots.
Step 2: Prepare the Workspace
- Clear the countertops and remove any items under the cabinets.
- Shut off the power at the circuit breaker if you plan to hardwire the system.
- Wipe down the underside of the cabinets to ensure adhesive or mounting clips stick properly.
Step 3: Run and Conceal Wiring
Efficient, hidden wiring is key to a professional finish:
- For plug-in systems, plan the route to the nearest outlet. Use adhesive cable channels to conceal cords along cabinet edges or backsplashes.
- For hardwired systems, measure and mark where to drill holes for running low-voltage wire between cabinets. Use a drill with a small bit to make clean, discreet holes at the back corners.
- Feed wires through the holes and secure slack with cable clips or organizers.
Step 4: Mount the Light Fixtures
Follow the manufacturer’s instructions for mounting:
- LED Strips: Peel off backing and press adhesive firmly to the clean cabinet surface. Reinforce with mounting clips if provided.
- Puck Lights: Screw or stick them in place according to the kit. Ensure they sit flat and secure.
- Light Bars: Use included screws or brackets. Verify alignment with a level before finalizing placement.
Step 5: Connect Power and Test
- Plug-in Systems: Connect the transformer or power adapter and plug into a nearby outlet. Turn on to check for even illumination.
- Hardwired Systems: If comfortable with basic electrical work, connect wires to the switched power source per the wiring diagram. Always use a voltage tester before touching wires. Secure connections with wire nuts and electrical tape. If unsure, hire a licensed electrician for this step.
Test all zones for consistent lighting and address any flickering or dead spots before securing cables permanently.
Step 6: Install Switches and Dimmers (Optional)
Upgrade your system’s usability by adding:
- In-line Dimmers: Simple plug-and-play units that let you adjust brightness levels easily.
- Smart Switches: Control your lights remotely or via voice command. Follow the manufacturer’s pairing instructions for integration with home automation platforms.
Step 7: Final Cable Management
Neatly tuck away all visible wires using adhesive cable channels, clips, or raceways. Pay special attention to corners and cabinet joins. Make sure all cords are secure and out of the way of drawers or appliances.
Safety Precautions and Best Practices
Electrical Safety
- Always shut off power at the breaker before working with wiring.
- Use a voltage tester to ensure no current is present before connecting wires.
- Never overload outlets or circuits—check the total wattage of your lighting system against the circuit’s capacity.
- Use only UL-listed (or equivalent safety-certified) lighting components.
- If unsure about any electrical connection, consult a licensed electrician.
Mounting and Fire Safety
- Mount fixtures at least one inch away from heat-producing appliances like stovetops or toaster ovens.
- Do not cover wiring with insulating materials or flammable items.
- Check that mounting hardware does not penetrate electrical or plumbing lines within the cabinets.
Troubleshooting Common Installation Issues
- Flickering Lights: Usually caused by loose connections, incompatible dimmers, or overloaded circuits. Double-check all connectors and consider upgrading dimmers.
- Uneven Lighting: May result from poor fixture placement or insufficient overlap between lights. Adjust spacing or add additional fixtures as needed.
- Dead Zones: If a section of strip or a puck light doesn’t illuminate, check for breaks in the wire or faulty connectors. Replace damaged sections promptly.
- Adhesive Failure: Clean surfaces thoroughly before mounting. For persistent issues, use mounting clips or small screws for reinforcement.
- Exposed Wires: Use cable channels and electrical tape to cover all exposed wiring, minimizing shock and fire hazards.
Long-Term Maintenance and Upkeep
Cleaning Under-Cabinet Fixtures
- Dust fixtures monthly with a dry microfiber cloth to prevent buildup that can dim output.
- For sticky residue, use a slightly damp cloth—never spray cleaners directly on the lights.
- Inspect wiring annually for any signs of wear or damage.
Replacing or Upgrading Components
- LED strips and bulbs can last 25,000–50,000 hours, but replace any that dim or flicker persistently.
- Upgrading to smart controllers or dimmers is usually simple and can be done by swapping out in-line components.
- Keep spare connectors and mounting clips on hand for quick fixes.
Safety Checkups
- Test ground fault circuit interrupters (GFCIs) on nearby outlets regularly.
- Look for discoloration or heat damage on fixtures and wiring—replace immediately if found.
Advanced Tips for a Professional Finish
- Use a color temperature that matches your main kitchen lighting for a cohesive look.
- Install a low-profile trim or diffuser over LED strips to soften the light and reduce hotspots.
- Sync under-cabinet lights with other smart home devices for automated schedules and scenes.
- Consider motion sensors for automatic illumination when someone enters the kitchen at night.
Conclusion: Elevate Your Kitchen with Effortless Illumination
Completing your own under-cabinet lighting installation is one of the most rewarding home improvement projects you can tackle. Not only does it instantly modernize your kitchen’s look, but it also significantly enhances safety and usability for daily cooking and cleaning tasks. By carefully planning fixture placement, choosing the right lighting system, and following safe installation practices, you can achieve a result that rivals professional work—often in a single afternoon and at a fraction of the cost. Remember to prioritize safety, especially with electrical connections, and don’t hesitate to consult an expert if you run into challenges beyond your comfort zone.
As you enjoy your newly illuminated kitchen, you’ll likely notice improvements in both your cooking experience and the overall ambiance of your home. Regular maintenance ensures lasting performance, while thoughtful upgrades—like dimmers or smart controls—can continue to add value and convenience over time. Whether you’re preparing a simple meal or entertaining guests, under-cabinet lighting will keep your kitchen shining bright. Invest in this transformative upgrade today, and enjoy the blend of style, function, and satisfaction it brings to your home improvement journey.