
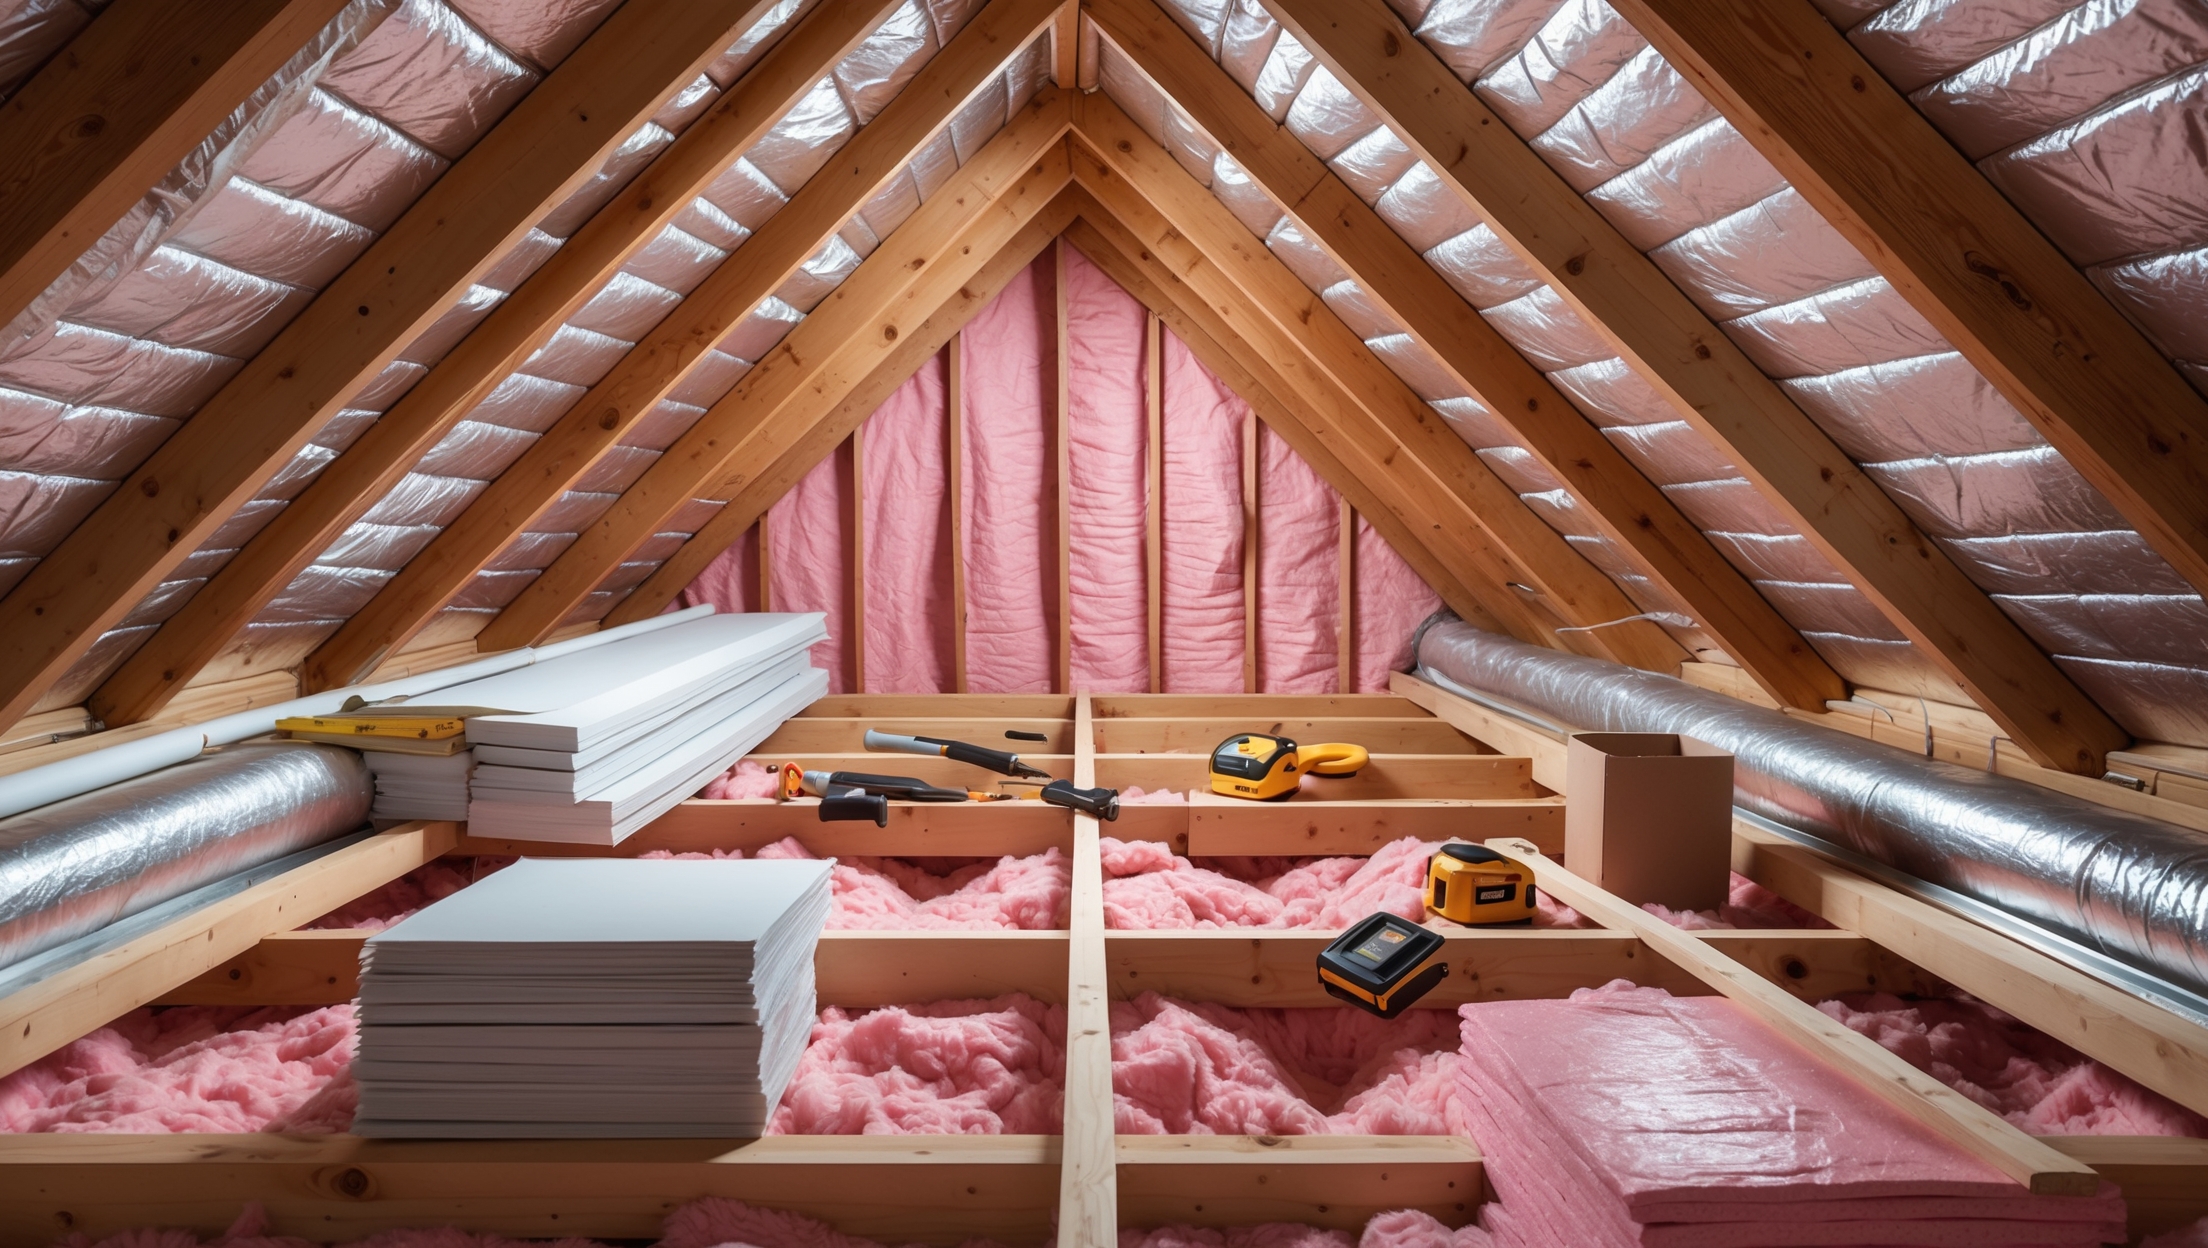
Introduction: Why Attic Insulation Matters More Than You Think
For many homeowners, the attic is an out-of-sight, out-of-mind space—often reserved for holiday décor or forgotten boxes. Yet, this overlooked area can have an outsized impact on your home’s energy efficiency, comfort, and even structural longevity. Heat rises, and in a poorly insulated attic, much of your costly conditioned air escapes through the roof, leading to higher utility bills and uncomfortable indoor temperatures year-round. A properly insulated attic, on the other hand, acts as a thermal barrier, keeping your home cooler in summer, warmer in winter, and your energy bills in check.
But where do you start? With so many insulation materials, methods, and attic layouts, tackling this project can seem daunting. That’s why this step-by-step guide breaks down the process in practical detail, from evaluating your existing insulation to choosing the right materials and executing a safe, effective installation. Whether you’re a seasoned DIYer or a first-timer, you’ll learn how to avoid common mistakes, maximize your investment, and ensure lasting results. Let’s get started on turning your attic into one of your home’s best assets.
Understanding Attic Insulation: Basics Before You Begin
What Does Insulation Do?
Insulation slows the transfer of heat between your living space and the outdoors. In summer, it keeps hot air out; in winter, it holds warm air in. This not only reduces your heating and cooling costs but also helps maintain consistent indoor temperatures and reduces the workload on your HVAC system.
Types of Attic Insulation
- Fiberglass Batt: Pre-cut panels of spun glass fibers; easy to install but requires precise fit.
- Blown-In (Loose-Fill): Small particles of fiberglass or cellulose blown into place; great for oddly shaped spaces.
- Spray Foam: Expands to fill gaps and air leaks; offers high R-values but is more costly and typically requires a pro.
- Rigid Foam Board: Sheets of foam for targeted applications; excellent for air sealing.
What is R-Value?
R-value measures insulation’s resistance to heat flow. The higher the R-value, the better the insulation. Attic recommendations vary by climate zone, but most U.S. homes benefit from R-38 to R-60 in attics. Always check local codes for exact requirements.
Step 1: Assessing Your Existing Attic Insulation
Safety First
Before entering your attic, put on safety gear: gloves, long sleeves, eye protection, and a dust mask. Watch for exposed nails, low head clearance, and unstable joists.
Visual Inspection
- Check insulation depth and uniformity. If you can see joists, you probably need more insulation.
- Look for damp, moldy, or compressed insulation—these are signs it needs replacing.
- Note any signs of pests or water intrusion, which must be resolved before adding new insulation.
Measuring Existing R-Value
Use a ruler to measure the depth of your current insulation and reference the manufacturer’s chart to estimate its R-value. For example, 10 inches of fiberglass batt typically equals about R-30. If you’re below the recommended R-value for your region, plan to add more.
Step 2: Sealing Air Leaks—The Crucial Prep Step
Insulation alone is not enough. If your attic leaks air, you’re losing energy and risking moisture problems. Air sealing should always be done before installing or upgrading insulation.
Where to Look for Air Leaks
- Gaps around pipes, wiring, and vents
- Chimney chases and attic access hatches
- Recessed lighting fixtures (use insulation-compatible “IC-rated” fixtures only)
- Top plates of walls
How to Seal
- Use expanding spray foam for larger gaps (around pipes, wiring).
- Caulk small cracks and seams.
- Install weatherstripping on attic access doors.
Take your time with this step—proper air sealing is essential for insulation to work effectively.
Step 3: Choosing the Right Insulation Material
Factors to Consider
- Climate: Colder regions benefit from higher R-values and thicker insulation.
- Budget: Fiberglass batts and blown-in cellulose are more affordable; spray foam is pricier but superior at air sealing.
- Attic Layout: Blown-in is ideal for attics with lots of obstructions; batts work well in open, accessible spaces.
- DIY vs Pro: Batts and loose-fill can be DIY-friendly, but spray foam generally requires professional installation for safety and effectiveness.
Material Comparison Table
| Type | R-Value/Inch | DIY-Friendly? | Cost | Notes |
|---|---|---|---|---|
| Fiberglass Batt | ~3.2 | Yes | Low | Needs precise fit |
| Blown-In Cellulose | ~3.5 | Yes | Low-Med | Good for irregular spaces |
| Spray Foam | ~6.0 | No | High | Best air sealing |
| Rigid Foam Board | ~5.0 | Somewhat | Med-High | Targeted use |
Step 4: Gathering Tools and Materials
Basic Tools You’ll Need
- Utility knife (for cutting batts)
- Measuring tape
- Staple gun (for securing vapor barrier or insulation supports)
- Insulation supports/wire (for between joists)
- Rake (for leveling blown-in insulation)
- Protective gear: gloves, goggles, dust mask, long sleeves
- Plywood or sturdy boards (to kneel or walk on joists safely)
Material Checklist
- Chosen insulation (batts, loose-fill, foam, or combination)
- Air sealing supplies: spray foam, caulk, weatherstripping
- Vapor barrier (if required by climate/code)
- Attic rulers (to measure insulation depth)
Step 5: Preparation and Safety Precautions
Preparing the Attic
- Remove stored items and debris.
- Check for signs of leaks, pests, or mold—address these issues before proceeding.
- Ensure there’s adequate lighting and ventilation during installation.
Safety Musts
- Never step between joists—use boards to distribute your weight.
- Be cautious of electrical wiring; turn off circuits if unsure.
- Protect yourself from insulation fibers and dust.
Step 6: Installing Fiberglass Batt Insulation
Step-by-Step Instructions
- Begin at the farthest corner and work back toward the attic opening.
- Lay batts between joists, unfaced side down (unless local code requires otherwise).
- Cut batts to fit around obstacles, but avoid compressing the material—it reduces effectiveness.
- If a second layer is needed, install perpendicular to the first to minimize gaps.
- Avoid blocking soffit vents; use baffles to maintain airflow.
Tips for a Tight Fit
- Butt batts snugly together—no gaps or overlaps.
- Tuck insulation around wiring, but do not compress it under wires.
- Use insulation supports or wire for batts that sag between joists.
Step 7: Installing Blown-In (Loose-Fill) Insulation
Rental Equipment
Many home centers offer free or low-cost rental of insulation blowers with purchase of loose-fill insulation. You’ll need at least one helper to feed material into the hopper while you direct the hose.
Application Process
- Mark your desired depth on attic rulers installed at several locations.
- Start at the perimeter and work inward in even passes.
- Move the hose in a sweeping motion for uniform coverage.
- Periodically check depth with a ruler to avoid over- or under-filling.
- Do not cover recessed lights or ventilation—use barriers as needed.
Final Checks
- Inspect for even coverage and correct depth.
- Clean up overspray for a tidy finish.
Step 8: Special Considerations and Common Pitfalls
Vapor Barriers
In some climates, a vapor barrier (plastic sheeting) is required to prevent moisture from moving from the living space into the insulation. Check your local building codes for requirements and install the vapor barrier facing the living space if needed.
Ventilation
- Never block soffit, ridge, or gable vents with insulation—proper airflow prevents moisture buildup and roof damage.
- Use baffles to keep insulation clear of vents.
Dealing with Obstacles
- Box out around recessed lights (unless they are insulation-contact rated).
- Keep insulation away from flue pipes and chimneys—install metal flashing as a barrier.
Common Mistakes to Avoid
- Compressing insulation to fit—this lowers R-value.
- Failing to air seal before insulating.
- Leaving gaps and voids around obstacles.
- Neglecting attic ventilation.
Step 9: Post-Installation Checklist and Maintenance
- Check attic access doors—insulate and weatherstrip as needed.
- Look for signs of moisture or settling insulation every 6-12 months.
- Ensure no insulation has shifted and that vents remain unblocked.
- Replenish insulation if it compresses or is disturbed by repairs or pests.
Routine inspection ensures your investment continues to deliver energy savings and comfort year after year.
Conclusion: The Payoff of a Well-Insulated Attic
Proper attic insulation is one of the smartest and most cost-effective home improvement upgrades you can make. By following these expert steps—from assessing your existing insulation and air sealing, to careful material selection and meticulous installation—you set your home up for lower energy bills, improved comfort, better indoor air quality, and even enhanced resale value. You’ll notice fewer drafts, more even temperatures from room to room, and HVAC systems that don’t have to work as hard—translating to real savings and a lighter environmental footprint.
Don’t forget that insulation is not a “set it and forget it” upgrade. Periodic checks for shifting, settling, or moisture will protect your investment and keep your attic performing at its best. And if you ever sell your home, buyers will appreciate the documented energy efficiency improvements.
With careful planning, attention to detail, and a commitment to safety, insulating your attic can be a highly rewarding project for both your comfort and your wallet. So roll up your sleeves, follow this guide, and enjoy the benefits of a home that’s well-prepared for every season.