
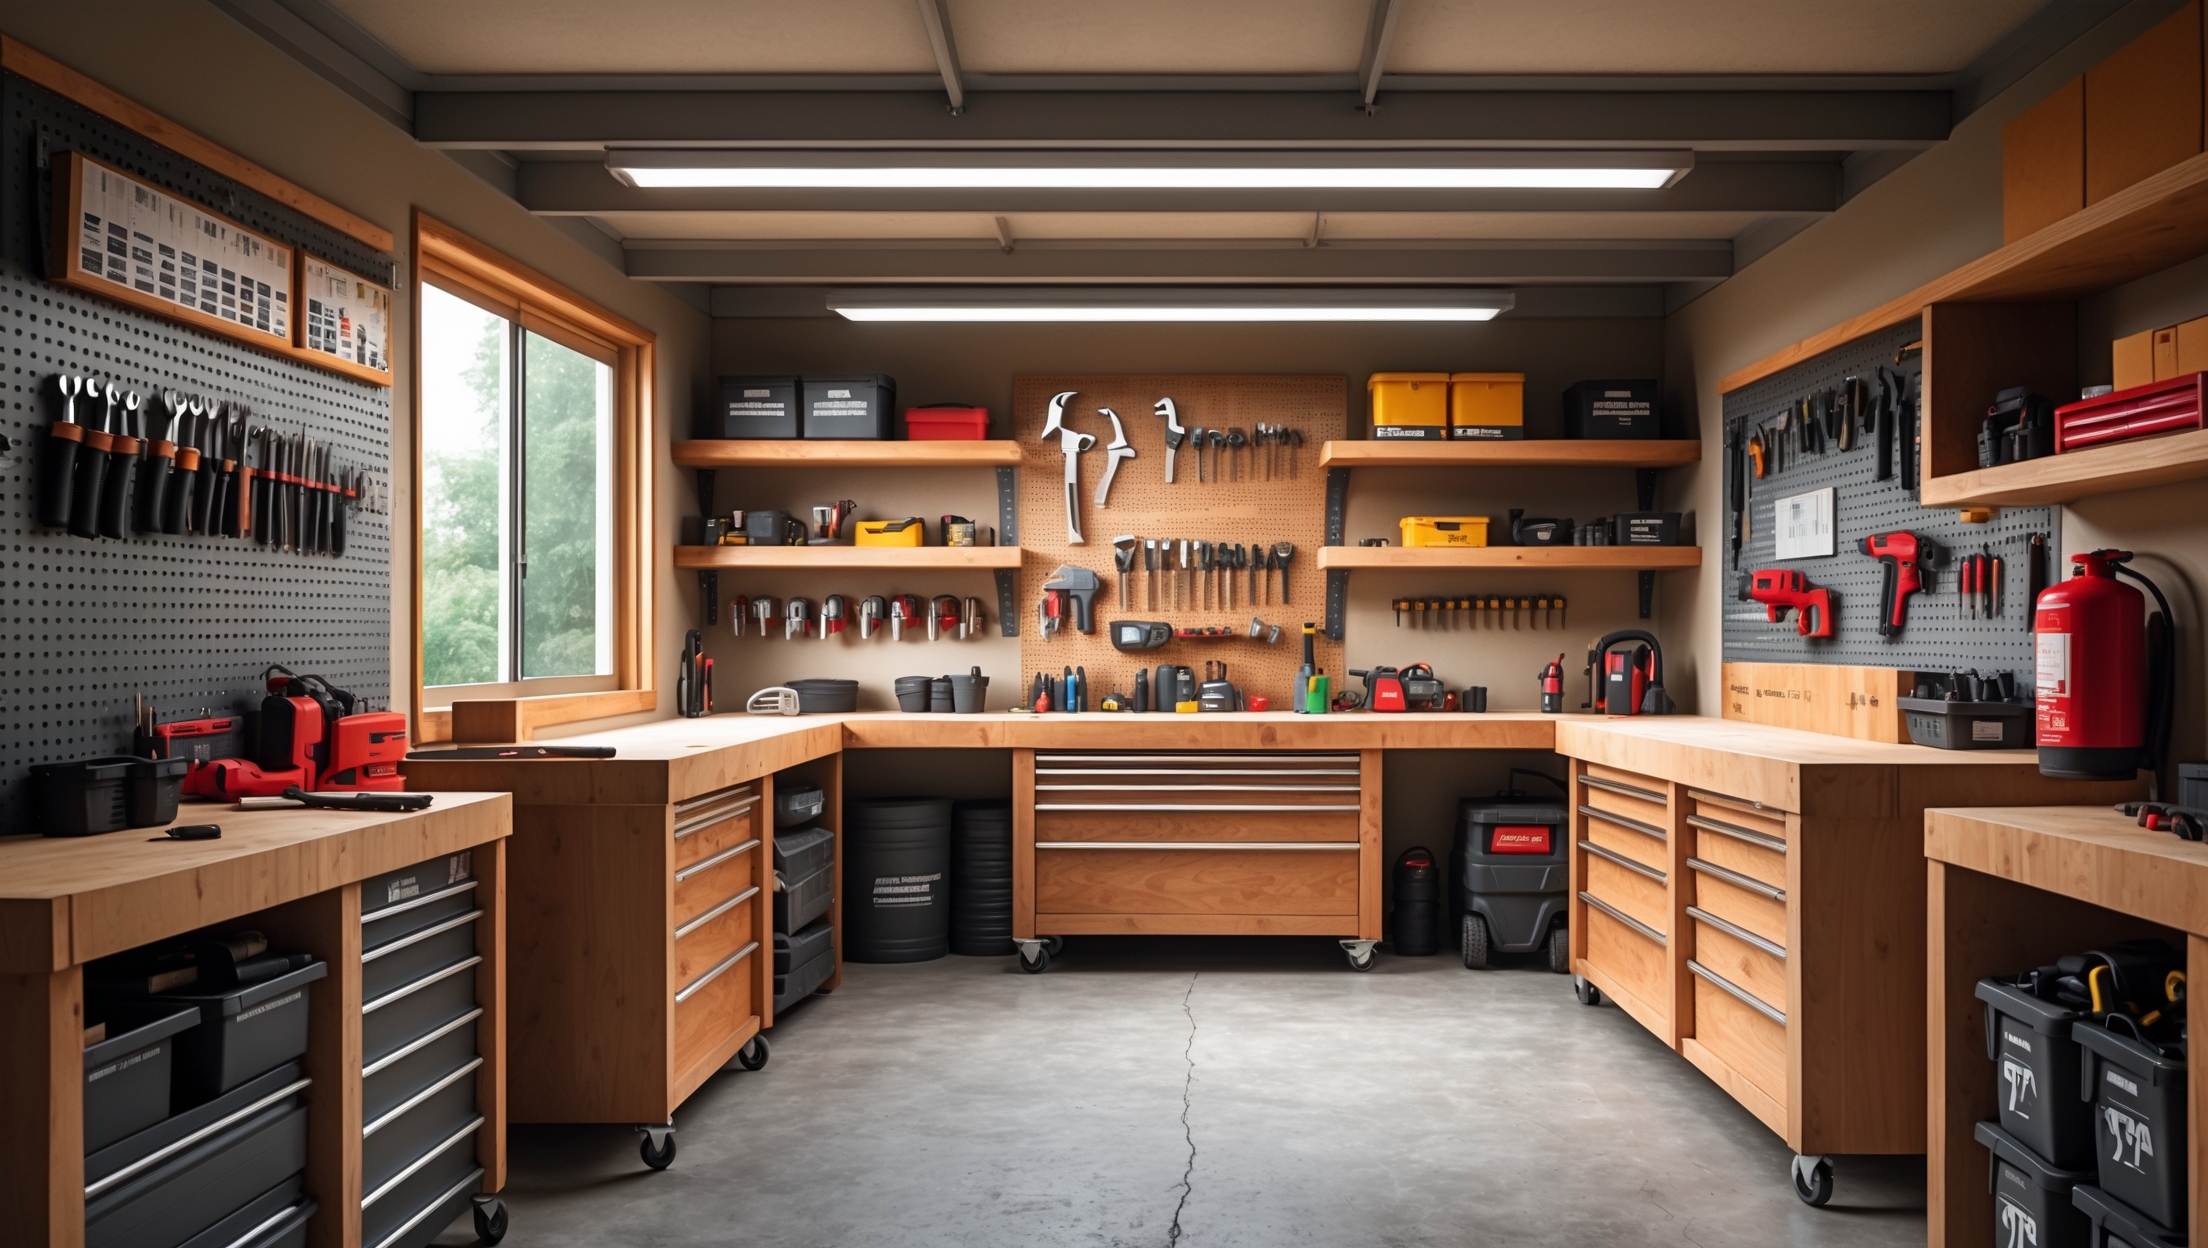
If you’re passionate about home improvement or DIY projects, having a dedicated workshop can be a game-changer. Whether you’re tackling furniture repairs, building custom shelves, or experimenting with woodworking, a safe, functional workspace makes every project more enjoyable and efficient. Yet, many homeowners underestimate the importance of thoughtful planning and safety in workshop setup, resulting in cluttered, hazardous environments that hinder progress and increase the risk of accidents. This comprehensive guide will walk you through every step of creating a DIY workshop at home—from choosing the right space and designing an efficient layout to implementing essential safety protocols, organizing tools, and maintaining your workspace for long-term success.
Choosing the Right Space for Your Workshop
Assessing Your Needs and Available Spaces
Before moving your tools and materials in, take time to evaluate your available spaces. Common options include:
- Garages: Often the most popular choice due to space and ventilation.
- Basements: Great for noise control, but may require additional ventilation and moisture management.
- Sheds or Outbuildings: Provide separation from the main living area, minimizing dust and noise issues.
- Spare Rooms or Attics: Suitable for small projects or crafting, but may have space or load-bearing limitations.
Consider the types of projects you’ll tackle, the size of equipment you’ll use, and your need for storage and work surfaces. Accessibility is also key—ensure you can move materials and tools in and out easily.
Key Factors to Consider
- Space: Aim for a minimum of 100 square feet for basic DIY work. Larger projects will benefit from more room.
- Ventilation: Essential for working with paints, adhesives, or solvents. Windows, fans, or dedicated exhaust systems improve air quality.
- Lighting: Natural light is ideal, but supplement with bright, energy-efficient overhead and task lighting.
- Noise: Consider proximity to living spaces and neighbors—insulation or soundproofing may be necessary.
- Power Supply: Multiple grounded outlets and adequate amperage are vital for power tools and lighting.
Designing Your Workshop Layout
Work Zones for Efficiency
Divide your workshop into functional zones to streamline workflow:
- Bench Area: The main work surface for assembly, repairs, and crafting.
- Tool Storage Zone: Wall-mounted racks, cabinets, and drawers for keeping tools accessible yet organized.
- Material Storage: Shelves or bins for wood, hardware, and supplies.
- Finishing Area: A clean, dust-free space for painting or staining.
- Safety Station: An easily accessible spot for first aid supplies, fire extinguisher, and safety data sheets.
Optimizing Workflow and Access
Arrange your layout to minimize unnecessary movement. Keep frequently used tools within arm’s reach of the workbench, and store heavy or rarely used items lower or further away. Use mobile carts or pegboards for flexible storage. Ensure pathways are clear and wide enough to safely navigate with materials.
Essential Workshop Safety Checklist
Electrical Safety
- Install ground fault circuit interrupters (GFCIs) on all outlets, especially in damp areas.
- Don’t overload circuits or use damaged extension cords.
- Keep electrical cords away from water sources.
- Label circuit breakers for quick shutoff in emergencies.
Fire Prevention
- Store flammable liquids (paints, solvents) in approved containers away from heat sources.
- Install a fire extinguisher rated for electrical and chemical fires.
- Keep the workspace free of sawdust accumulations, which can be highly flammable.
Ventilation and Air Quality
- Use exhaust fans or open windows when working with fumes or dust-producing tools.
- Wear a dust mask or respirator when sanding, sawing, or applying finishes.
- Install an air purifier if you regularly work with fine particulates or chemicals.
Personal Protective Equipment (PPE)
- Safety glasses or goggles for eye protection.
- Hearing protection (earmuffs or plugs) when operating loud tools.
- Non-slip, closed-toe footwear to prevent injuries from dropped objects.
- Work gloves for handling rough materials or sharp tools.
Emergency Preparedness
- Maintain a stocked first aid kit with bandages, antiseptics, and burn ointment.
- Post emergency contact numbers clearly near the entrance.
- Keep pathways and exits unobstructed at all times.
Setting Up Workbenches and Surfaces
Choosing the Right Workbench
Your workbench is the centerpiece of your workshop. Look for:
- Sturdy construction (solid wood or steel frames)
- A flat, durable surface (laminated hardwood or thick plywood)
- Adjustable height for ergonomic comfort
- Integrated vises or clamps for securing materials
For small spaces, consider a fold-down or mobile workbench that can be stowed when not in use.
Supplemental Surfaces
- Install auxiliary tables or sawhorses for large projects.
- Use anti-fatigue mats to reduce strain during long tasks.
- Keep surfaces clear of clutter for safety and efficiency.
Organizing Tools and Materials
Tool Storage Solutions
- Pegboards: Versatile for hanging frequently used hand tools; label outlines for quick replacement.
- Drawer Units: Store smaller tools, bits, fasteners, and accessories.
- Wall Cabinets: Secure power tools and hazardous items out of reach of children.
- Magnetic Strips: Hold metal tools like screwdrivers and pliers.
- Rolling Tool Chests: Keep sets organized and mobile.
Material Storage
- Use heavy-duty shelving for lumber, pipes, and large materials.
- Sort screws, nails, and hardware into labeled bins or drawers.
- Store paint, adhesives, and chemicals in a ventilated, lockable cabinet.
- Keep a running inventory to prevent duplicate purchases or running out mid-project.
Optimizing Lighting and Power
Lighting Considerations
- Install bright, daylight-balanced (5000–6500K) LED overhead fixtures.
- Add adjustable task lights to illuminate intricate work.
- Use under-shelf or bench-mounted lights for shadow-free surfaces.
Power Management
- Distribute outlets around the room for easy tool access; avoid daisy-chaining power strips.
- Install surge protectors for sensitive electronics and battery chargers.
- Label outlets or circuits dedicated to high-draw tools (table saws, air compressors).
- Consider a battery charging station for cordless tools, with cable management solutions to avoid tripping hazards.
Dust Control and Cleanliness
Dust Collection Systems
- Connect stationary power tools (saws, sanders) to a shop vacuum or dust collection system.
- Use portable vacuums for cleaning up after smaller tasks.
- Install air filters or dust extractors to capture airborne particles.
Routine Cleaning
- Sweep or vacuum the floor regularly to prevent slip hazards.
- Wipe down benches and tools after each use to prevent rust and buildup.
- Dispose of oily rags in a metal safety can to prevent spontaneous combustion.
Maintaining Your Workshop: Best Practices
Monthly Maintenance Checklist
- Inspect power cords and tool plugs for wear or damage.
- Lubricate moving parts on tools and equipment as recommended by manufacturers.
- Check for water leaks, pests, or mold in basements and sheds.
- Test smoke alarms and replace batteries as needed.
- Review your first aid kit contents and restock as necessary.
Annual Deep Clean and Safety Review
- Empty and reorganize tool drawers and storage bins.
- Sharpen blades, bits, and cutting edges.
- Review safety protocols with family members or workshop partners.
- Dispose of expired chemicals, adhesives, or paint safely according to local regulations.
Workshop Upgrades and Smart Additions
Climate Control
- Install insulation and weatherstripping to maintain comfortable temperatures.
- Consider a portable heater or air conditioner for seasonal comfort.
Noise Management
- Use rubber mats or acoustic panels to dampen sound.
- Install weatherstripping on doors to reduce noise transfer.
Technology Integration
- Mount a tablet or computer for accessing digital plans or tutorials.
- Set up Bluetooth speakers for hands-free audio without distractions.
- Install a security camera for monitoring your valuable tools.
Conclusion: Building a Workshop That Inspires and Protects
Setting up a home DIY workshop is an investment in your safety, productivity, and long-term enjoyment of home improvement projects. By following the steps outlined above—choosing the right space, designing a functional layout, prioritizing safety, organizing tools and materials, optimizing lighting and power, and maintaining cleanliness—you’ll create an environment that supports your skills and ambitions. Remember, a safe workshop isn’t just about compliance; it’s about peace of mind, efficiency, and the freedom to create without worry. Revisit your setup periodically, adapt as your needs evolve, and never cut corners on safety. The extra effort pays dividends in every project you complete. With your well-planned and maintained workshop, you’ll be ready to take on any home improvement challenge with confidence and pride.